All My Friends are Flowers

garden inspiration and design

  • About
  • Landscape Design Portfolio
  • Plant Index
  • Here’s How
  • Life + Baby
  • Free Landscape Designs + Graphics
  • Living in Europe

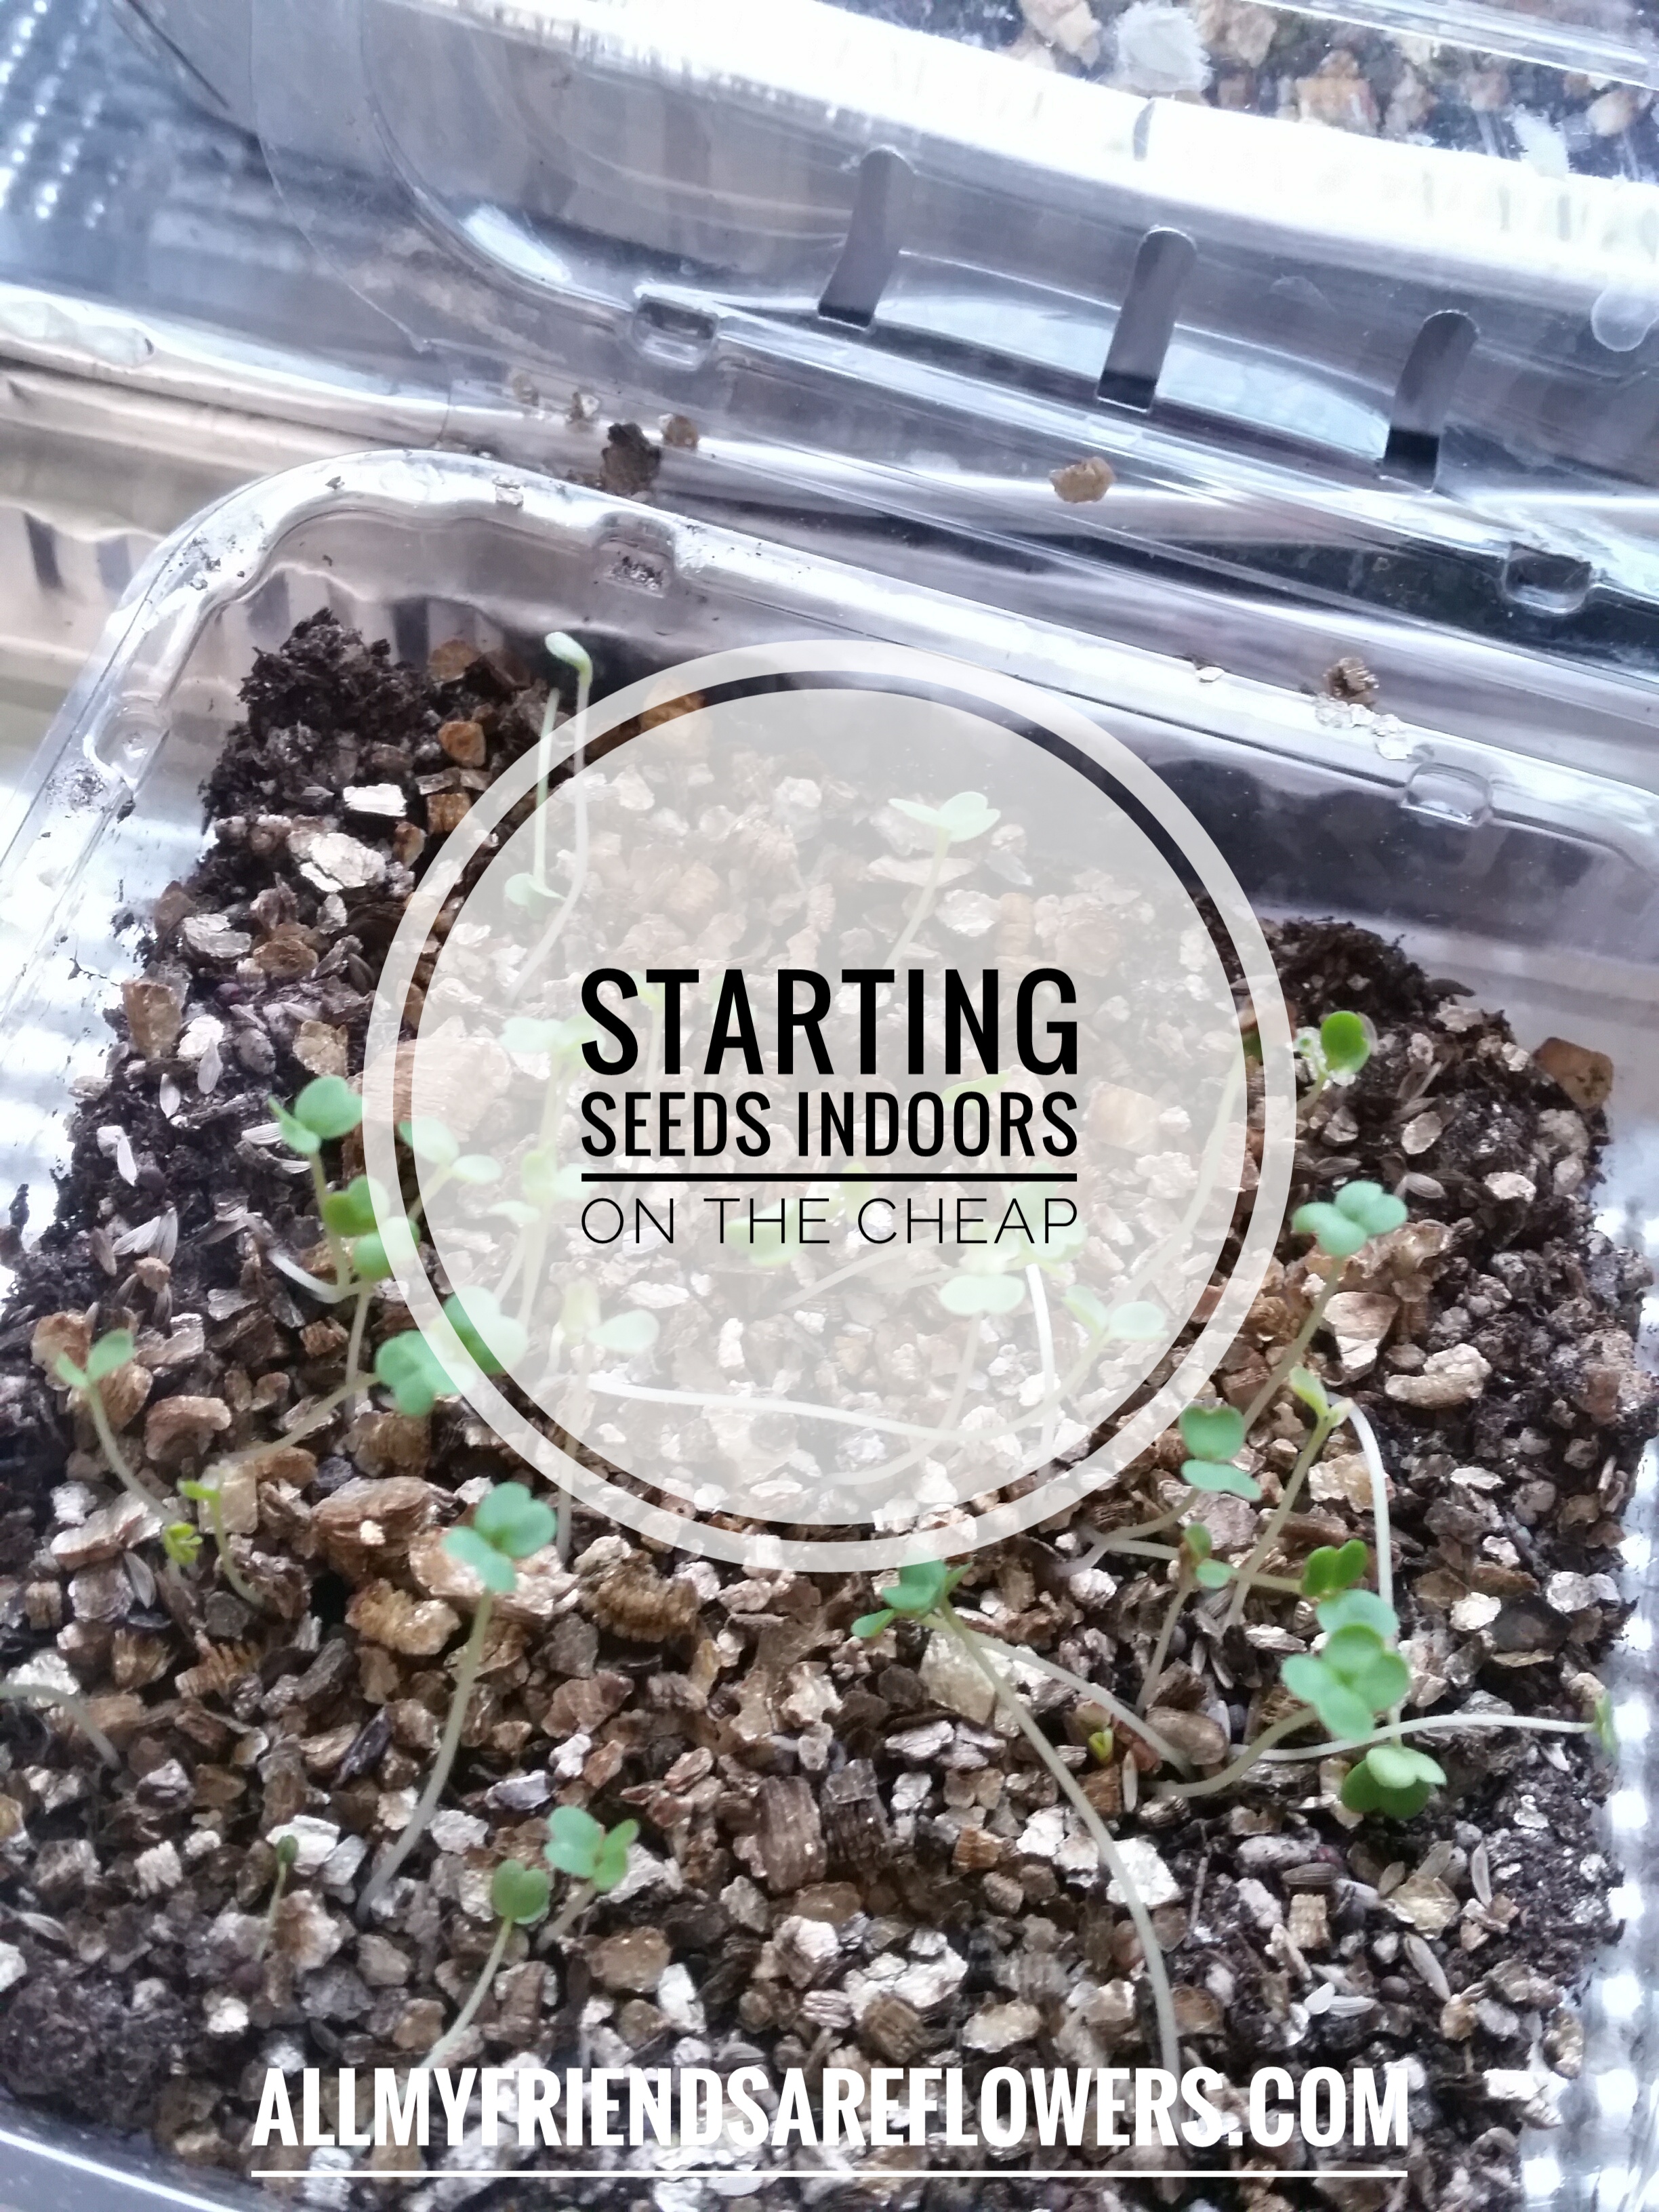
Starting Seeds Indoors & on the Cheap

February 22, 2018 by Lacey Leave a Comment

Weather is a tricky thing here in Utah.  I’ve spent sunny January afternoons short-sleeved working in my backyard and frigid days in April watching baseball games during snow flurries.  This winter has been really mild, with few snow showers and single temperature digit days.  Today as I’m writing though, we’ve a high of 25, icy winds, and about 4″ of snow with more expected tomorrow.  Feeling like we’ve gone back in time to the beginning of January isn’t what my garden loving soul needs right now.  And as eager as I was to hang up my pruning shears in October for some well deserved rest, I’m twice as eager  now to plunge my hands into some potting soil and admire budding leaves on my lilacs.
Until the weather decides to join me in my desire for spring I’ll have to settle for what little yard prep I can do indoors.  I’ve made my four page long garden to-do list (check back soon for more on early garden must do’s) but I’m ready for some green.

We’ve decided to expand our vegetable garden this year, tearing out more turf in favor of the flavors of juicy tomatoes, and home grown acorn squash.  Weather you’re looking to plant a large veggie patch, or just looking to grow a few container tomatoes on a back patio, starting your own seeds is a great idea.  There’s something about beginning a garden on my windowsill that helps me make it through March.  It can also help save money too.  Buying a seed packet for $1.50 that yields 20 zucchini plants when you’d likely pay $1.50+ for just one feels good.  Extra plants can be given as gifts to neighbors, or you can try selling them.  I had a plant “garage sale” last spring and the sale of my extra veggies funded some new string lights for the patio.

When walking through the seed section of your local home improvement store you’ll likely see accessories like expensive grow lights, fancy seeding containers, and humidomes.  Although having fancy seeding equipment won’t hurt your chances, they’re necessary.

You only need four simple ingredients for successful seed starting

  1. seed starting mix
  2. a container
  3. water
  4. light

Oh, and seeds of course.  These components don’t need to be fancy or expensive, with a good batch of seed starting mix and a trip to the dollar store you’ll have everything you need to begin your garden indoors.

Seed Starting Mix:

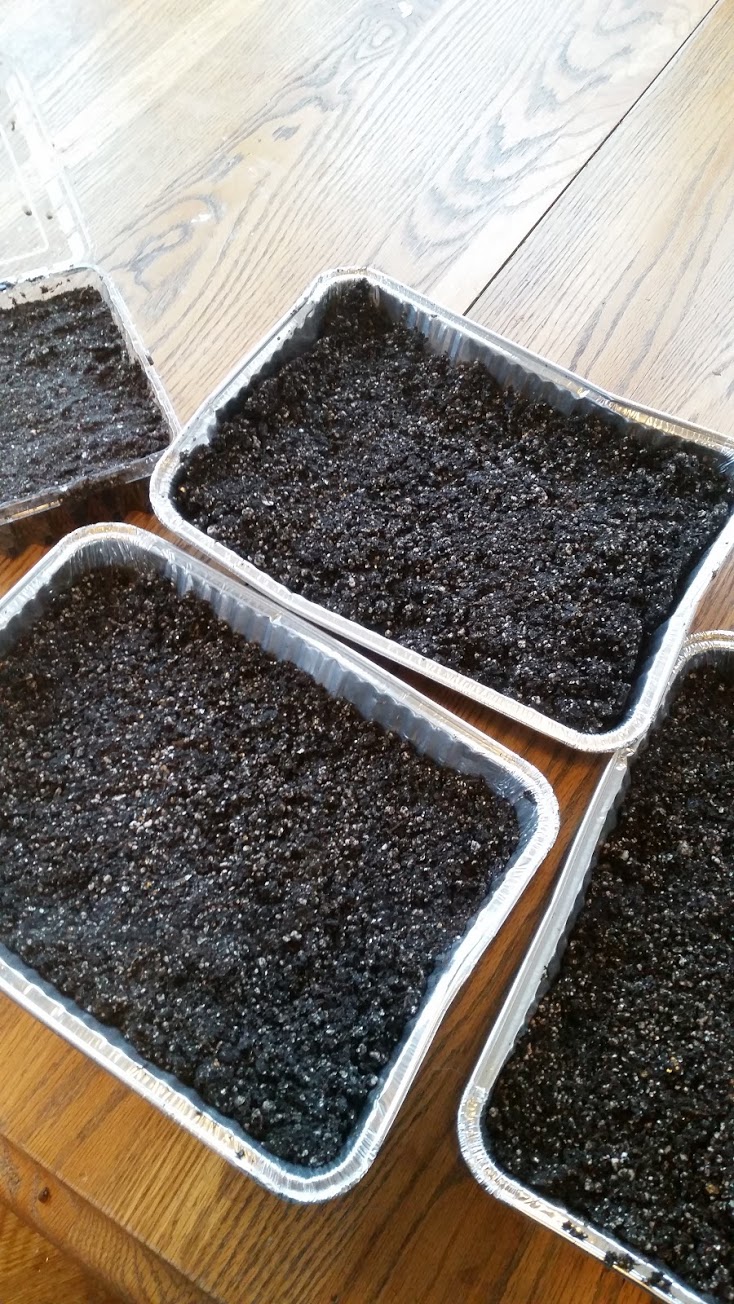
Do seeds germinate in regular old backyard dirt? You betcha. But to up your chances of seeding success you’ll wan’t to use a special seed starting mix.  This special mix provides the right balance of aeration with water holding capacity and sterility, which means you won’t have to battle any pests while growing juvenile plants.  Depending on the amount of seeds you’re planning on growing, a small bag purchased from your home improvement store might be enough.  If you’re planning on a starting a bunch you might want to consider purchasing the ingredients to make a big batch of your own.  Supplies are easily found at most garden centers.

Seed Starting Mix Recipe
  • 1 part vermiculite
  • 1 part perlite
  • 1 part peat moss

Containers:

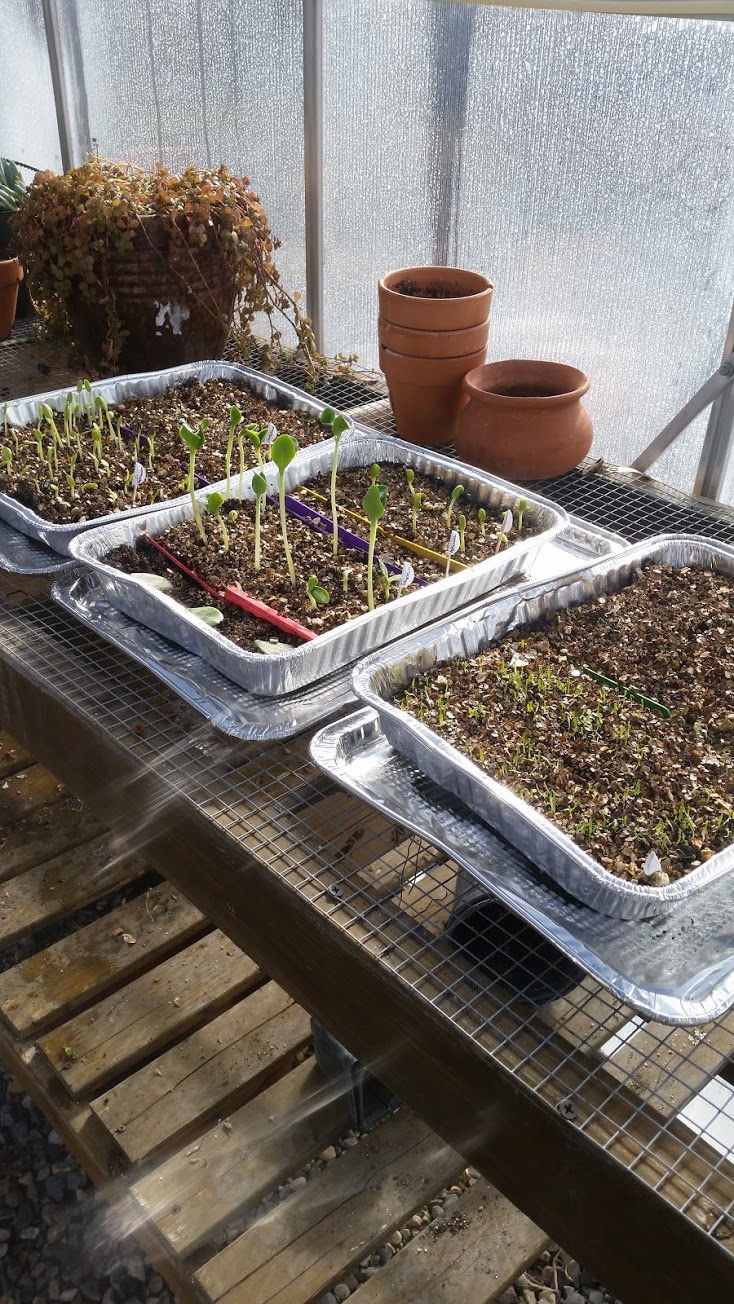
Seed starting sets will often include a clear plastic “lid”  these are called humidomes.  They basically create a mini greenhouse for your seedlings, helping increase heat and humidity.  You can create this same effect with any clear covering.  You can use take out containers, plastic wrap, basically any transparent covering will do.  I found disposable casserole dishes at the Dollar Tree that came with transparent lids about 3″ tall.  I’m also using some berry clam shells, and some to-go salad containers.  Most “official” humidomes have a flap that can be opened to let out excess moisture and let the seedlings breathe a little.  You can copy this by removing or opening the lids for a few hours a day or cutting a flap that can be opened and closed. I opted for cutting a flap that could be easily opened or closed without taking the whole lid off.

Make sure your container has drainage!  It might be necessary to poke several holes in the bottom of your container.  Tomato and berry clam shells usually have holes in the base of the container already, but if you’re using a tin container like mine, or a take out container you’ll want to make sure you make enough holes so that water can drain out.  The developing roots of your seedling can easily rot if there’s too much moisture.

Water:

Starting with moist potting mix is crucial for seedling success.  Because seeds are often small, they’re easily washed away or displaced by heavy streams of water.  I like to mist my soil and seeds with a spray bottle, the fine mist ensures they won’t be damaged.  Once my seedlings have started to grow and require more water I’ll set my container in a shallow dish filled with water and bottom water my plants.  The water will soak up into the soil through the holes in the bottom of the container.  I’ll check the soil and take the containers out of the water dish after about 10 minutes. That’s usually long enough for some good water absorption.

Light:

South or west facing windows are the optimal places for catching winter sun.  Light is one of the requirements for adequate germination, so having your seedlings as close as you can to the window is crucial.  Seedlings struggling with adequate light will become thin, spindly, and suffer from etoliation which basically means they’re trying to grow tall stems to reach as much light as possible. These tall stemmed plants are putting so much effort into vertical growth that root development and leaf production can suffer, making for weak plants.  If 5+ hours of sunlight is impossible for you, you might want to consider subsidizing with a grow light.

During sunny days I’ll check the temps in my unheated greenhouse.  It can be as much as 20 degrees warmer than outside if its a clear day.  I’ll let my seedlings spend the  day in there and bring them back inside before the sun and temperature starts to sink.
 

Other Considerations:

  • Soak seeds prior to planting.  Infusing seeds with a straight shot of H2O can speed up their germination.  Don’t over do it, 4-8 hours is sufficient for most seeds.  Those with a harder seed coat (think peas or beans) can benefit from a longer soaking session, but don’t exceed 16 or so hours or you’ll risk rot and damage.
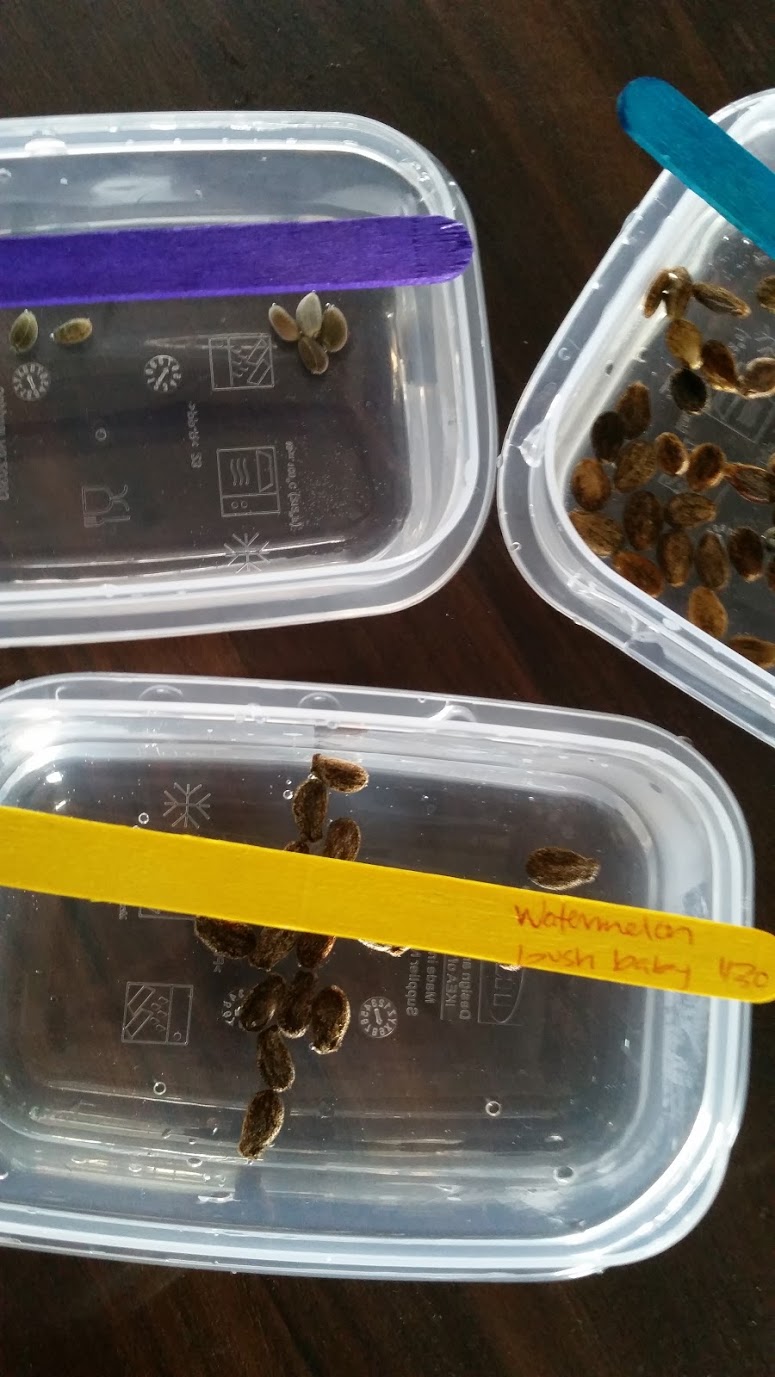
 

  • Adequately label plants!  It’s easy to forget which plant is growing in which container.  If you’re growing both Roma tomatoes as well as beefsteak unlabeled plants won’t distinguish themselves for months.  To label my seedlings I picked up some toothpicks and white stickers while sourcing containers at the dollar store.


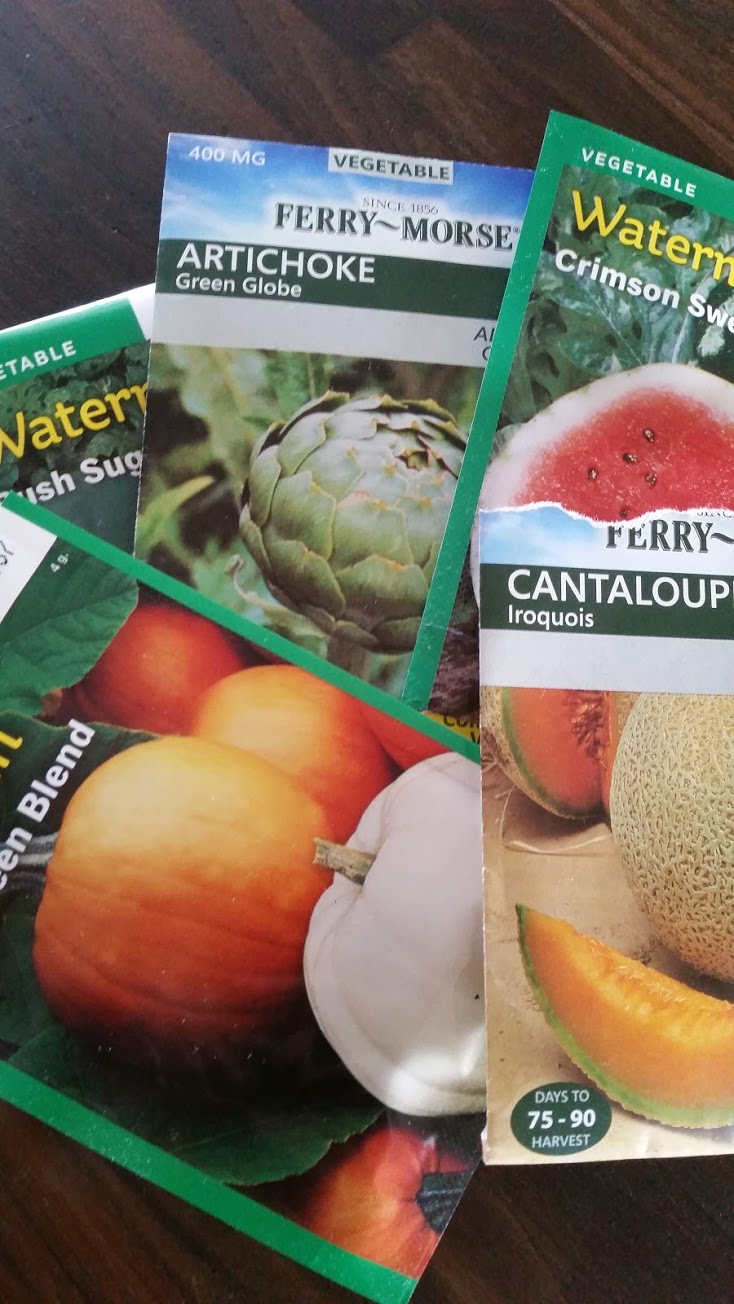
  • Read instructions on seed packets!  Some plants require the seeds to be covered to certain depths for germination, others can germinate sitting right on top of the soil.

Transplanting:

  •  Seeds can be transplanted into larger containers once their second set of leaves appear.  These are called their first “true leaves” and will often look different from the first round they sprouted.  The seeds  leaves that emerge out of the ground are called cotyledons.  They existed in the embryonic seed.  Once the “true leaves” start sprouting from your seedling you can gently “weed” it out of your seed starting mix and transplant into a larger container filled with regular old potting soil.
  • Don’t be too hasty to fertilize after transplanting.  Wait for plants to root into their new container and continue producing new leaves.  Waiting a week or so after transplanting should be adequate.


There you have it, seed starting basics on the cheap.  Here’s to an early start to the season, and a little green in the midst of the snow.


Filed Under: Greehouse, Here's How, Propagation, The Dirt, Veggies

DIY Vintage Plush Play Veggies & Easy Image Transfer Tutorial

December 16, 2015 by Lacey 5 Comments

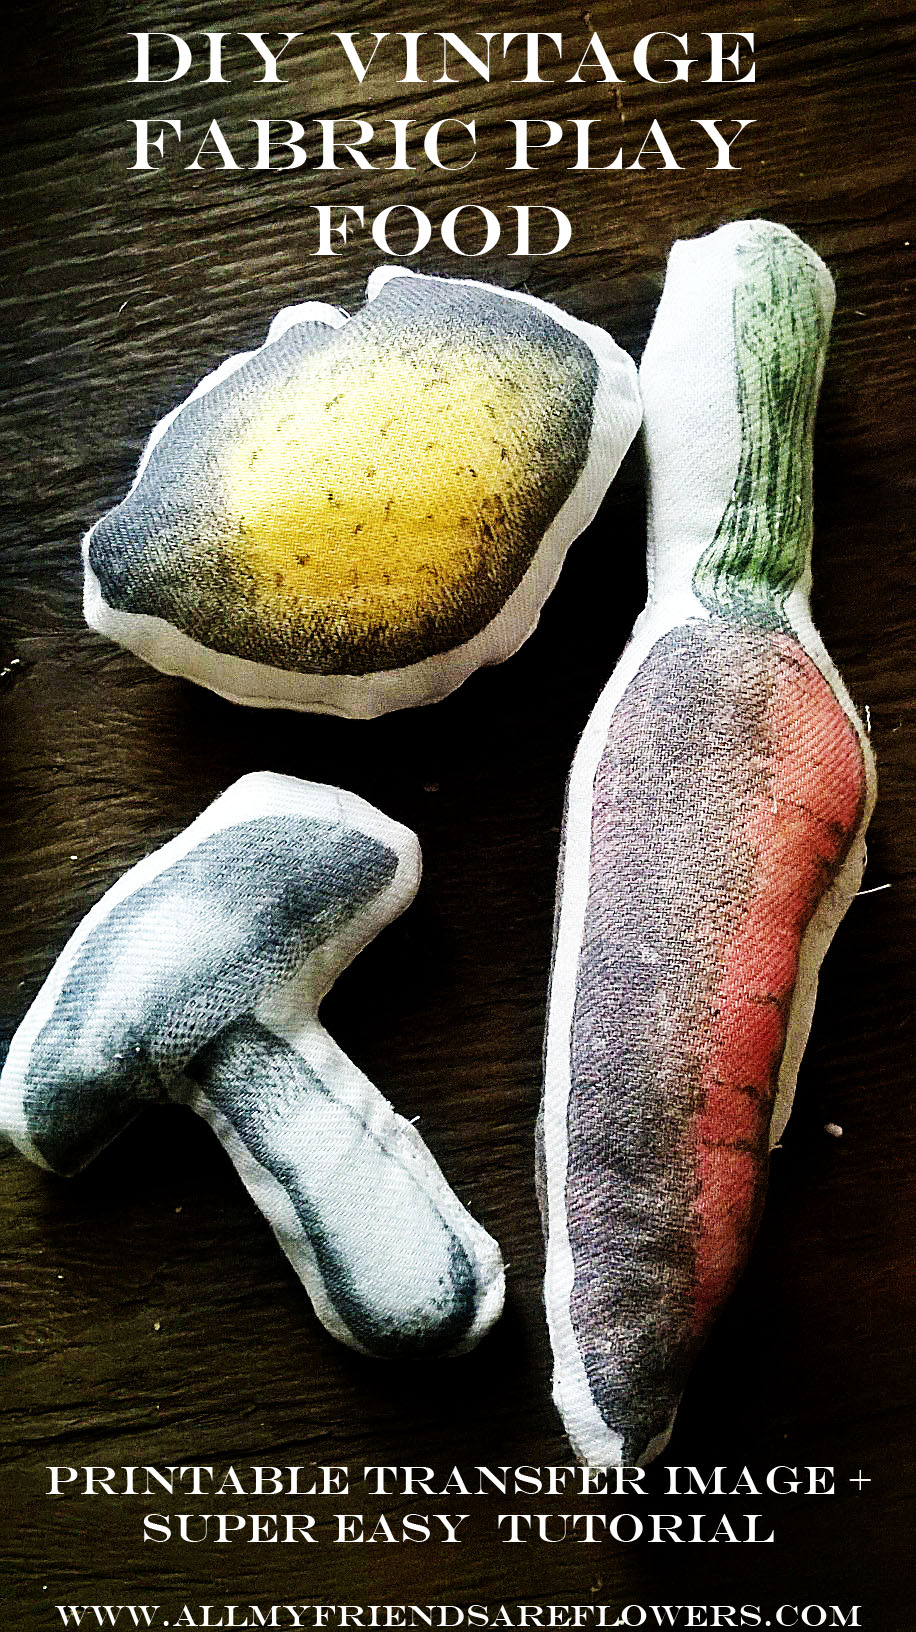
Fabric Food Header Image

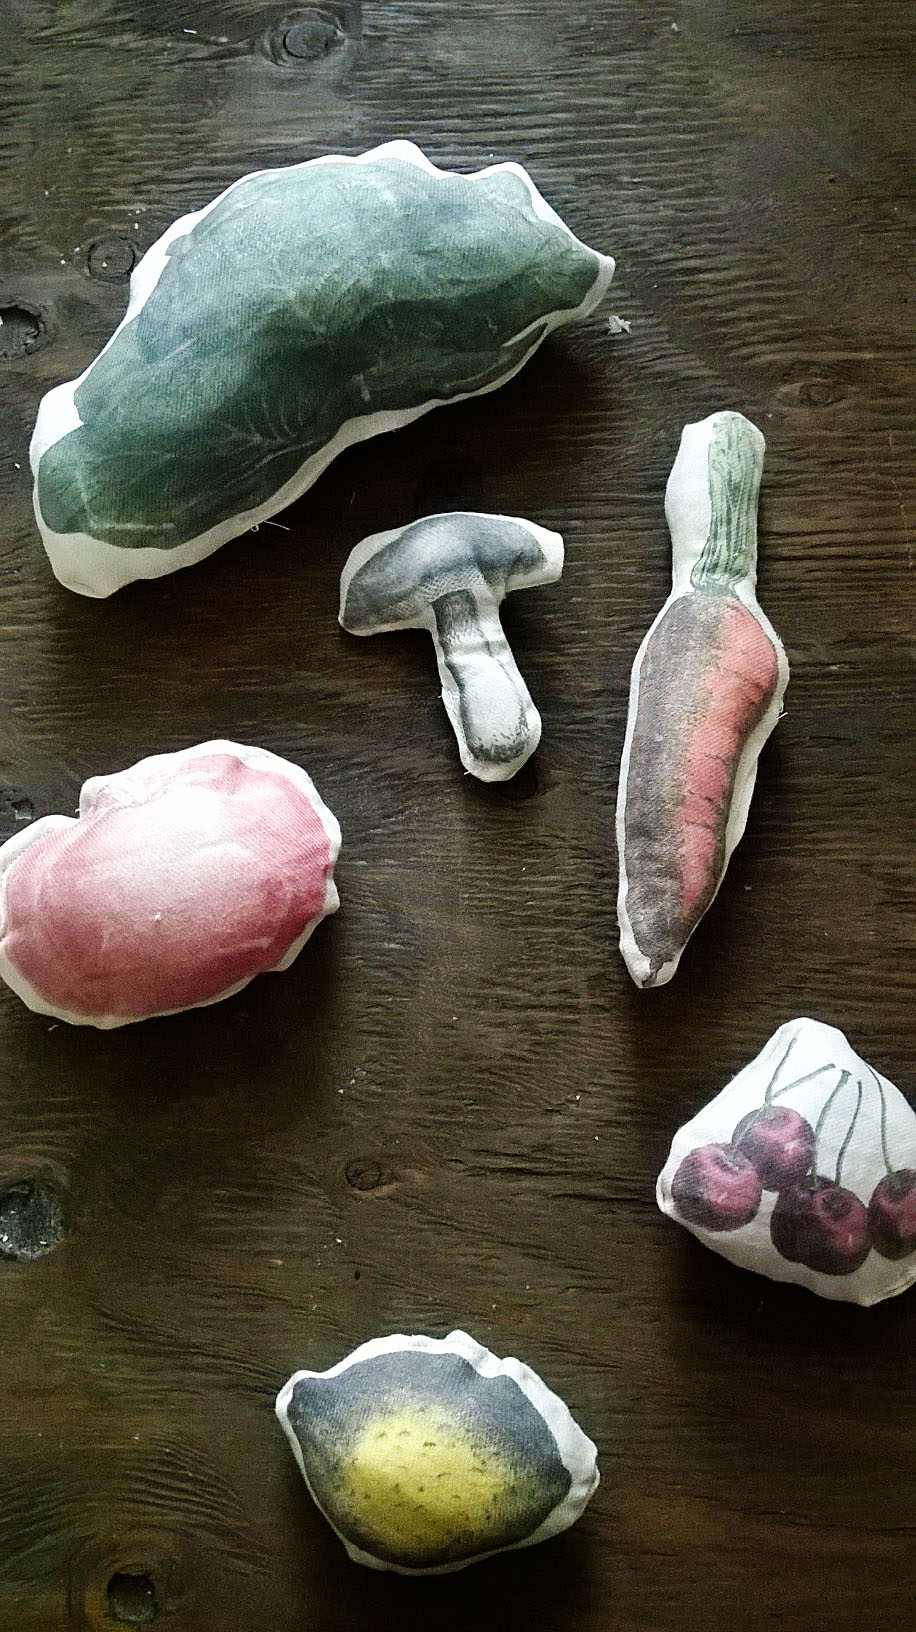
I am so excited to share this tutorial today!  Christmas is right around the corner and I’ve been working on a few homemade presents for my little 19 moth old girl.  We spend a lot of time in the kitchen together and she can play for the entire duration of our dinner prep with my measuring  cups and mixing spoons.  When I stumbled upon a wooden mini kitchen at a second hand store last month I knew it would be the perfect project to refinish and give her for Christmas.

A play kitchen can’t be complete without mini pots, pans, utensils, and of course play food!  I started searching around on the internet earlier this month and completely fell in love with all of the Melissa & Doug brand wooden fruits and veggies, I think they look classy and I’d thought they’d make a good fit with the rustic/vintage look of her kitchen.  However, I wasn’t ready to spend $25 for just a few pieces.  I looked up “diy play food” on Pinterest and found a ton of tutorials for felt food, which inspired this fabric food project.  So here we go…..

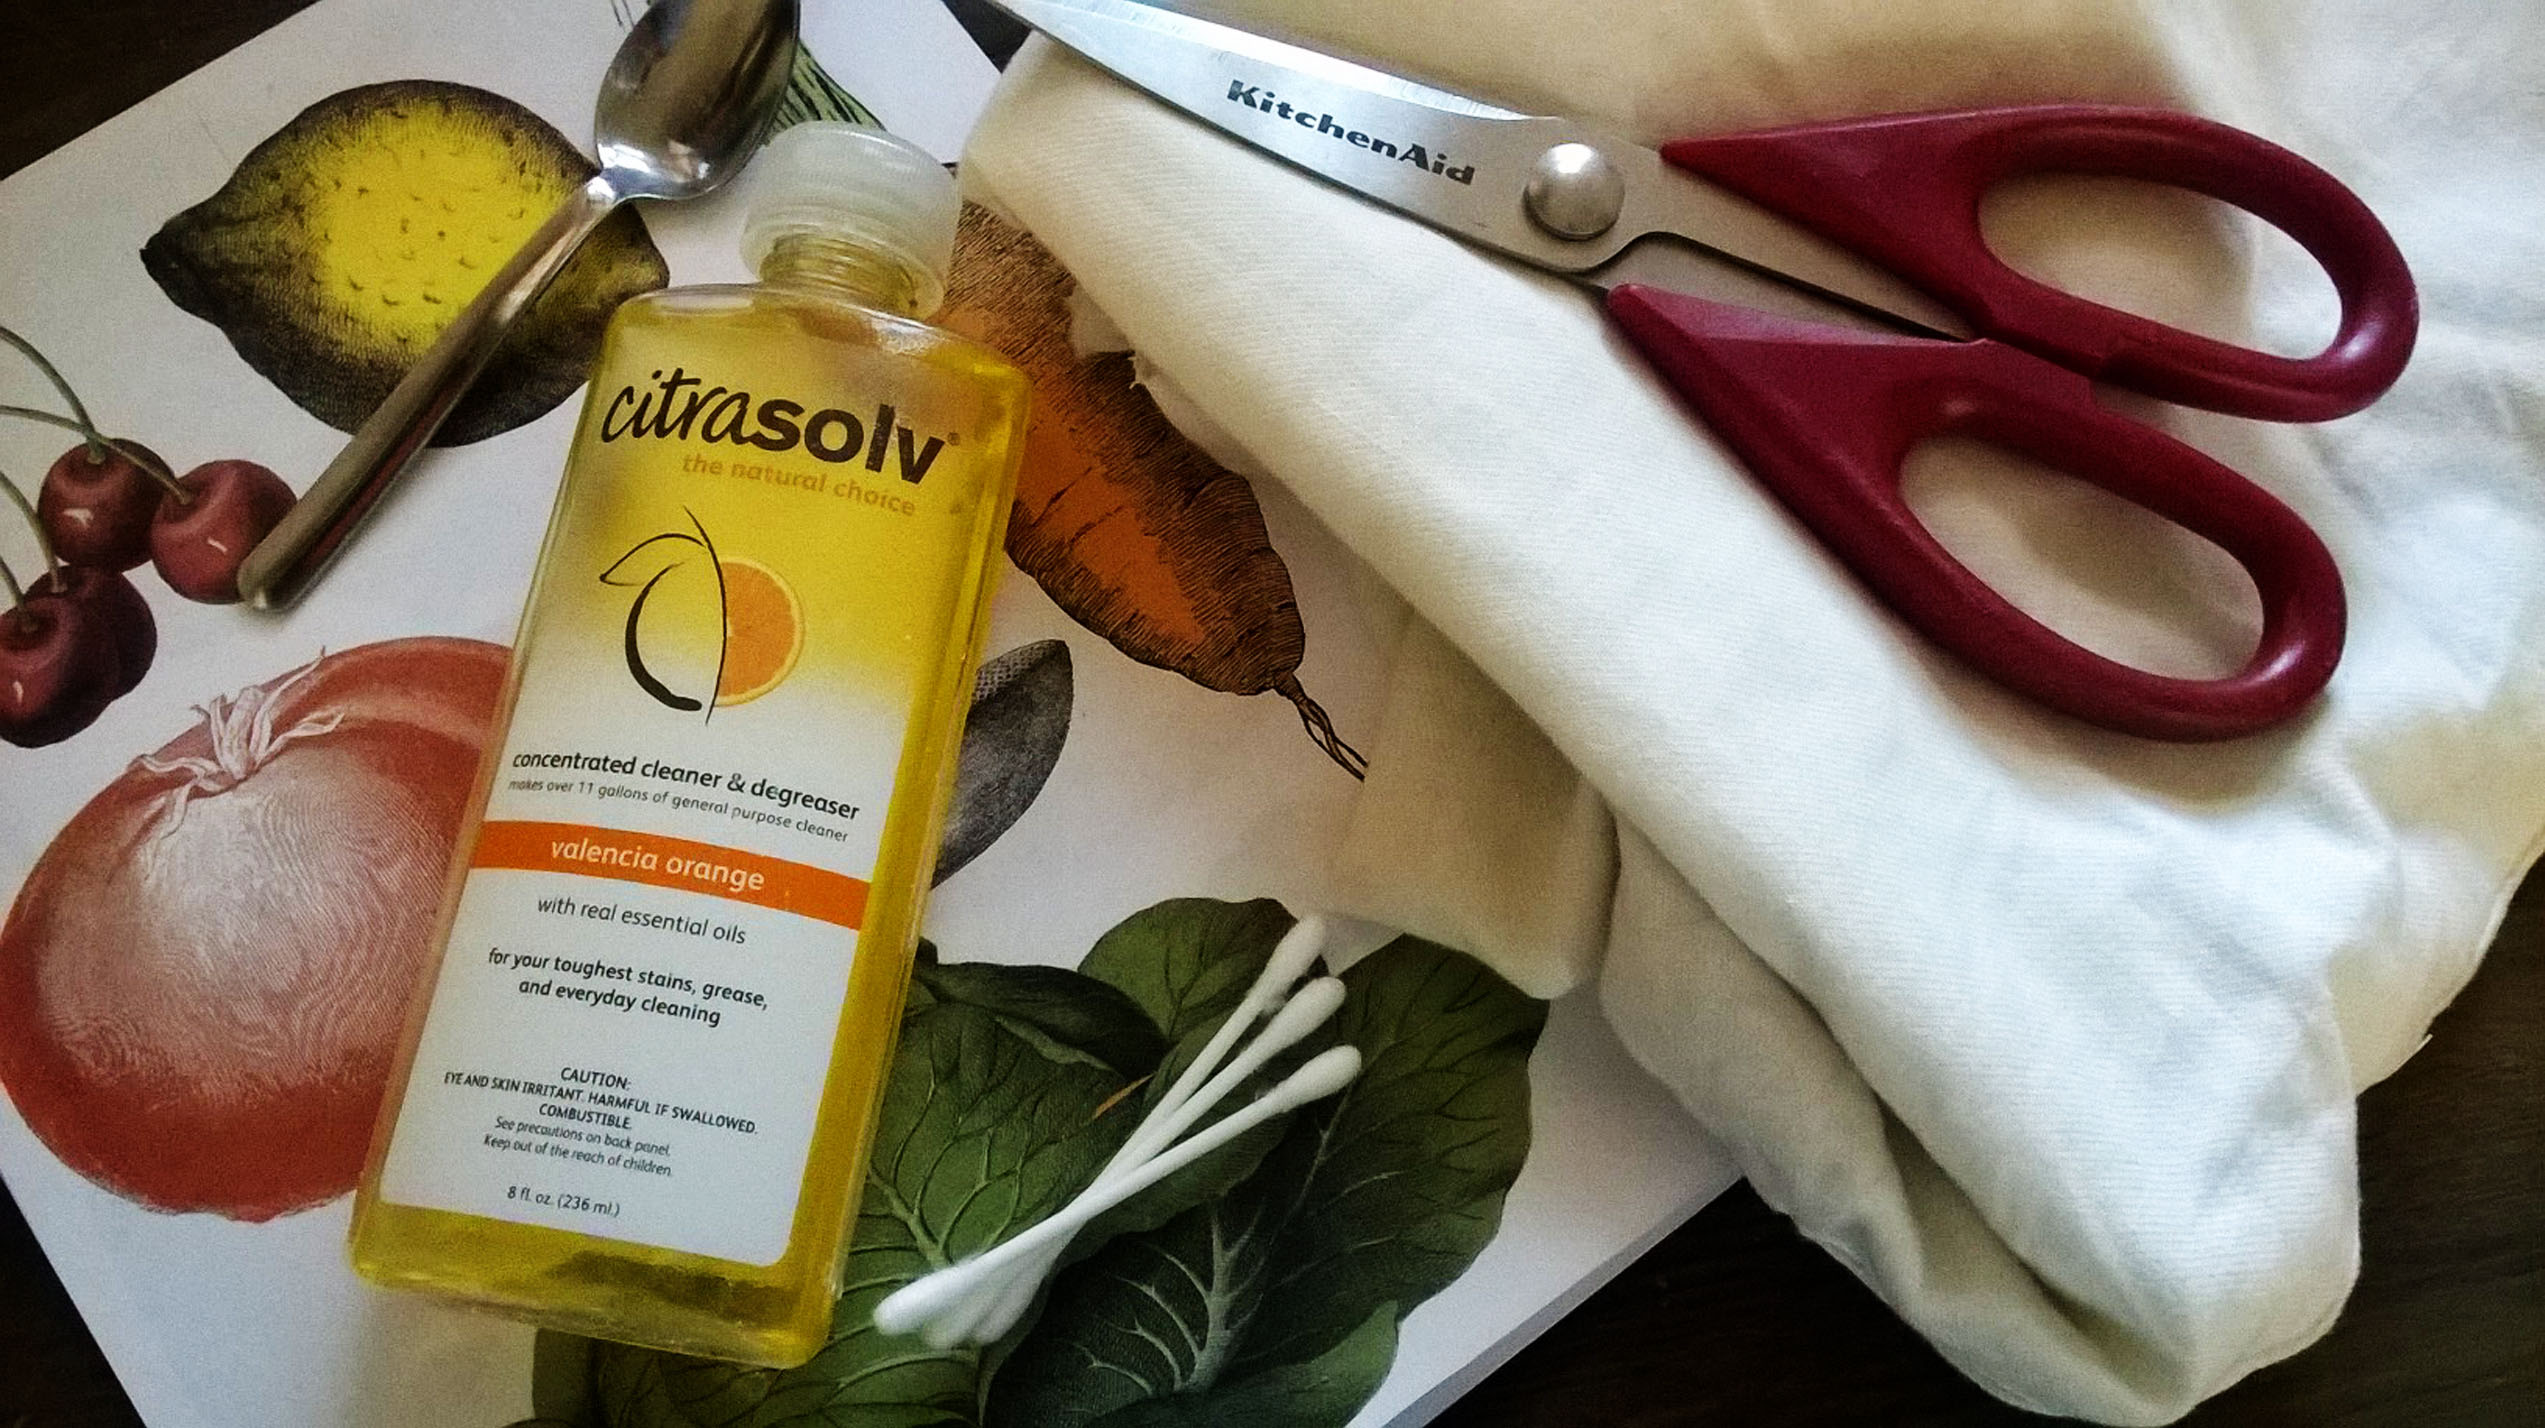
Image Fabric Transfer Supplies


For this project you’ll need:

  • Citrasolv.  This is an all-natural cleaning product that I found at Whole Foods.  I’ve also seen it in the cleaning section of my local grocery store.  If all else fails there’s always ordering online.
  • Vintage Food Image, you can download here. In order to transfer, you’ll need to print with a toner based printer.  Since I have an ink jet at home, I ran to a copy center and printed it there for a couple of cents.  If you want your food to be double sided, print two copies. Images courtesy of the Graphics Fairy
  • Scissors
  • Cotton balls or Q-tips
  • Spoon
  • White or cream colored fabric for transfers
  • Cotton
  • Needle and thread/sewing machine

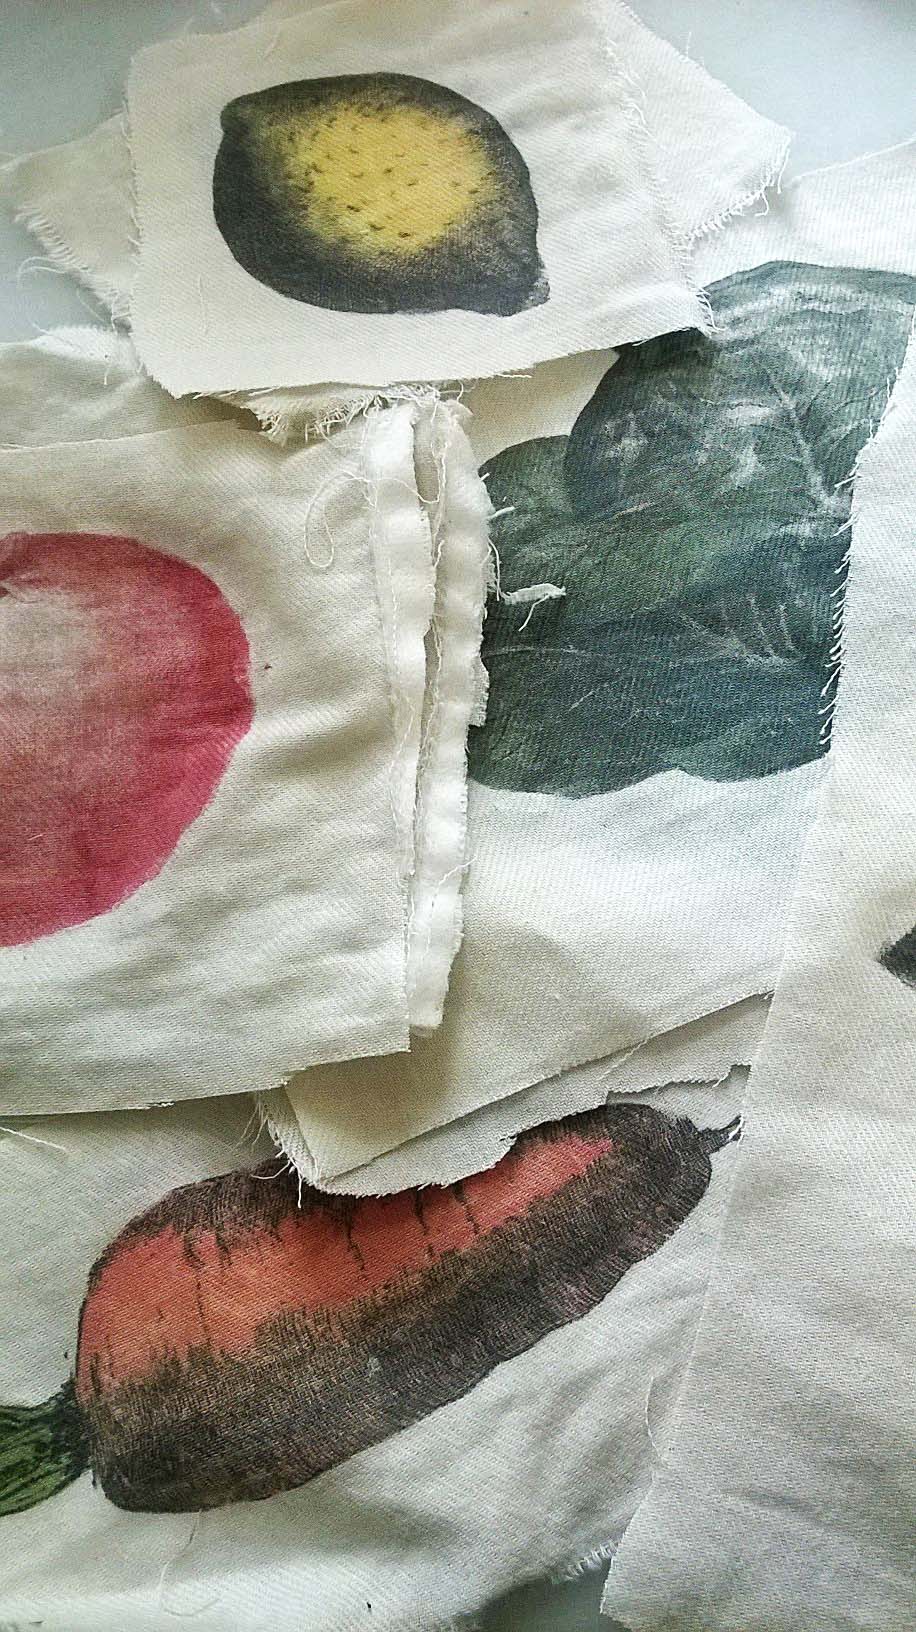
Image Transfer Process Transfer steps

  1. Cut around each veggie/fruit and place it ink side down on the fabric
  2. Apply Citrasolv to a Q-tip or cotton ball and rub the back of the image, the picture should be easily visible once the Citrasolv is applied
  3. Grab a spoon, and using the flat side, rub the image
  4. The paper may begin to rub away and that’s OK.  The ink is transferring to the fabric below.
  5. Rub the entire image. Don’t be tempted to remove the paper to check you progress, lining the picture back up exactly where you left off can be tricky.
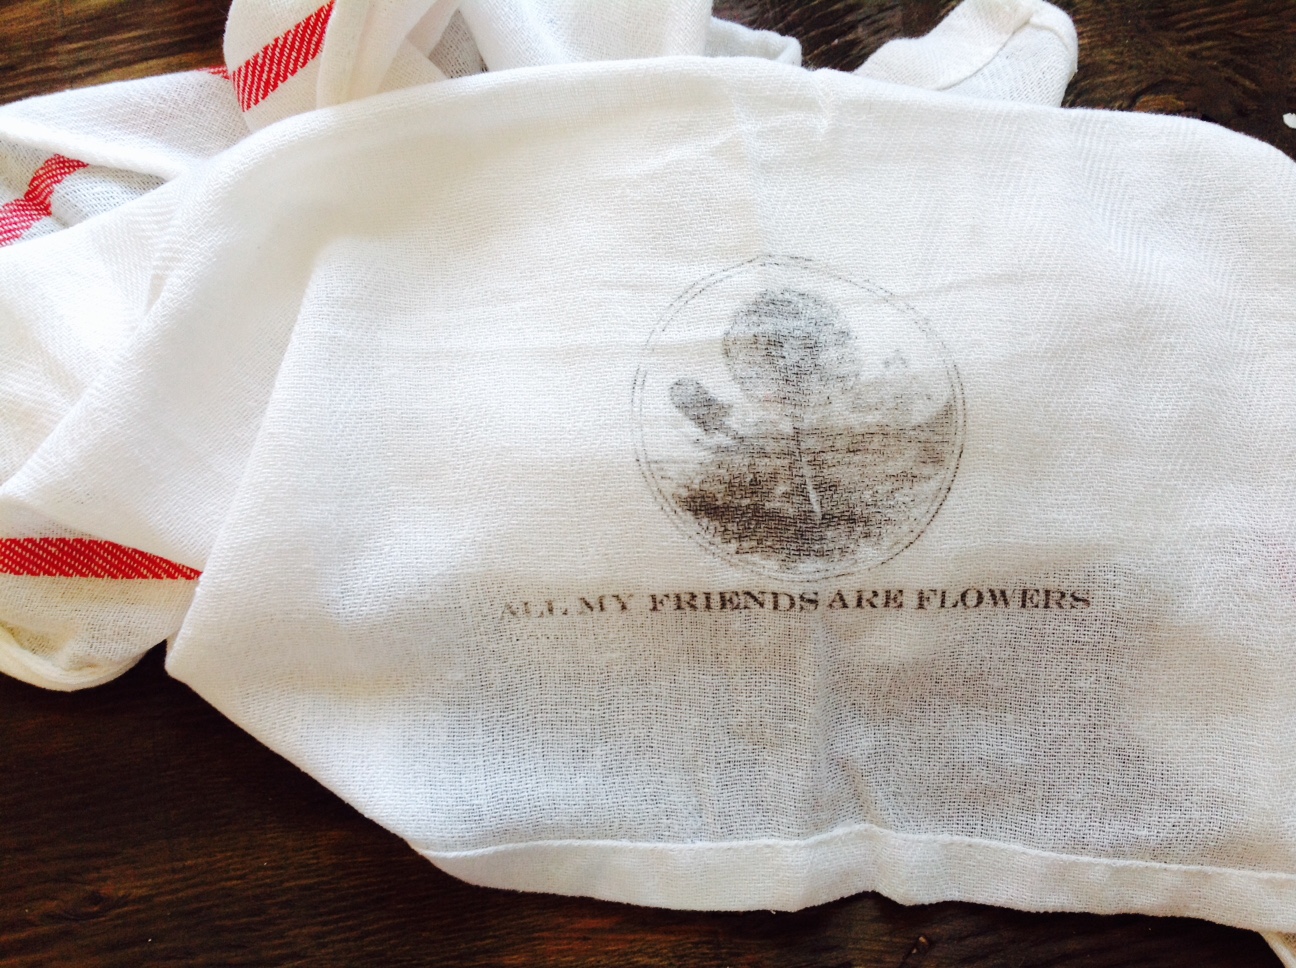
  6. Remove the paper and marvel and the beautiful image transfer you just completed!

Repeat this transfer method for each of the pieces.  If your’e doing a double sided veggies you’ll need two of each. And if you’re going to do all of them at once you’ll definitely need a helper.  The rubbing part of the transfer cramps up your wrist.

Food Transfer Complete


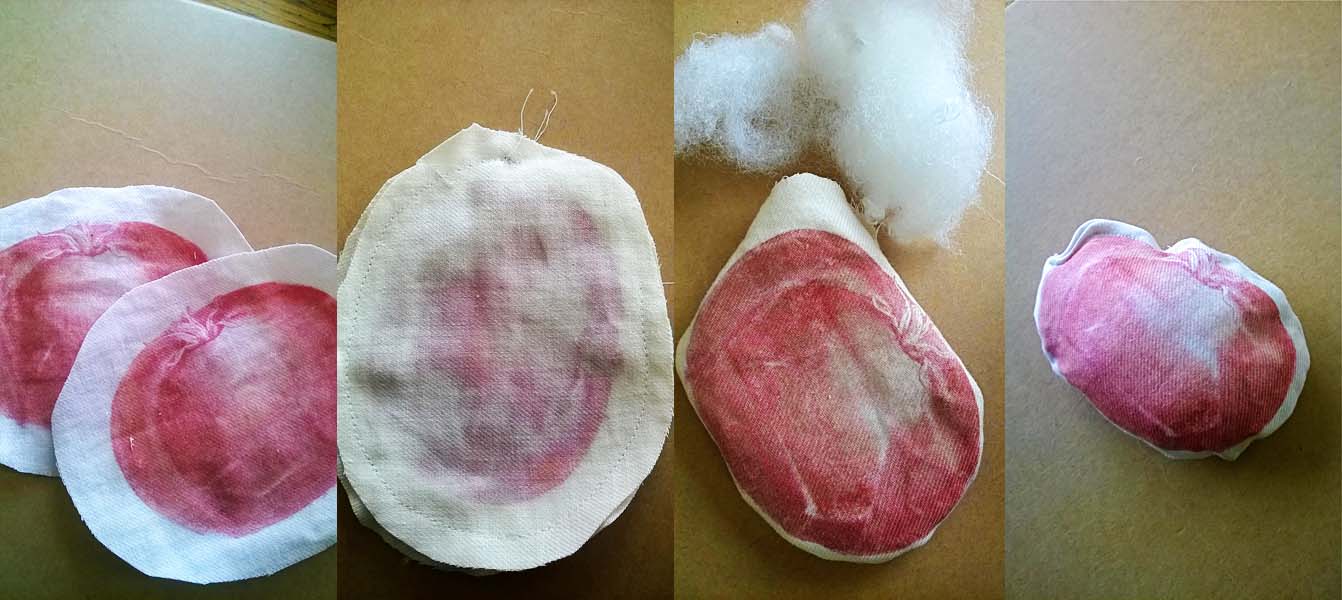
Next, trim around the edge of each set, making sure that there’s an inch or so between the edge of the veggie and the edge of the fabric. Next, place the inked sides together, matching up the edges of the fruit as close as possible.  Sew around the fabric, about 1/4″ from the colored veggie edge, leaving a 1″ opening.  Pull the fabric right side out through the 1″ opening and fill with fluffy cotton to your desired plush-ness.  And finally, tuck the edges of the opening into the center and sew along the opening.   Fabric Food Sewing Steps

TA-DA!!! All finished.  Now all that’s left is to wrap them and stick them under the tree.  I’m thinking I’ll add some fabric bread, muffins, and eggs to her fabric food set. Hope you enjoy the tutorial

Fabric Food Final


Filed Under: Graphics + Downloads, Here's How, Life + Baby, Sewing, Slider Tagged With: DIY Play Food, Image Transfer to Fabric, Sewing Food

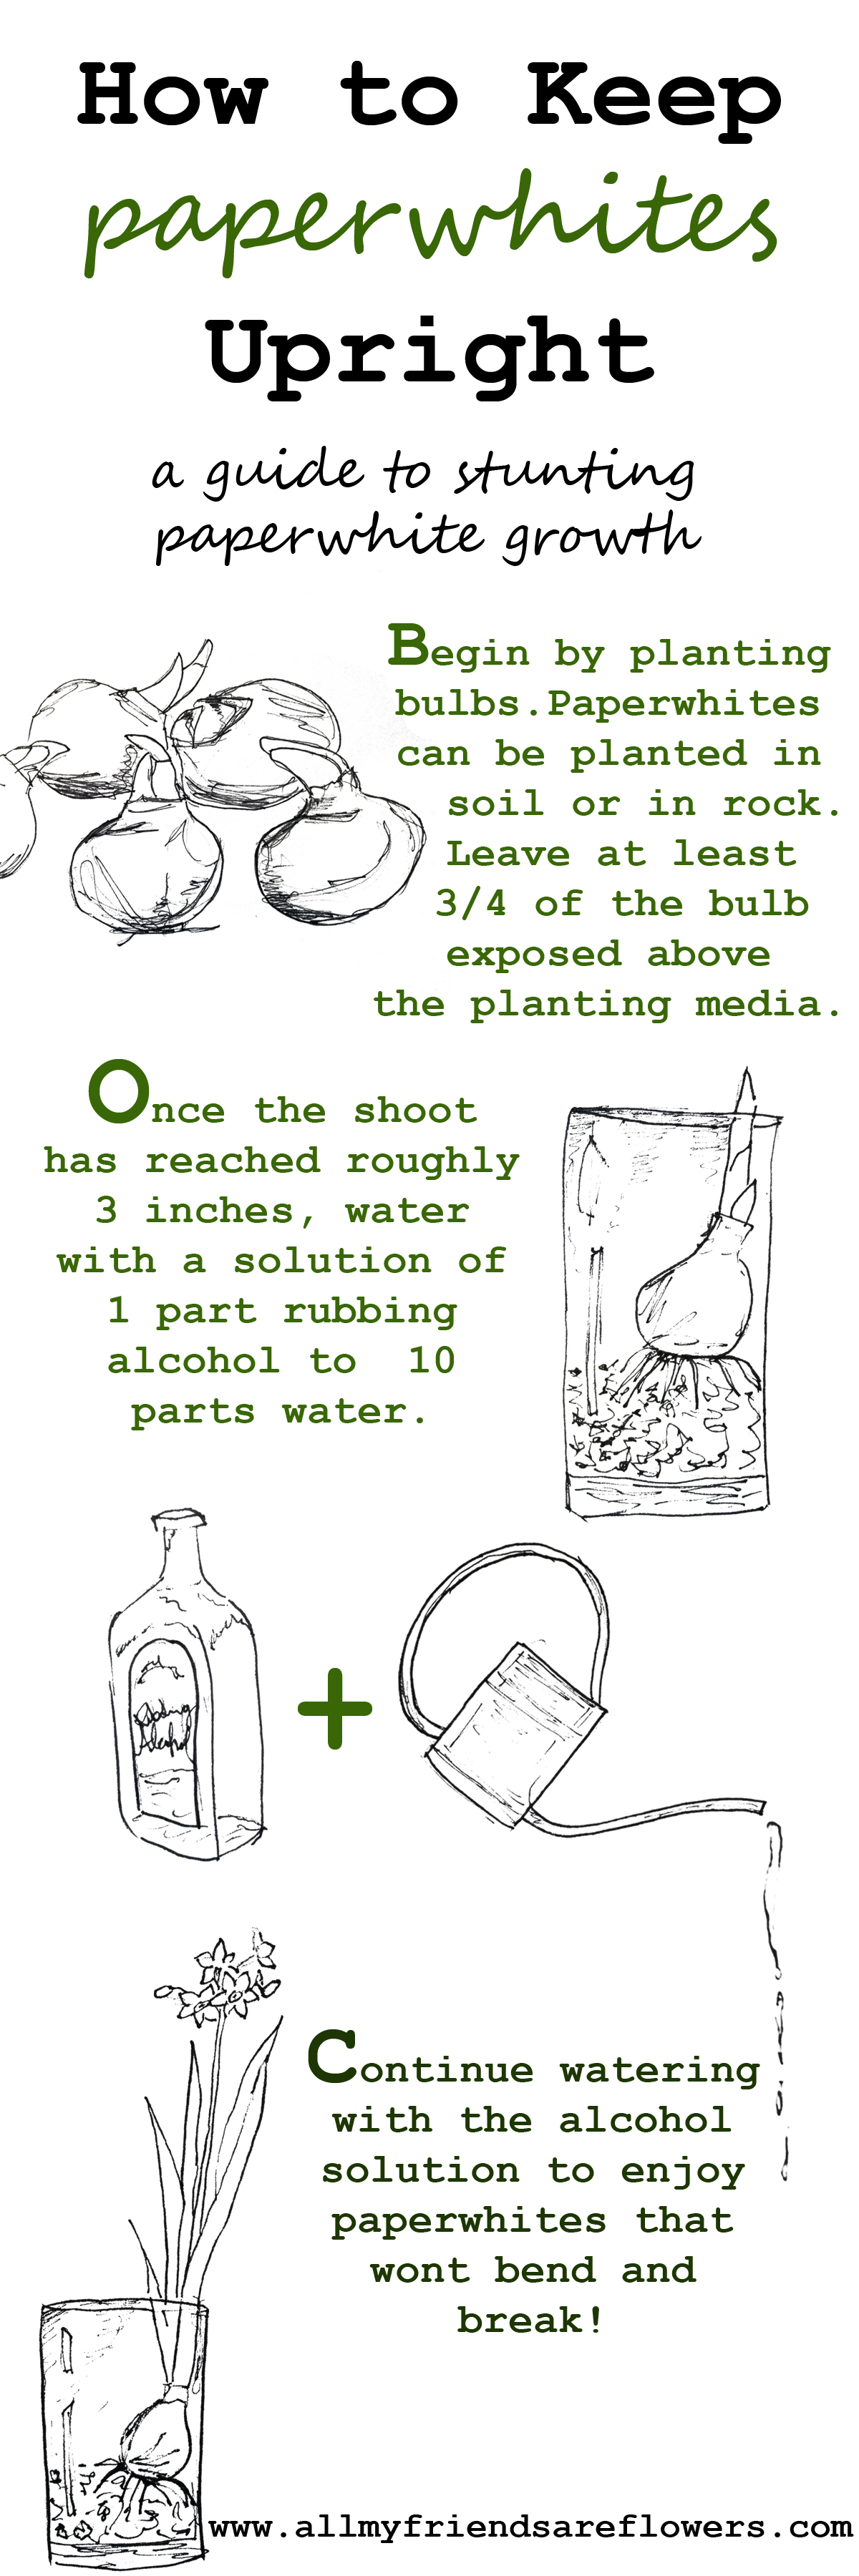
How to Keep Paperwhites from Falling Over- Stunting Paperwhite Growth

November 17, 2015 by Lacey 1 Comment

how to stunt paperwhite

Filed Under: Bulbs, Here's How, Houseplants Tagged With: growing paperwhites, paperwhites, stunting paperwhite growth

Share the Harvest: Easy Ways to Share your Garden Produce

August 18, 2015 by Lacey Leave a Comment

WP_20150728_003

Having a fresh, off the vine veggies just out the back door is a dream come true.  But it can be overwhelming.  Even a small garden plot can produce faster than we can gobble it all down.  Instead of tossing rotting tomatoes, or throwing out shriveling peppers, find a way to share!

It’s been wonderful to have a garden this year!  We had such high hopes for our garden of 2014, all of which came to a halt when our baby came three weeks early, literally the day after I brought my veggie starts home. They baked and dried up out there on my back patio while I was in labor and delivery.  By the time we started to settle in a little as a new family the garden had been long forgotten, and it was too late to start tomatoes anyway.

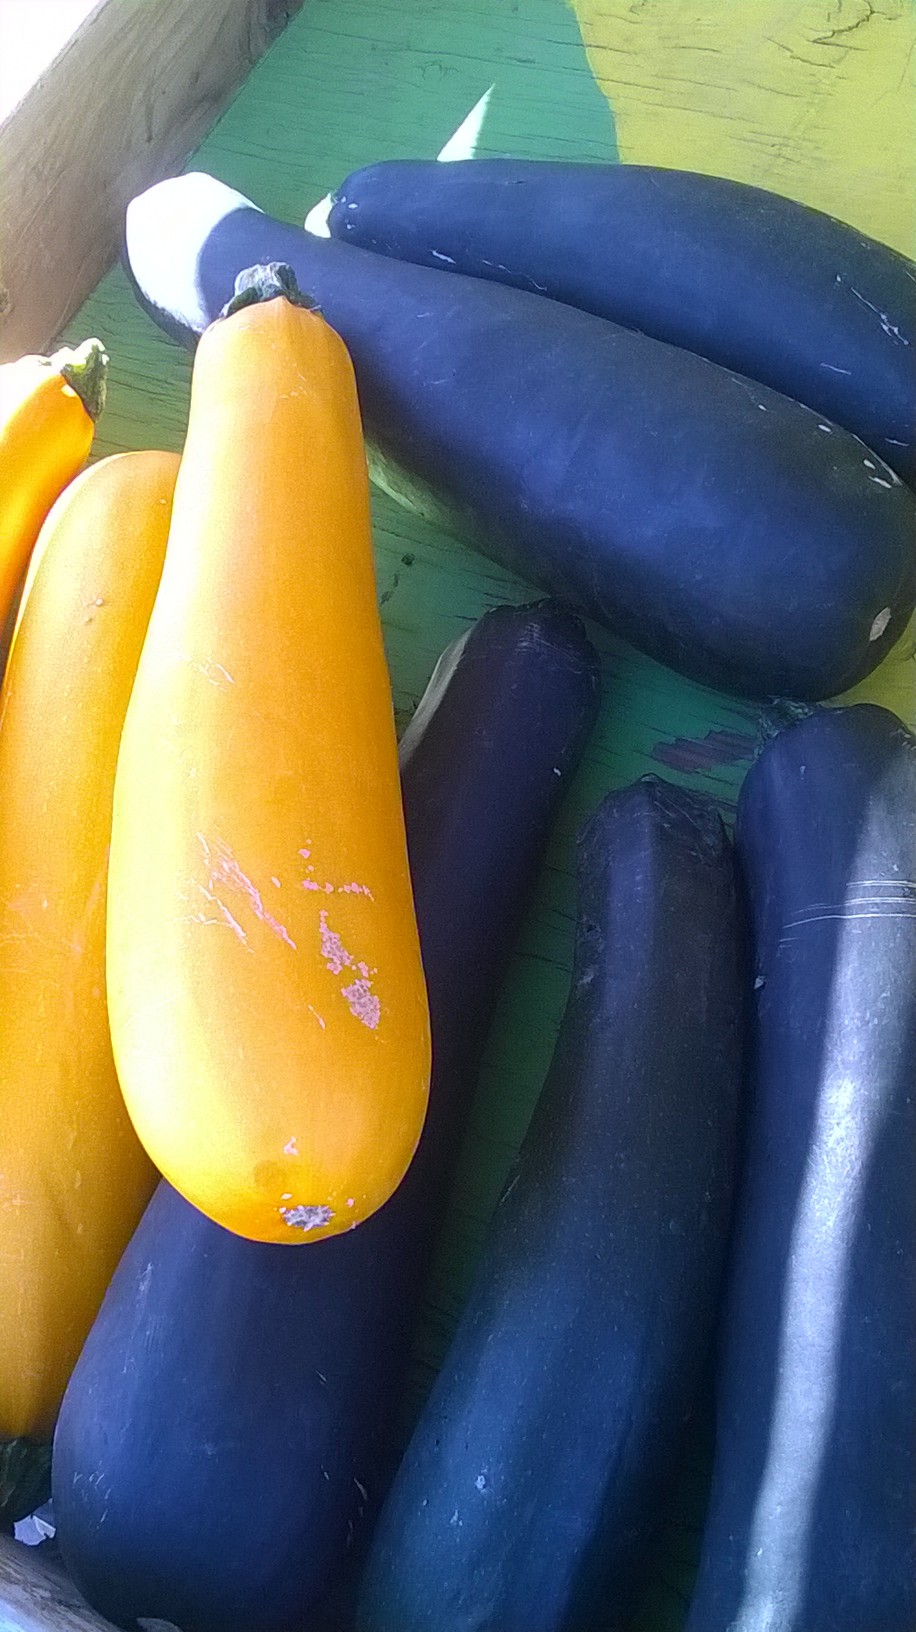
2015 has been a completely different story.  Over the past few weeks I’ve sampled raspberries from by newly planted bushes, plucked Anaheim peppers, and drooled over my very first vine ripened tomato of the season.  But most of all there has been the zucchini.  At first it was amazing, I’d check my plants every day and pick the squash at its perfection.  We grilled, diced, marinaded, baked, sauteed, and cooked in every delicious way imaginable.  And then came the end of July.  Suddenly our 5  plants started doubling production.  Last week we had a few very exciting, garden neglecting days while my husband was interviewing for an amazing new job.  After all the excitement was over, and the new job finalized {wahoo!} I finally wandered out to the garden where I was accosted by nearly a dozen club-sized zucchini. That’s both an overwhelming quantity and size.  Thankfully I knew how to handle the situation.

WP_20150728_008

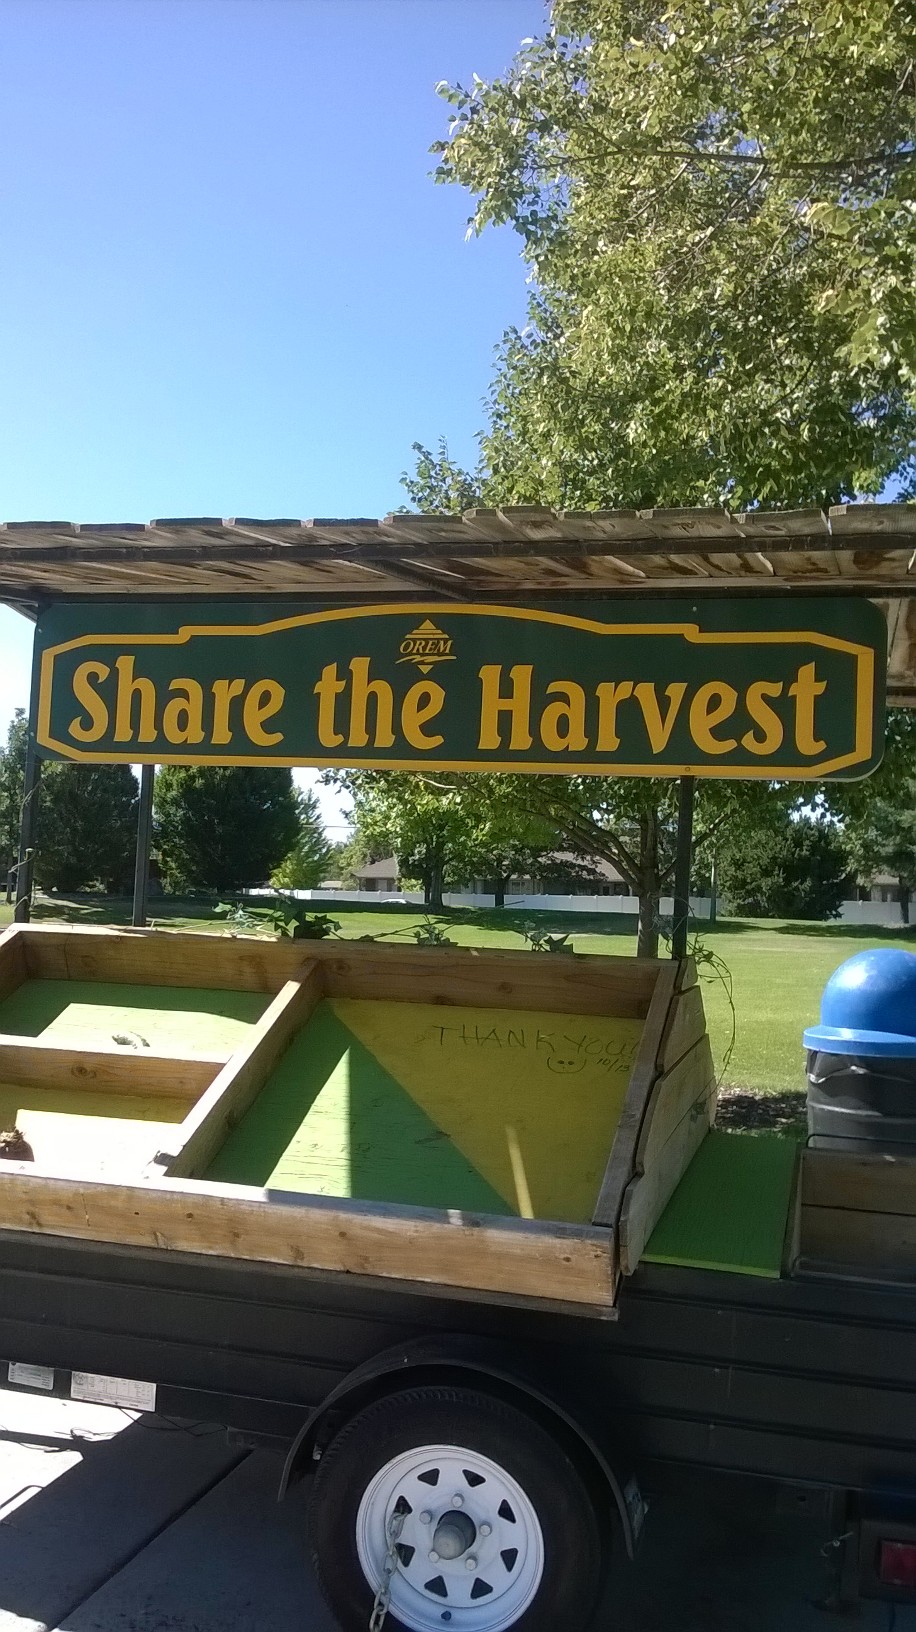
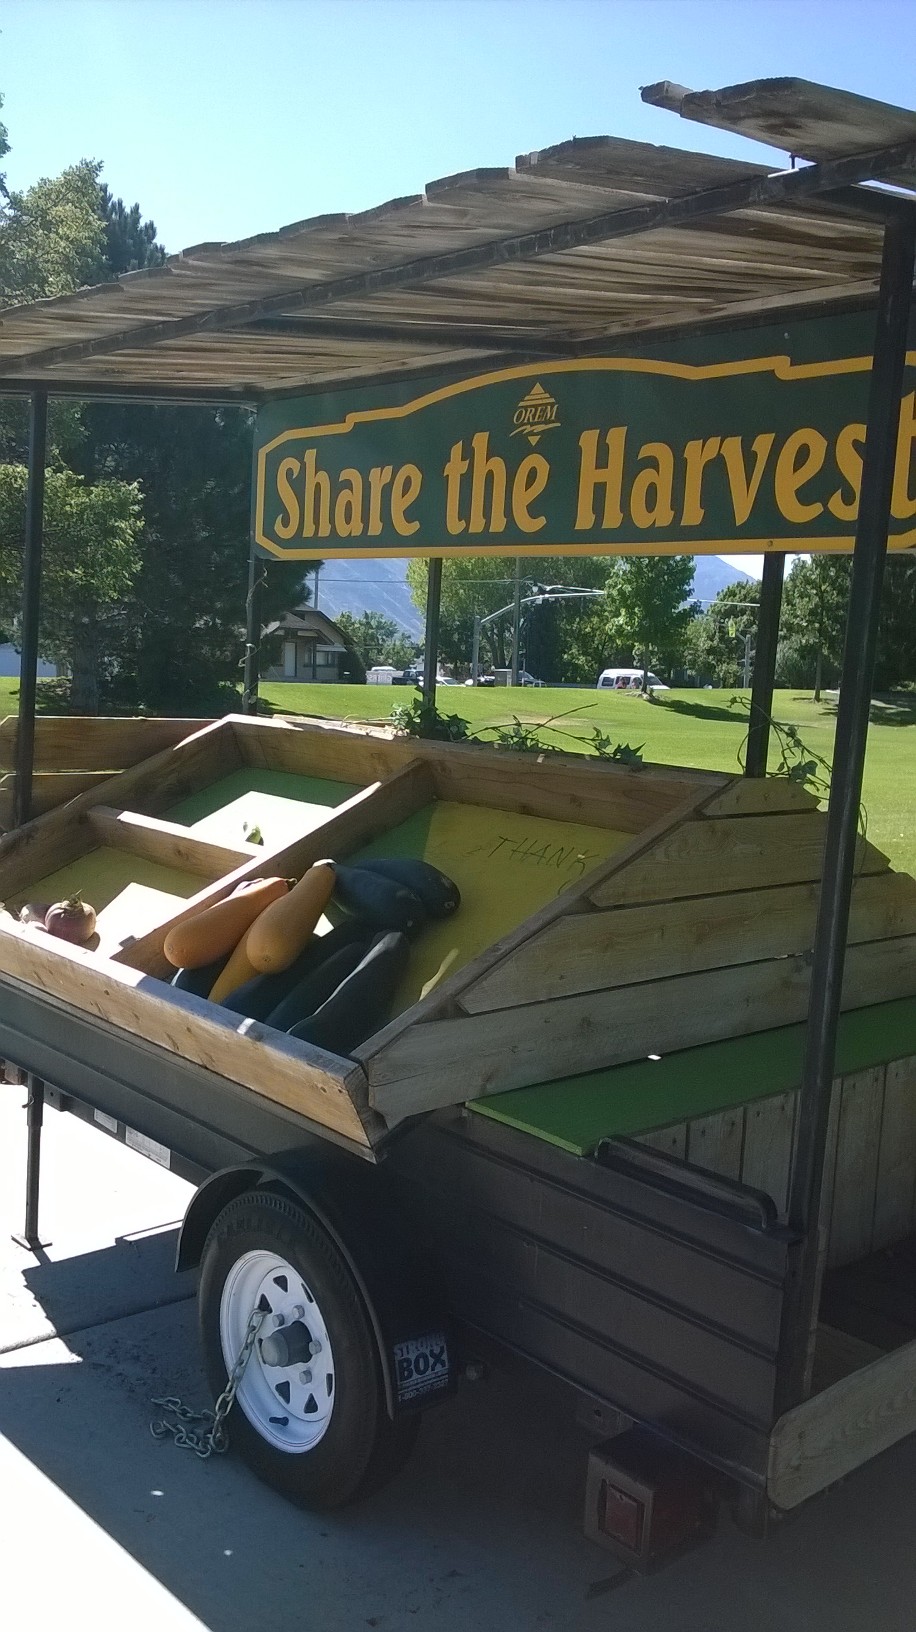
At the park across from the street we’ve got a “Share the Harvest Cart” where anyone can drop of extra produce and you’re welcome to take as you please.  It was here that we deposited all of our very large zucchini.  I wasn’t quite sure if anyone wanted them since they were so big.  I definitely prefer mine smaller than a rolling pin, but I was hoping there would be some avid zucchini bread makers out there who would enjoy.  We weren’t disappointed, when taking the baby for  a pre-bedtime stroll later that same evening we walked past the cart and to our delight all the zucchini were gone. WP_20150728_011 (1)

5 Easy Ways to Share your Garden Produce

  1. Social Media.  Post a picture of a basket of extra veggies of facebook, twitter or instagram.  Comments and requests for your delicious tomatoes or juicy peaches will continue to come long after they’ve been claimed and eaten. #firstcomefirstserve
  2. Homemade veggie stand.  These can be as adorable as the cart in our park or as simple as a table with a “free veggies” sign.  Extra produce put out on your front yard can be easily found and appreciated.  Who knows, you might inspire your neighbors and create a mini free farmers market on your street.
  3. Community share stations. If you are wondering if your community sponsors a share the harvest program like mine check with your local parks and recreation department.  If they don’t have one, consider spearheading the implementation of a community produce sharing program.

Have any other ideas for how to share your bountiful harvest? Comment below!

Filed Under: Here's How, Veggies

in my garden- Getting Rid of Grape Hyacinth Bulbs

February 17, 2015 by Lacey 5 Comments

Getting Rid of Grape Hyacinth Weeds One of the surest signs of spring is the emergence of bulbs.  From tulips to daffodils and hyacinths, once I see those spear-shaped leaves poking through my soil I breathe a sigh of relief knowing winter is on it’s way out.  Usually.

… 

Read More »

Filed Under: Bulbs, Here's How, Projects Tagged With: hyacinth bulbs, invasive bulbs

How to Transfer Images to Fabric or Wood with CitraSolv

January 17, 2015 by Lacey 4 Comments

FullSizeRender (3)

I’ve been researching different ways to transfer images to surfaces like fabric and wood.  There’s a bunch of different methods using freezer paper, wax paper, or even printing straight on the fabric.  In my research however, I didn’t come across any method as easy and permanent as this one using an all natural cleaning product called CitraSolv.

So here it goes, to transfer an image to fabric or wood using this method you’ll need:

  • a piece of fabric or wood (the tighter the weave on the fabric the better)
  • paintbrush
  • 4-5 pins if you’re attaching your image to fabric, tape if you’re transferring to wood
  • spoon
  • CitraSolv- since it’s an all natural cleaner you should be able to find it at any Whole Foods market.  I picked mine up for $5.99
  • image for transfer
    • it has to be a toner based image, ink jet won’t work
    • your picture needs to be a mirror image (backwards) there’s a 23 second video on how to flip an image in Word here

… 

Read More »

Filed Under: Graphics + Downloads, Here's How

Printable Kitchen Canister Labels + packing tape image transfer

January 3, 2015 by Lacey Leave a Comment

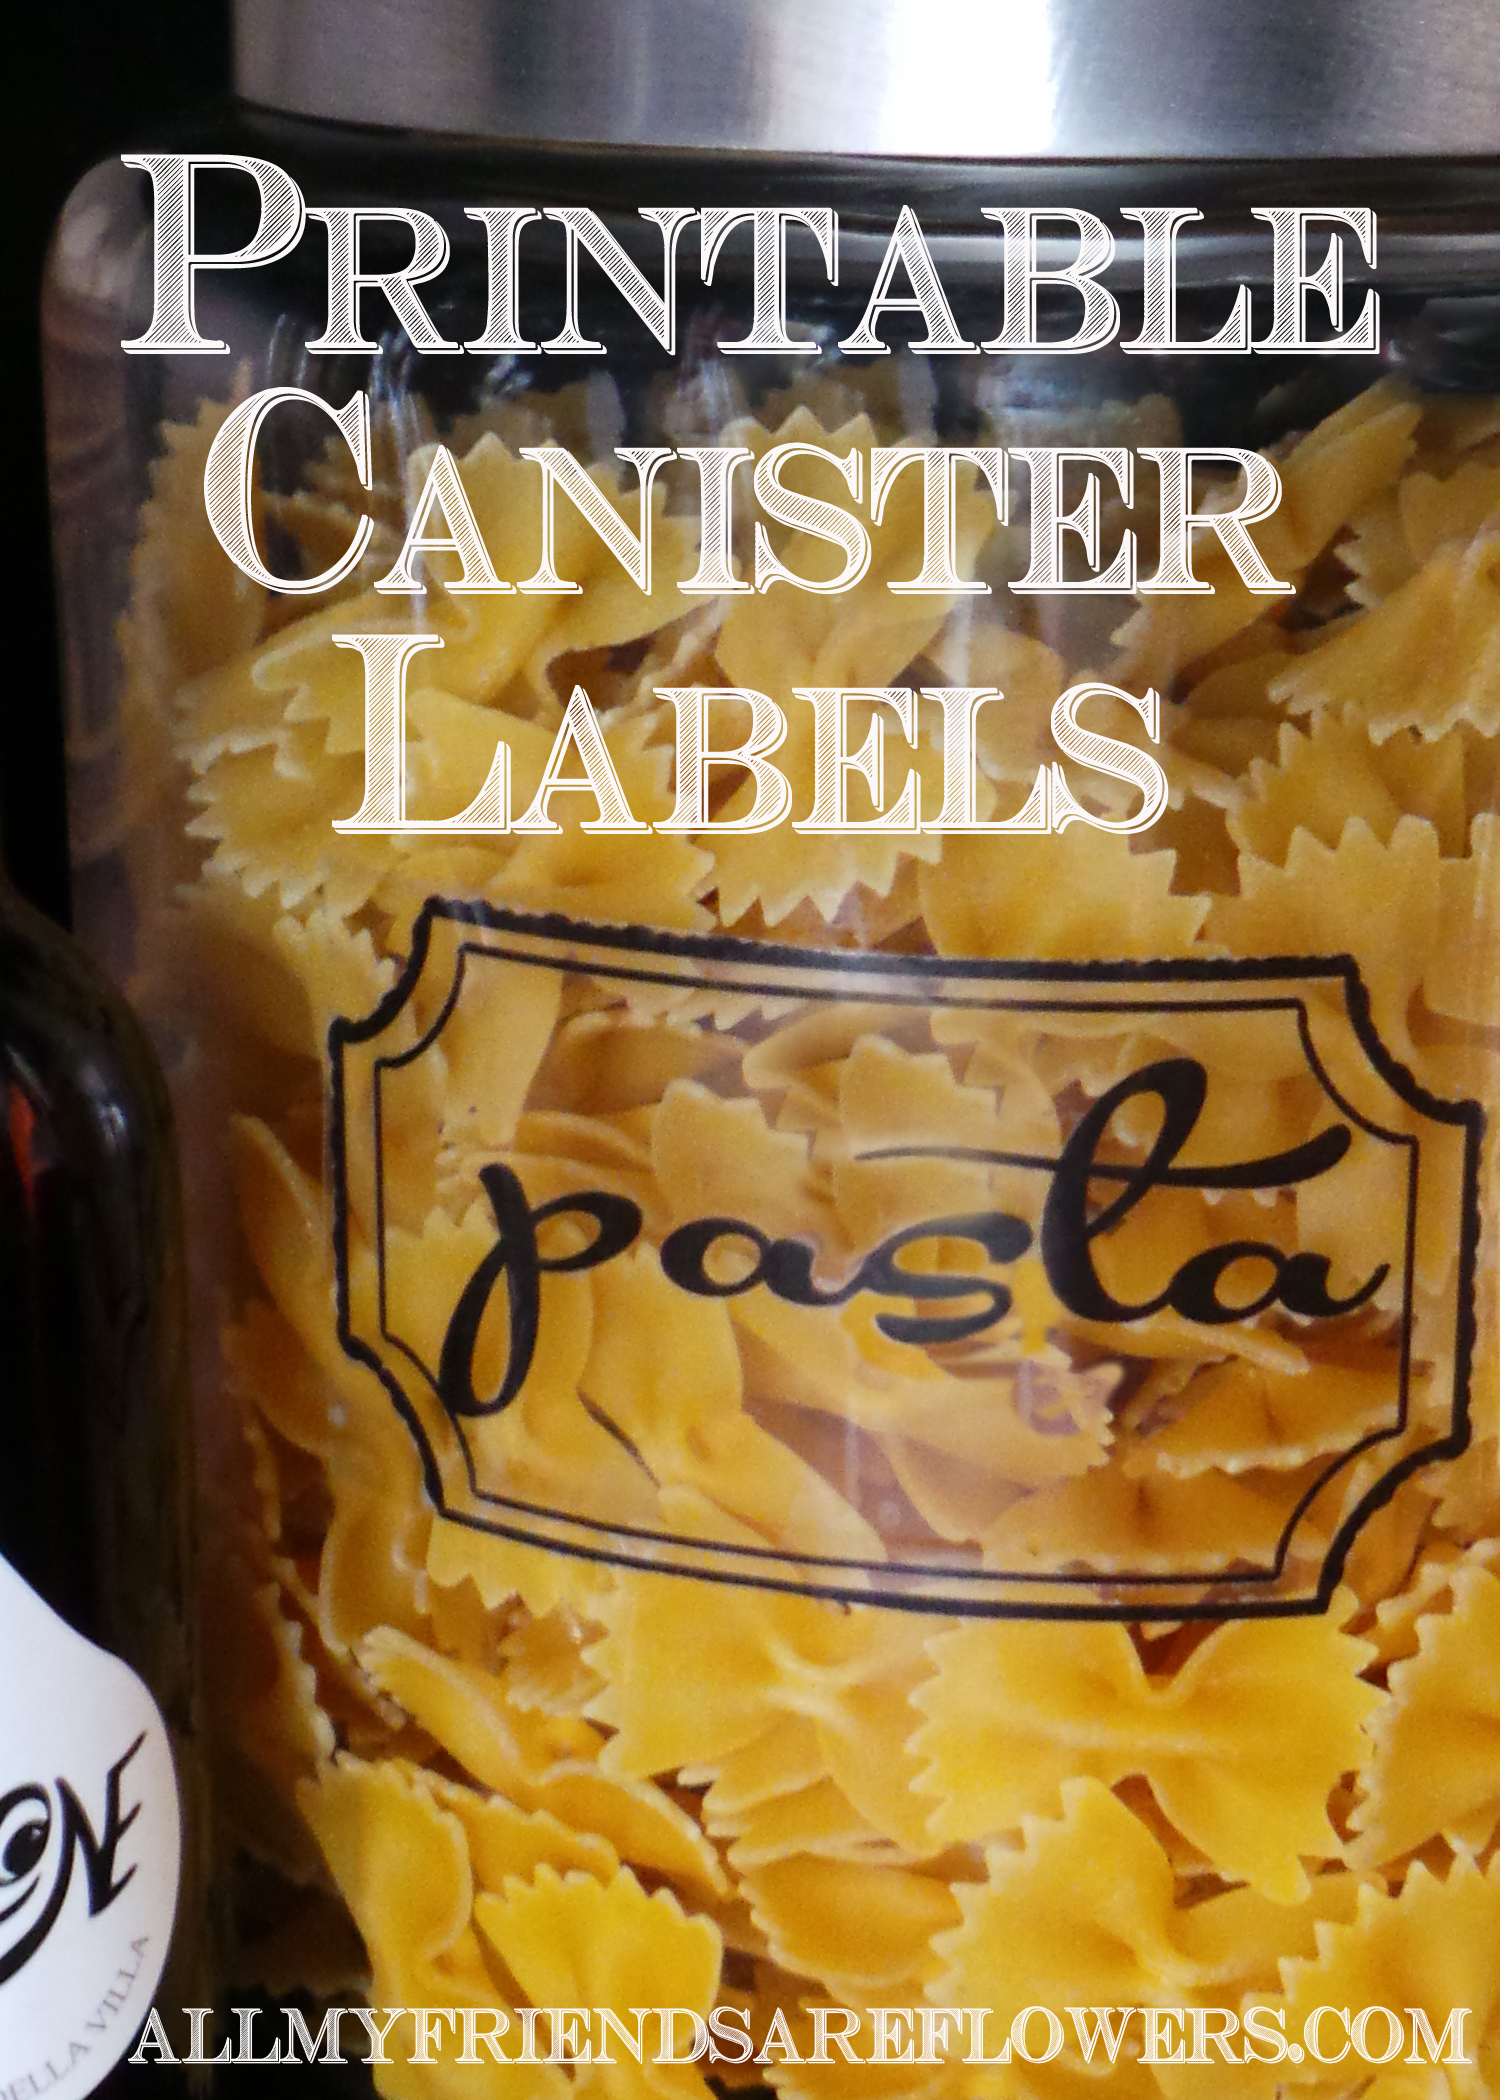
allmyfriendsareflowers canister labels

January, a new beginning.  I always feel that the beginning of the year is a new gardening milestone for me.  Something about the start of a new year makes me feel like it’s time to start planning out beds evaluating new varieties of veggies to try in my garden.  I have to remind myself to hit the breaks a bit, after all, the last frost in Utah county is still months away.

In order to slow down my garden hungry spirit, I try to turn my attention to the indoors.  I figure if I can get the interior of my home organized and running smooth during these winter months, that once spring starts to hit I can grab my trowel, head out my back door, and never look back.  Except for some laundry and light vacuuming I guess, but that’s good enough for me!

… 

Read More »

Filed Under: Graphics + Downloads, Here's How, Life + Baby

How to Make a Mason Jar Terrarium

November 24, 2014 by Lacey Leave a Comment

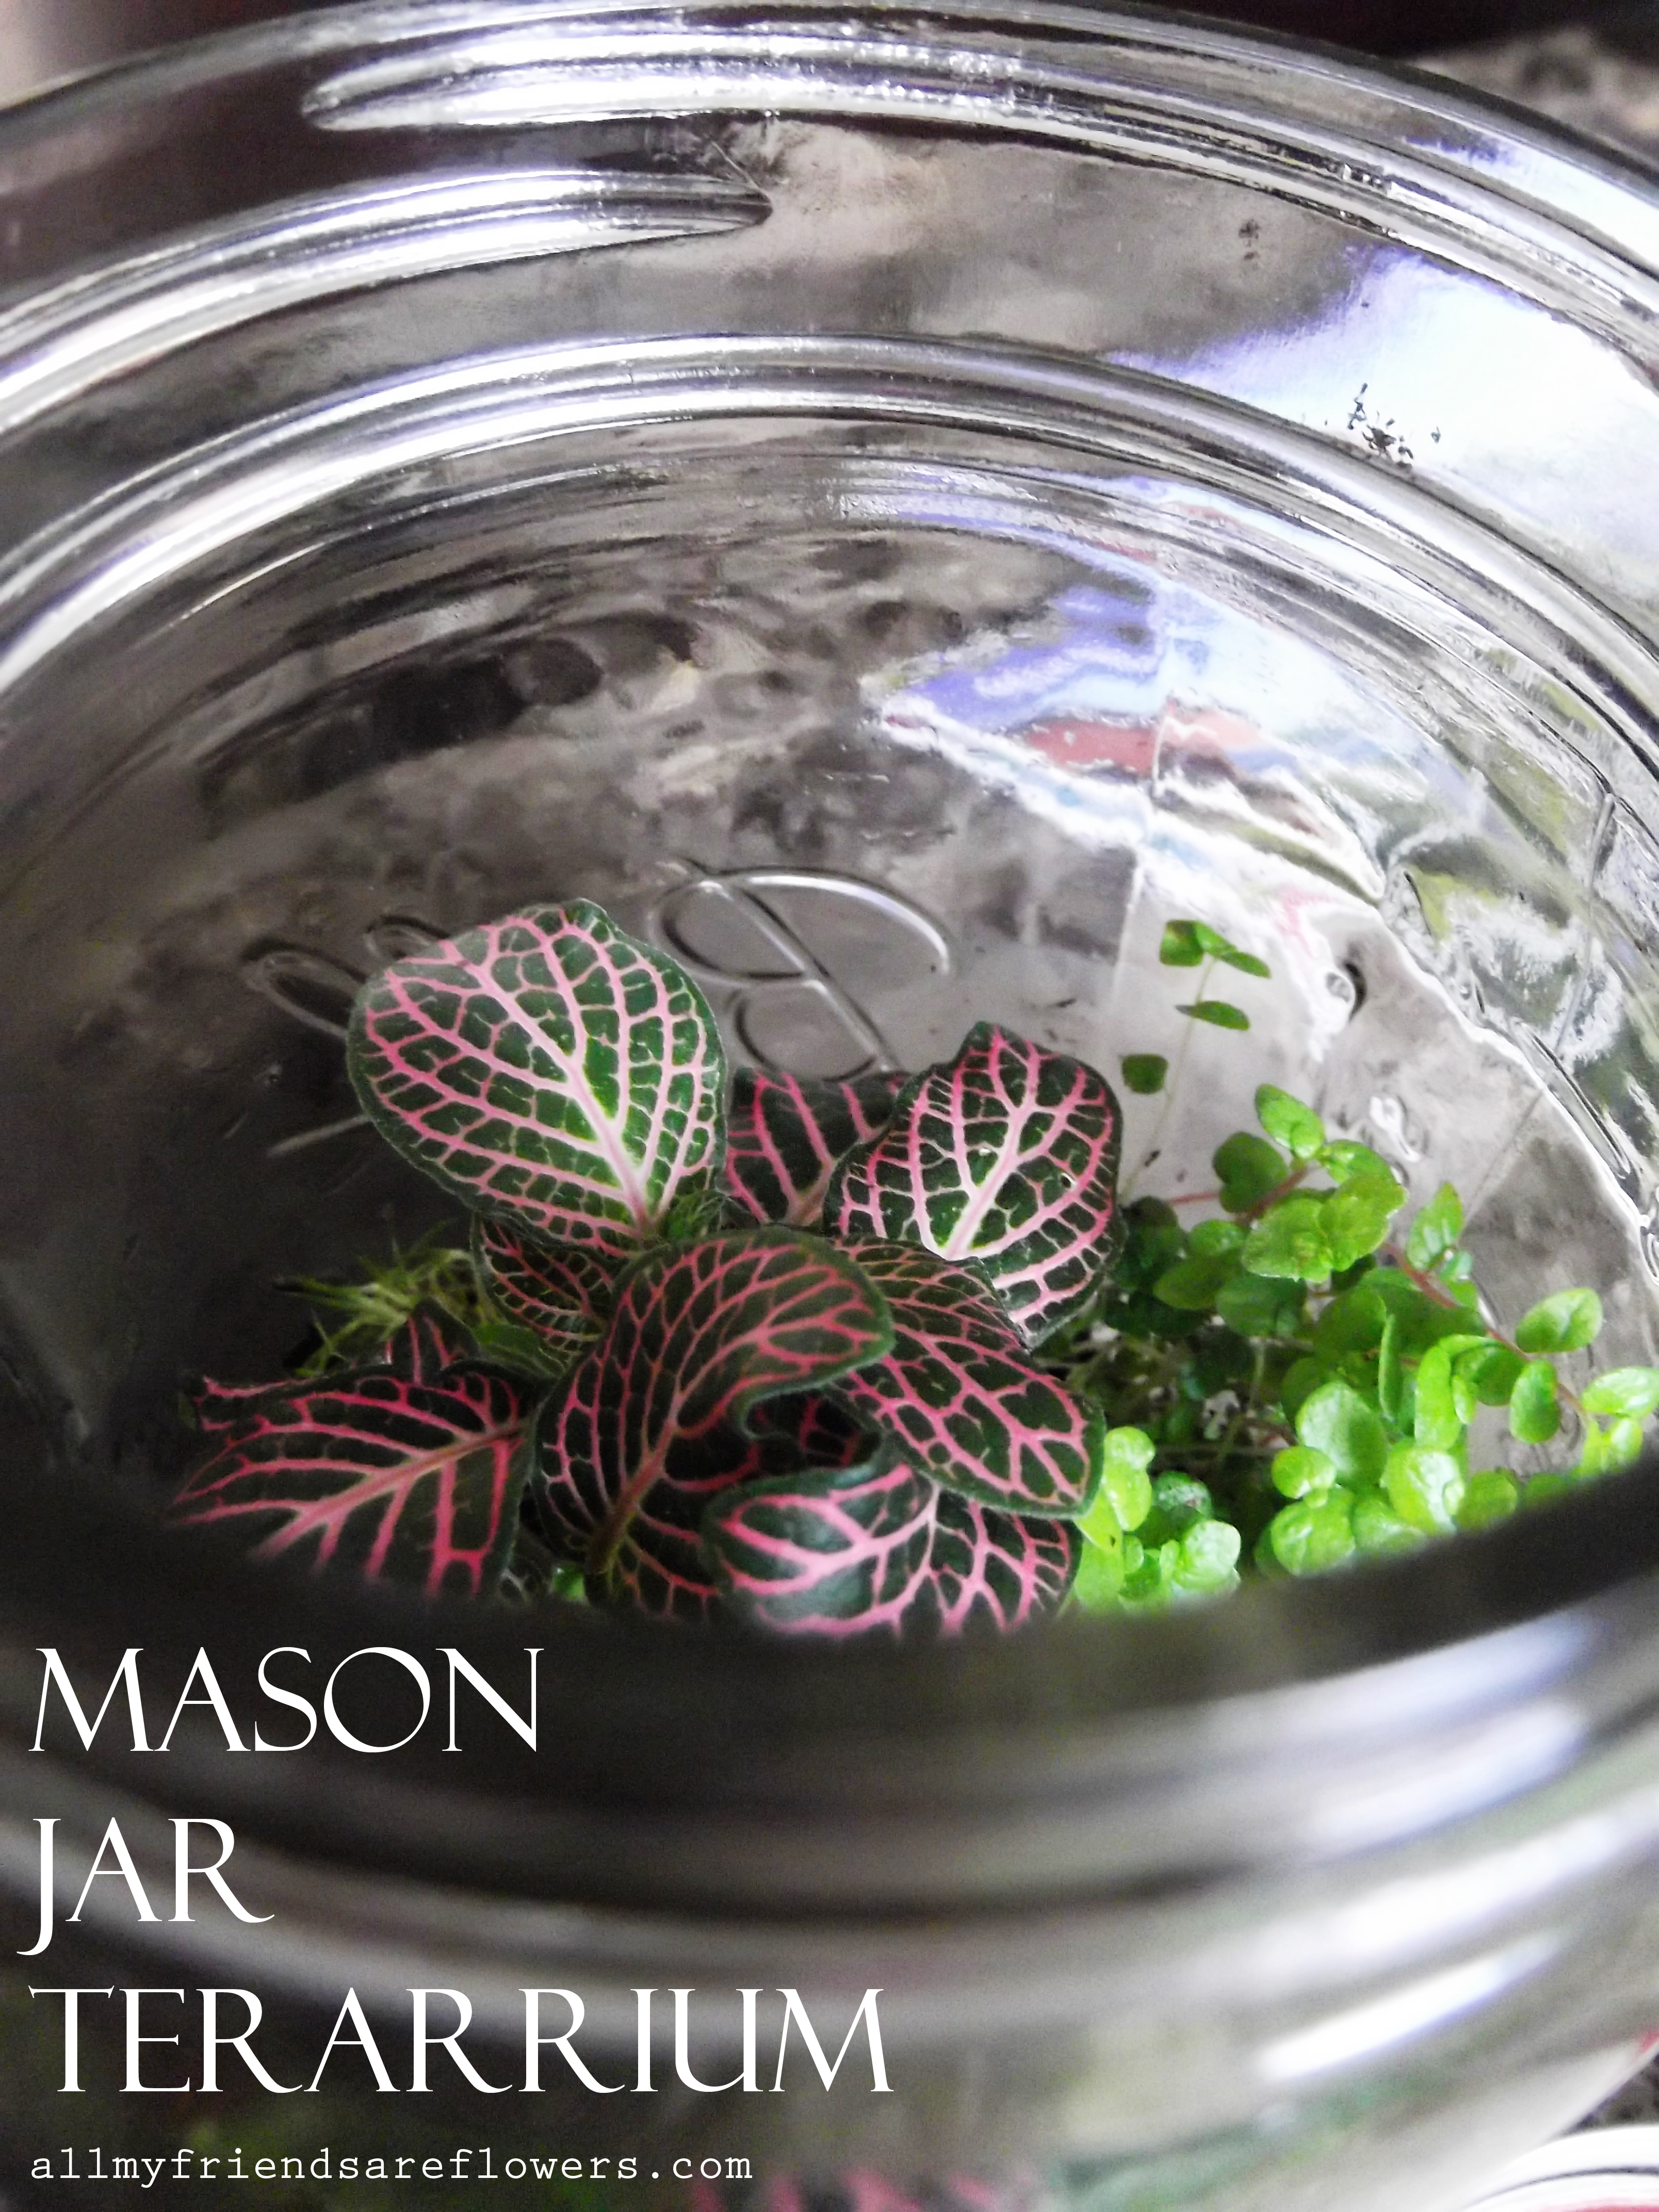
Mason Jar Terrarium


Proper plant selection is key to a happy terrarium.  Make sure you pair plants that have similar growing requirements.  For example, pairing succulents which thrive in drier soil with lush, humidity loving tropical plants will result in environmental discord within your terrarium.  Satisfying the growing requirements of both will be impossible.  Choose plants that require similar light and watering requirements.  Since my mason jar terrarium with have a lid and therefore higher levels of humidity, I selected plants that would thrive in that environment.

For my high humidity terrarium I chose

… 

Read More »

Filed Under: Here's How, Houseplants

How to Divide Ferns

October 22, 2014 by Lacey 2 Comments


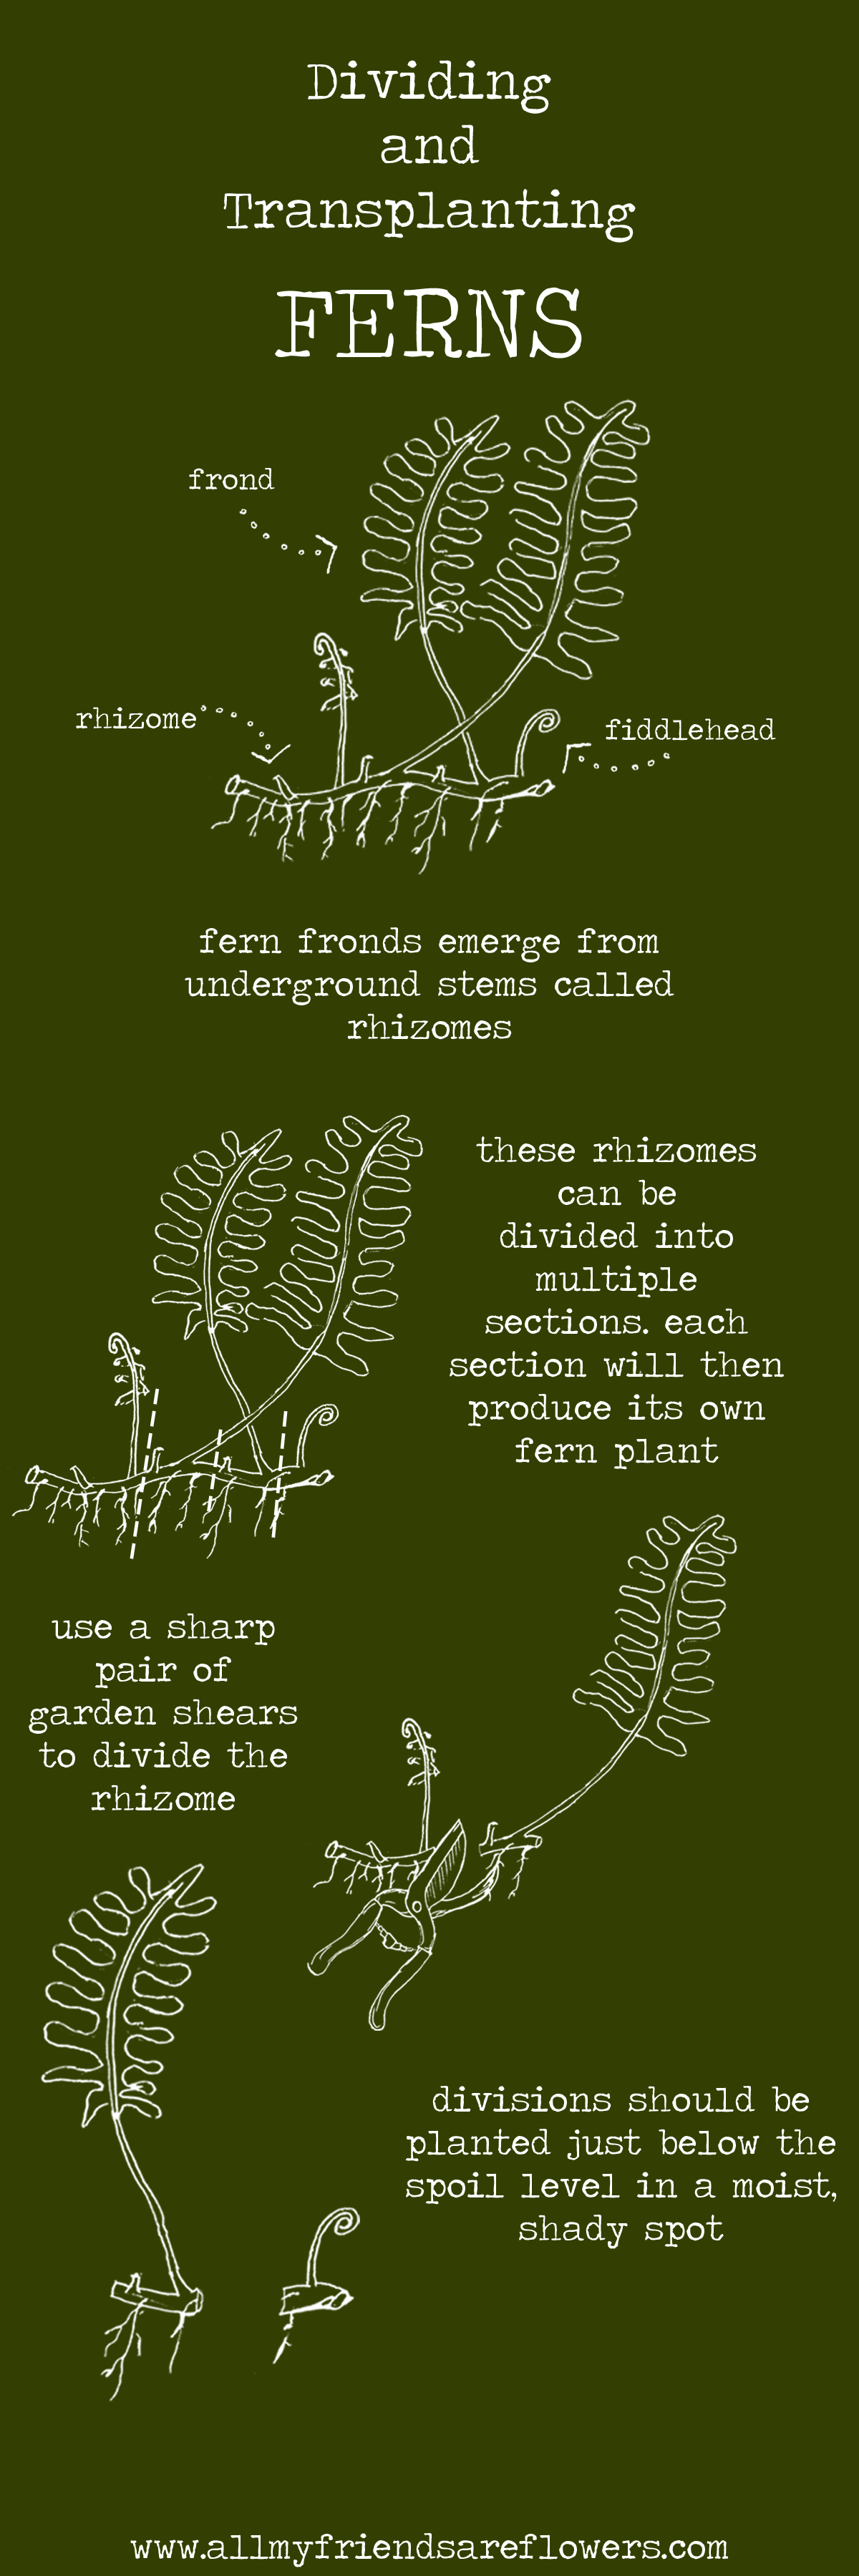
Final Fern Instructions

It’s October.  Technically its late October, but here in Orem, UT it doesn’t feel like it.  But that’s life along the Wasatch mountain range.  We can have snow as early as September or we can freeze our tomato starts in June.  This fall has been perfect.  The leaves have taken their time changing, and I’ve only had to wear my jacket at three afternoon sophemore football games.  Perfect.

Aside from the weather allowing me to be a stalwart high school football fan, its permitted me to be continue my work in the garden.  The climate has been perfect for dividing and transplanting perennials, and I’ve tried to take advantage of every brisk afternoon to do just that.  This past weekend I was lucky enough to be the recipient of some hand me down ferns.  I love ferns {you can read about some of my favorite varieties here} but I don’t have a lot of suitable space for them.  Our 1940’s home had nary a tree on the lot when we moved here in March, so shade is hard to come by.  But when asked by and old neighbor if I’d like a bunch of Lady Ferns from her garden I couldn’t say no, and I became determined to find a place for them.

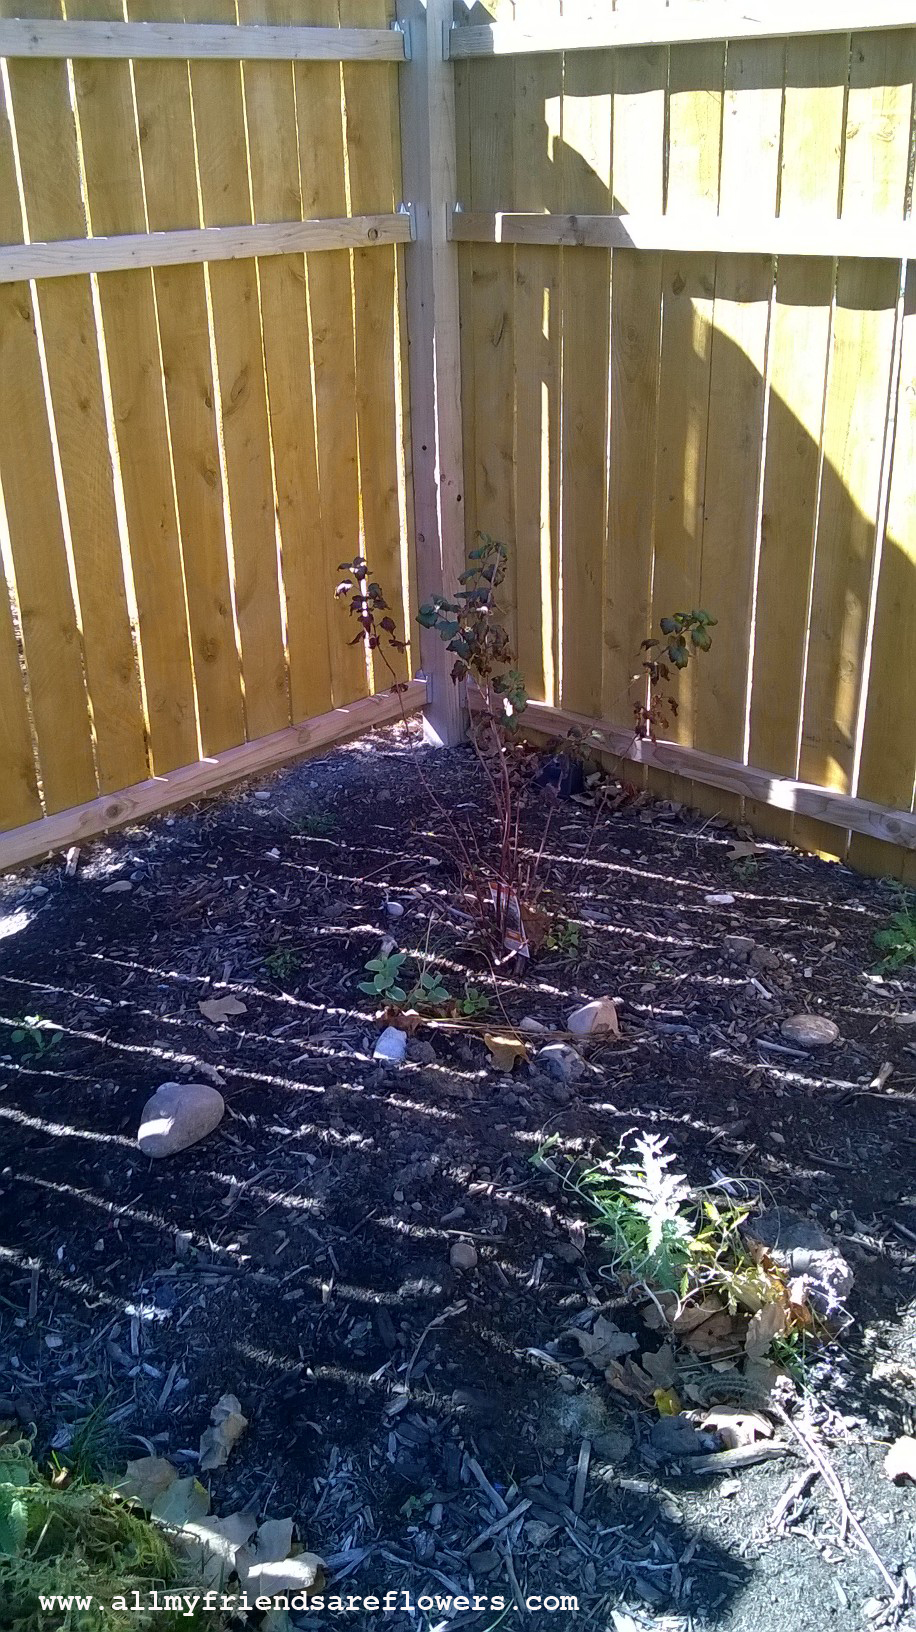
At high noon I went wandering in the back yard, figuring that if I could find somewhere with some shade at straight up 12:00 I’d be set to go.  This is what I found:

dividing and transplanting ferns 2

A lonely south-western corner of the yard home to nothing but a Diablo ninebark and a very small Russian sage start.  With shade in the middle of the day, and promise of protection from the hot afternoon sun I knew I found the perfect spot to park my fern transplants until I started to get some shade from my newly planted weeping willow and crab apples.


 I took all of my lovely fern starts and planted them just below the soil surface.  After planting I sprinkled a little root starting fertilizer before a thorough watering.  I’m planning on keeping this bed moist until my plants are established a little bit.  I’m looking forward to bunches of feathery fronds come next spring!

Filed Under: Here's How, Perennials Tagged With: Dividing Ferns, Dividng Perennials, Lady Fern

How To Regrow Green Onions

August 17, 2014 by Lacey 2 Comments

green onion main

Green onions are the best.  I love how they add a similar flavor to traditional onions without the sweat and tears.   They’re just so darn convenient.  I don’t even whip out the cutting board, just a pair of scissors.  I can snip the desired amount into scrambled eggs, bread dough, salads, or homemade pizza without breaking stride in my dinner preparations.  Most grocery stores sell them in little bunches of about six or seven which lately hasn’t been enough to get me from one shopping trip to the next.

So this past week I decided to work some propagation magic and see exactly what I could get out of the six skinny stalks from the grocery store.  When it comes to the culinary, green onions and lettuce have a lot in common. The most delicious and desirable  parts of these two plants  are  the leaves, which makes them a perfect plant for propagation because of their speedy maturity.

Let’s get all botanical for a second.   All  fruits are created by the sexual reproductive parts of the plants {the flowers}.  Once the flower is fertilized the plant’s ovary matures into a fruity structure destined to carry the ovules or seeds.  Then there’s veggies like potatoes and carrots where we’re eating the root of the plant.  With plants like green onions however, we’re eating the leaves of the photosynthetic part of the plant.  With roots still attached, the plant is able to continue to produce leafy deliciousness and there’s no waiting for a flower to develop into a fruit.

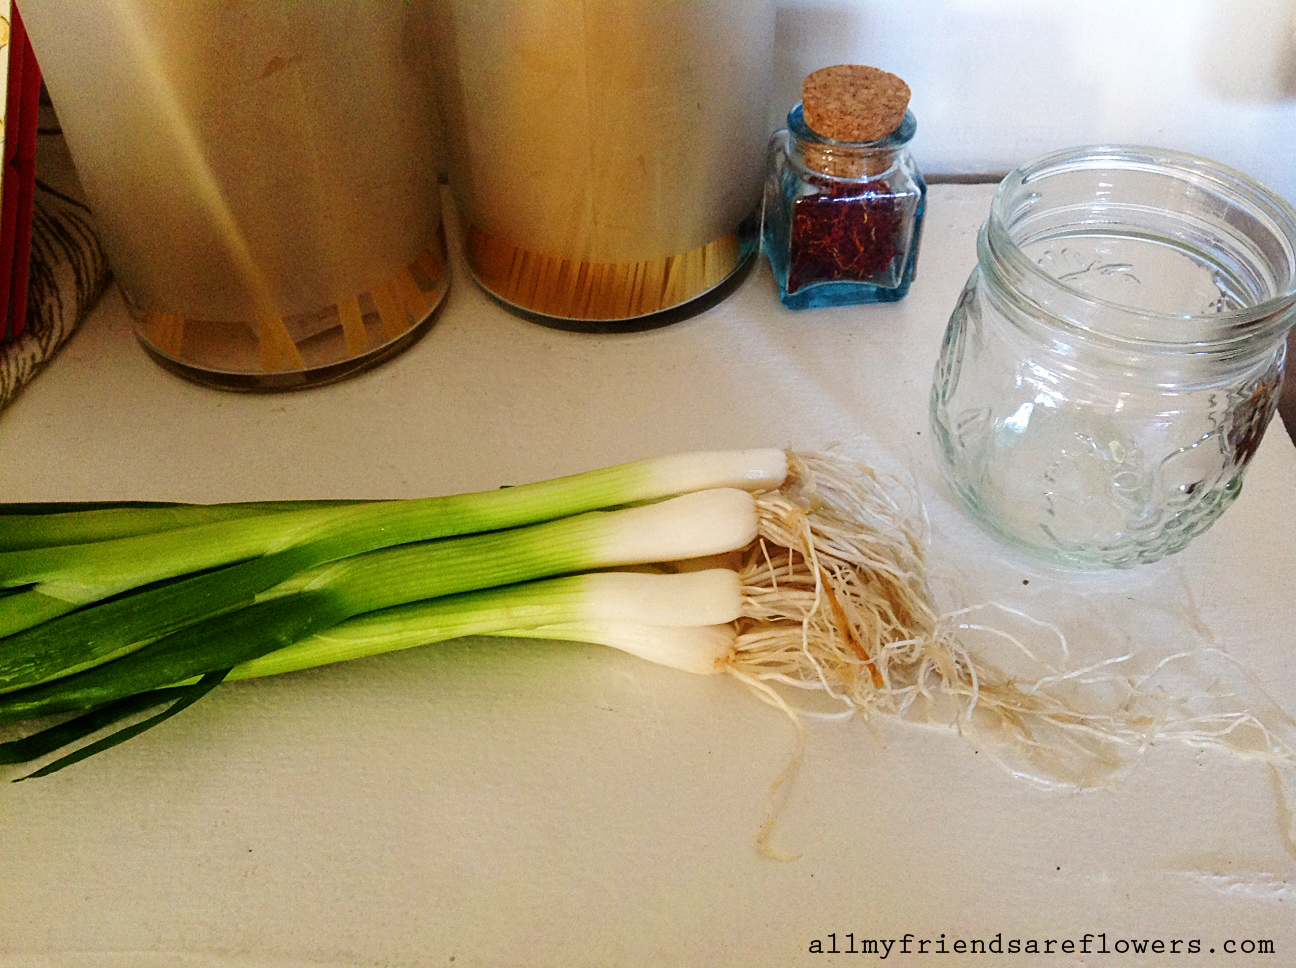
The process is simple.  I grabbed some green onions from the produce section of the grocery store and removed any damaged/wilty looking outer leaves.  Unhealthy pieces would decay quickly in water and encourage the growth of smelly bacteria.  For my container I just used a small canning jar.  I wanted something short so that as my onions grew I could snip them down easily, without combating the sides of the container with my scissors.  But really any jar/vase/cup would do.   Make sure to chose something fairly narrow though, so that once the stems are trimmed they can lean up against the sides of the container and wont fall horizontal into the water.

green onion two \

I snipped my onions about 2 1/2 inches from the base, making sure to leave the little roots intact.  The tops were sliced up and added to a variety of yummy things including pasta salad, paninis, and some fettuccine over the next couple days.


green onion three


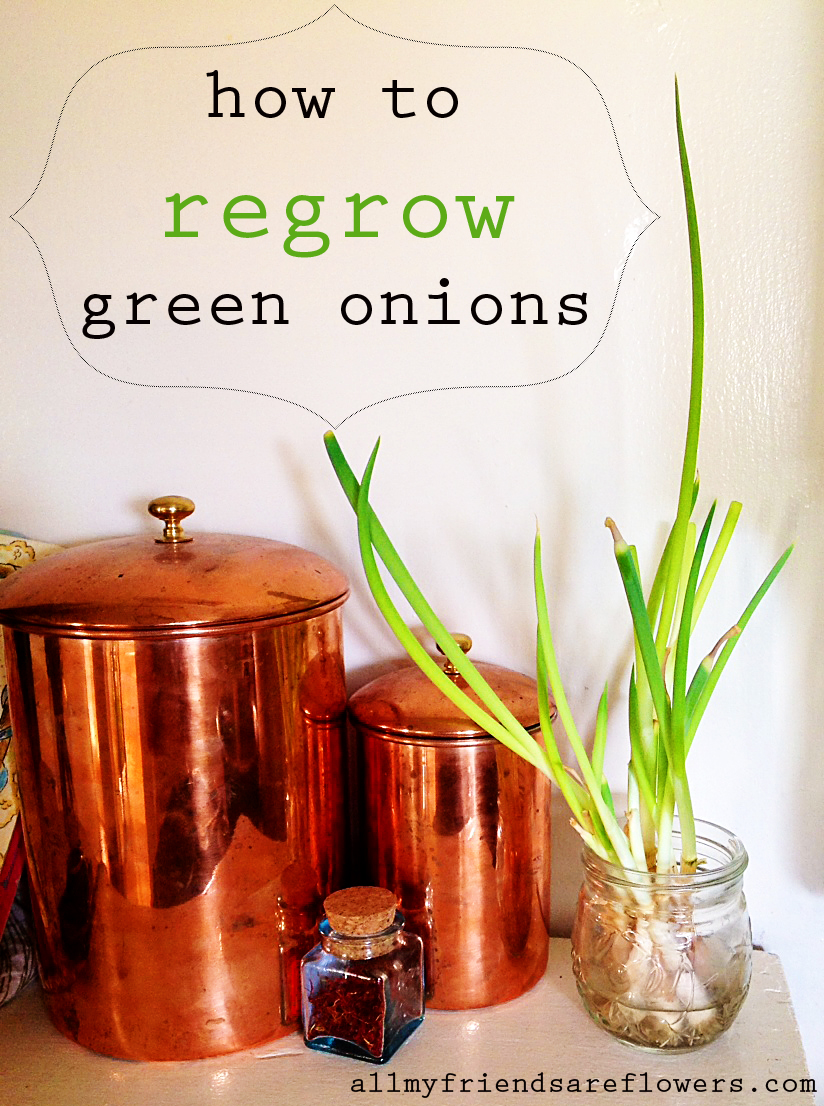
Exactly one week later my onions looked like this:

green onion main

Remember, the onions will drink the water so checking the water level every few days is important.  I’ve had this batch in my kitchen for about four weeks.  I cut off of them at least every other day but I’m finding that they don’t produce nearly as quick as they used to.  The reason for this is that while they’re receiving plenty of water, they’re not getting supplemented by other nutrients.    Rotating them out for a new batch every six to eight weeks will result in a consistent supply of green onions.

Filed Under: Here's How, Veggies

  • 1
  • 2
  • 3
  • Next Page »

Shop Now

DIY Plush Play Veggies + Printable Transfers

DIY Plush Play Veggies + Printable Transfers

Good Reads

Get AllMyFriendsareFlowers via Email

Enter your email address to subscribe!

How to Divide Ferns

How to Divide Ferns

Succulent Container Gardens at Disneyland

Succulent Container Gardens at Disneyland

All My Friends are Flowers

All My Friends are Flowers

Hello there, I'm Lacey.

Printable Denim Whale Pattern

Printable Denim Whale Pattern

Lets Be Social

  • Pinterest
  • Annuals
  • Bulbs
  • Container Gardening
  • Evergreens
  • Floral Design
  • Free Landscape Designs + Graphics
  • Grass: Ornamental & Otherwise
  • Herbs
  • Here’s How
  • Housplants
  • I’m Inspired
  • In My House
  • Life + Baby
  • Living in Europe
  • Perennials
  • Plant Index
  • Propagation
  • Shrubbery
  • Travel
  • Trees
  • Vegetables
  • Landscape Design Portfolio

Archives

How To: Mason Jar Terrarium

How To: Mason Jar Terrarium

Welcome to All My Friends are Flowers

I’m Writing About……

adding texture to landscapes Alpine Loop autumn fern autumn stonecrop balcony gardening Best Garden Magazines burning bush design container gardening on balcony Dividing Ferns Dividng Perennials downloadable chalkboard graphics early spring annuals fall chalkboard fall graphics fall landscape design Fall Landscape Inspiration ferns free chalkboard graphics free landscape design french country landscape design full landscape design ghost fern growing bougainvilla growing paperwhites hyacinth bulbs invasive bulbs Lady Fern landscape design plan landscape design portfolio Landscape Designs male fern nursery printable ornamental grass landscape design osaka white ornamental kale ostrich fern paperwhites pea nursery decor PNG chalkboard graphics Residential Evergreen Trees residential landscape design shade garden shade perennials The English Garden Magazine Uintah National Forest utah landscape design

Copyright © 2018 · Foodie Theme by Shay Bocks · Built on the Genesis Framework · Powered by WordPress