All My Friends are Flowers

garden inspiration and design

  • About
  • Landscape Design Portfolio
  • Plant Index
  • Here’s How
  • Life + Baby
  • Free Landscape Designs + Graphics
  • Living in Europe

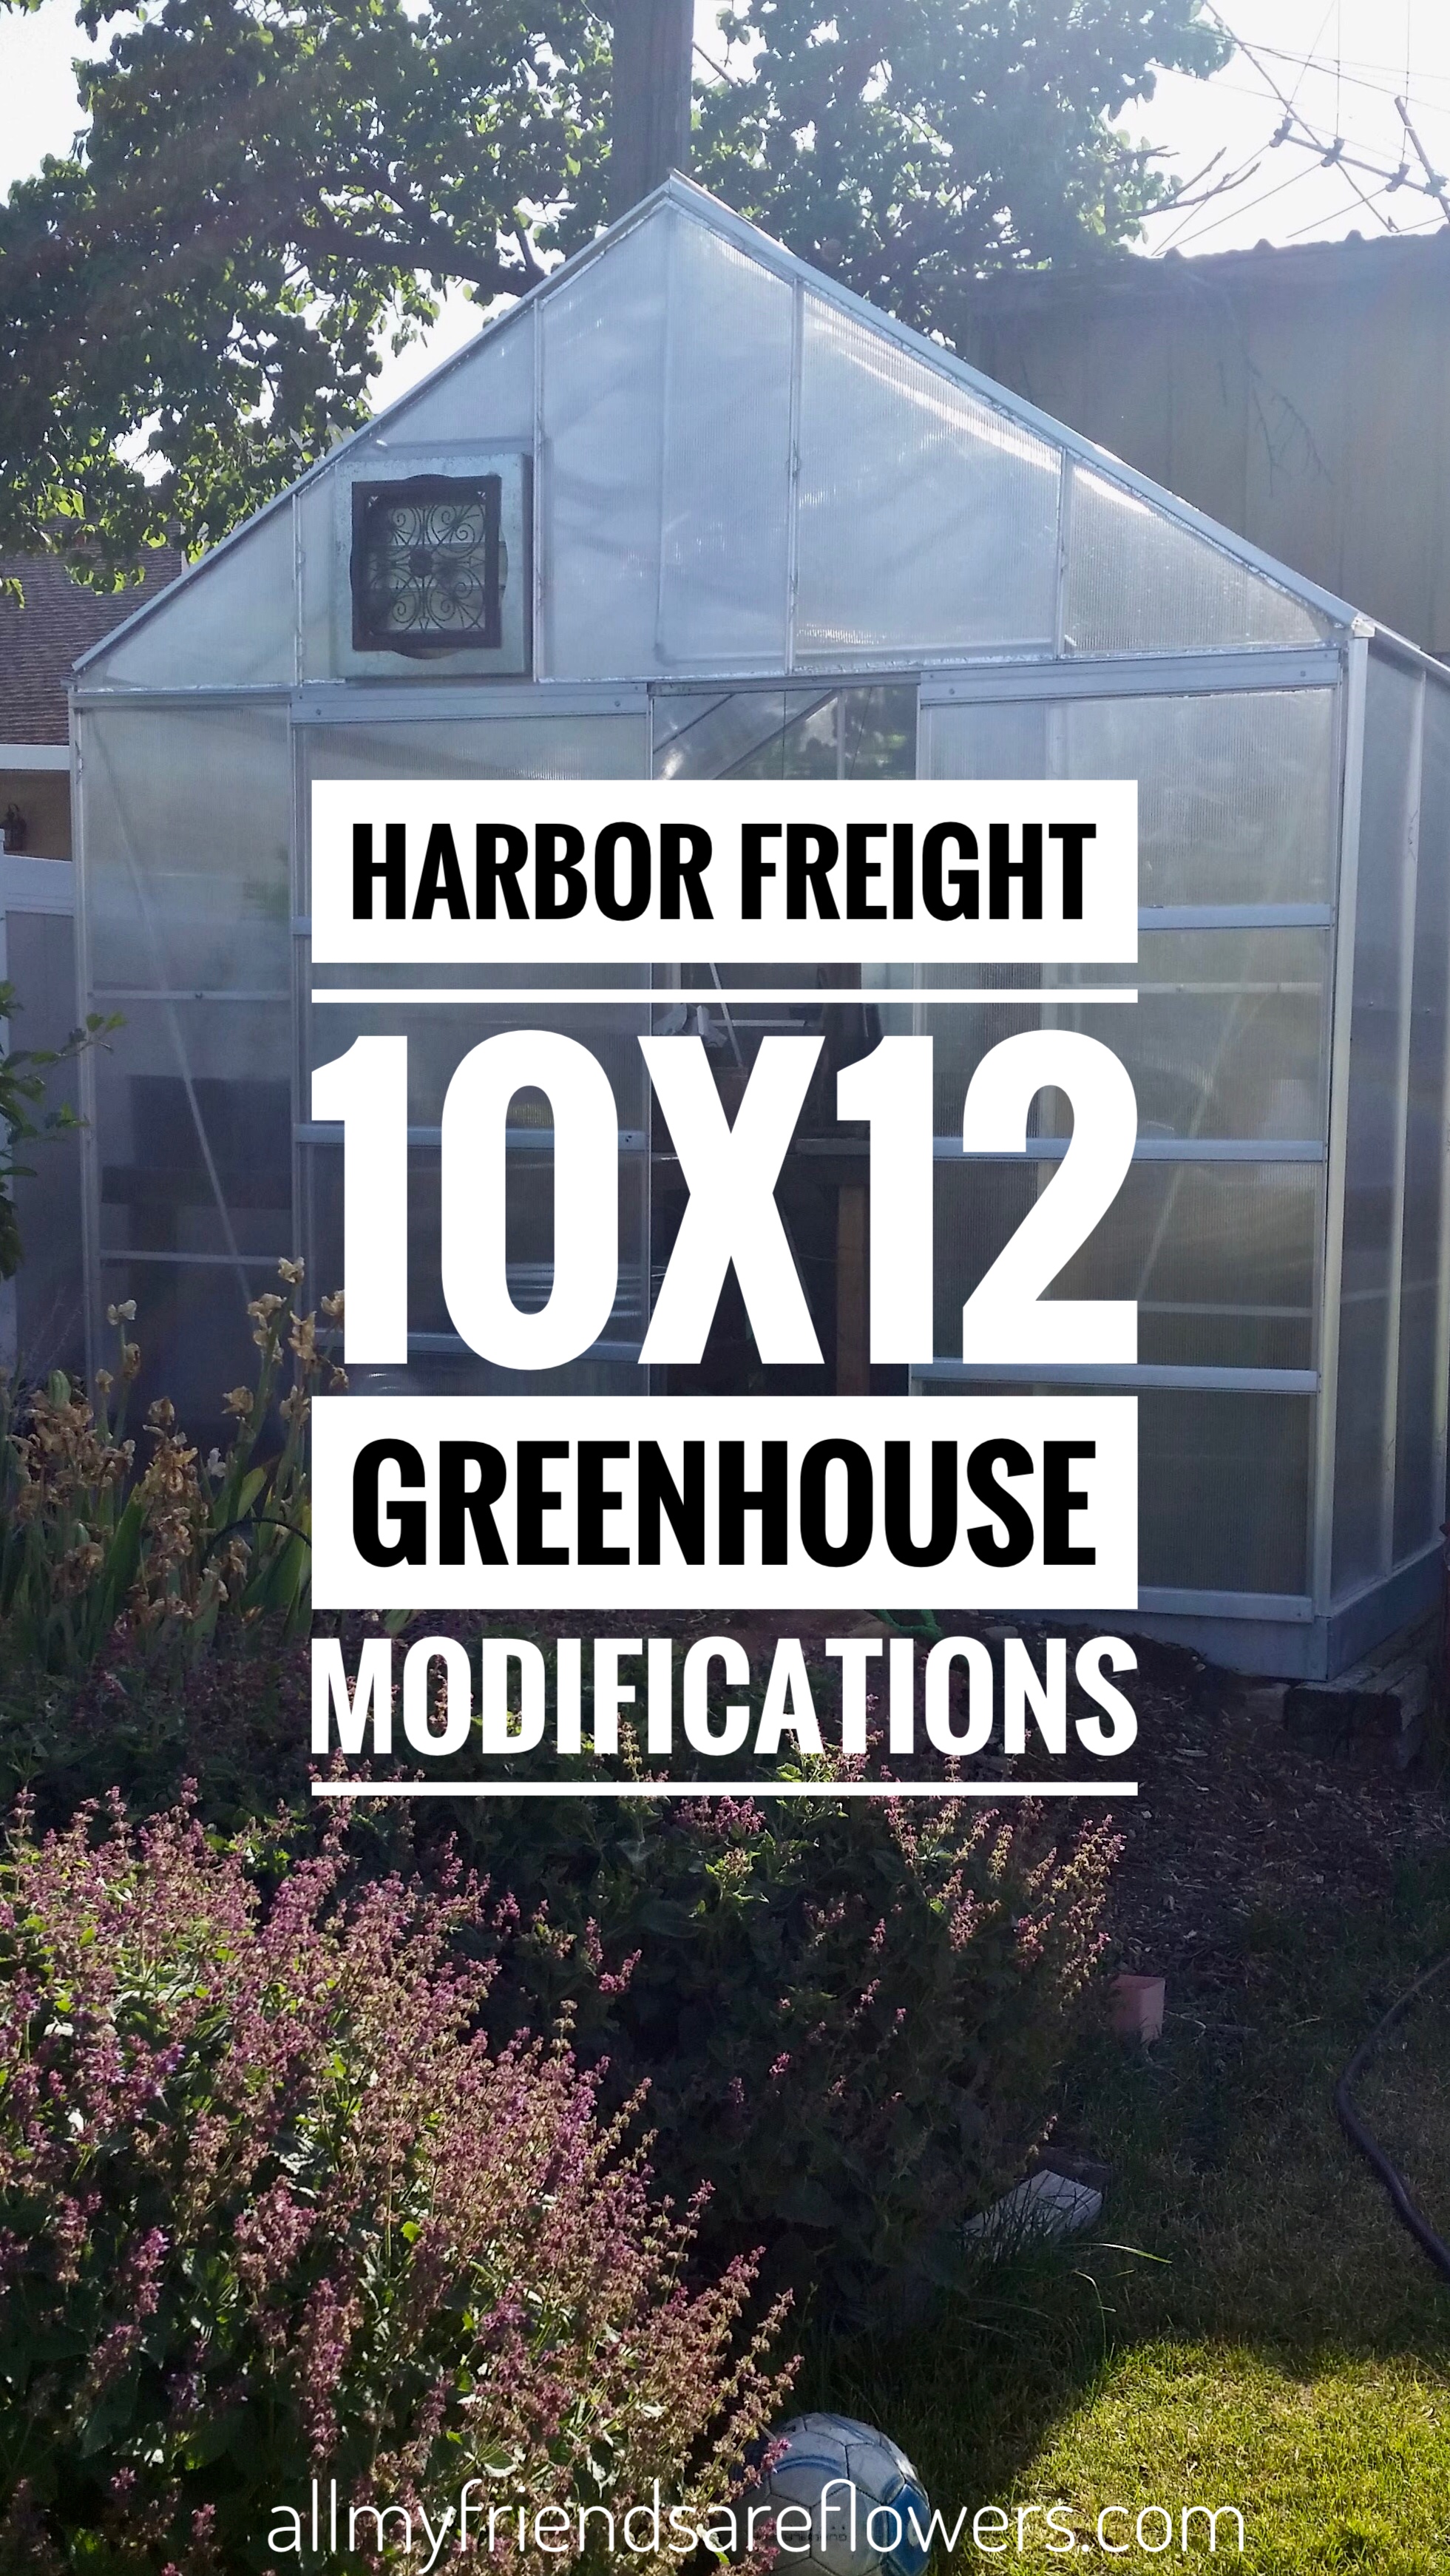
Harbor Freight 10×12 Greenhouse Review + Upgrades

March 12, 2018 by Lacey 1 Comment

Is there anything better than walking into a warm, humid greenhouse? The smell of moist potting soil, plant foliage, and flowers all concentrated together has got to be one of the most therapeutic expriences. Like walking barefoot in the sand or eating some really good chocolate. In high school and college I worked at the most beautiful garden center attached to an enormous greenhouse that doubled as an event center.  When I walked into that greenhouse I would feel weight and worry from the day evaporate as I walked past the ferns and just breathed in the smell of everything living.

I think many garden lovers, especially those in climates with a full four seasons, fantasize about starting tomatoes in February, getting a head start on growing annual patio pots, and overwintering lemon trees. Building a greenhouse was at the top of my yard to do list when we purchased our home three years ago.  It got bumped down the list a bit in favor of things like laying new sod, building a fence, and purchasing plants to serve as the foundation of our landscape.  But last spring we looked at our to do list and found greenhouse construction right up at the top. My first choice, a custom glasshouse imported for England for a mere $17,000 was more than a bit out of reach.  As I researched different companies and kits I found that for my price range, if I wanted something beautiful it would have to be tiny, and if I wanted something with enough space it would be plain and ugly. I decided for the most price friendly greenhouse for its size, the Harbor Frieght 10’ X 12’.
 

Making the decision to purchase this greenhouse meant factoring in a bunch of greenhouse improvements to our budget. As silly as it may sound, having a greenhouse that was equal in beauty and function was the goal.  I knew my greenhouse would serve as another outdoor room in my garden, and I wanted it to be an escape.


I’d read plenty of negative reviews for this greenhouse.  I was aware that the aluminum frame would need some sturdying up, and that the panels would require some work to keep them from blowing out in windstorms. However I felt that for the price, around $500 after a sale + coupon, I could make it work perfectly for our space.

Major Upgrades We Knew We’d Want

  • electrical
  • ventilation
  • automated watering/humidity control
  • benches and storage for plants
  • potting/work area with a sink

The Eletrical

We were able to add a light fixture and two outlets to the greenhouse. Sometimes I’ll go out in the greenhouse after the girls have gone to bed, flip on the light and do some transplanting. The outlets are a means for us to use the ventilation system we came up with, as well as plug in our seed heating mats or space heaters if we have a chilly night in late spring.  The metal conduit through which we ran wires for our ceiling light help add stability to the aluminum frame.
 

Ventilation

The greenhouse came with four of the roof panels opening as vents.  Greenhouse ventilation is important because temperatures in the greenhouse far exceed the outside temperatures during the summer months due to the warm air that gets trapped inside. Although having these events open would allow for some air movement, in order to keep the temperature at a more hospitable range we knew we needed a more aggressive approach to air circulation. We invested in outlet  thermostat  that can be set for both a high temperature and low temperature range. We have ours set  so that at 85°, the outlet turns on the ventilation fan And outlet turns off when the temperature gets down to 80°.  This fan pulls warm air from inside the greenhouse outside, it has louvers on the exterior that only open if the fan is running. To allow for fresh air to circulate through the greenhouse we added an opening with louvers across from the ventilation fan, so that when it runs it can pull air from the outside.  During the summer months we will hear the fan turning off and on throughout the day as it works to keep the greenhouse in or acceptable temperature range of about 85°.

Automated Watering

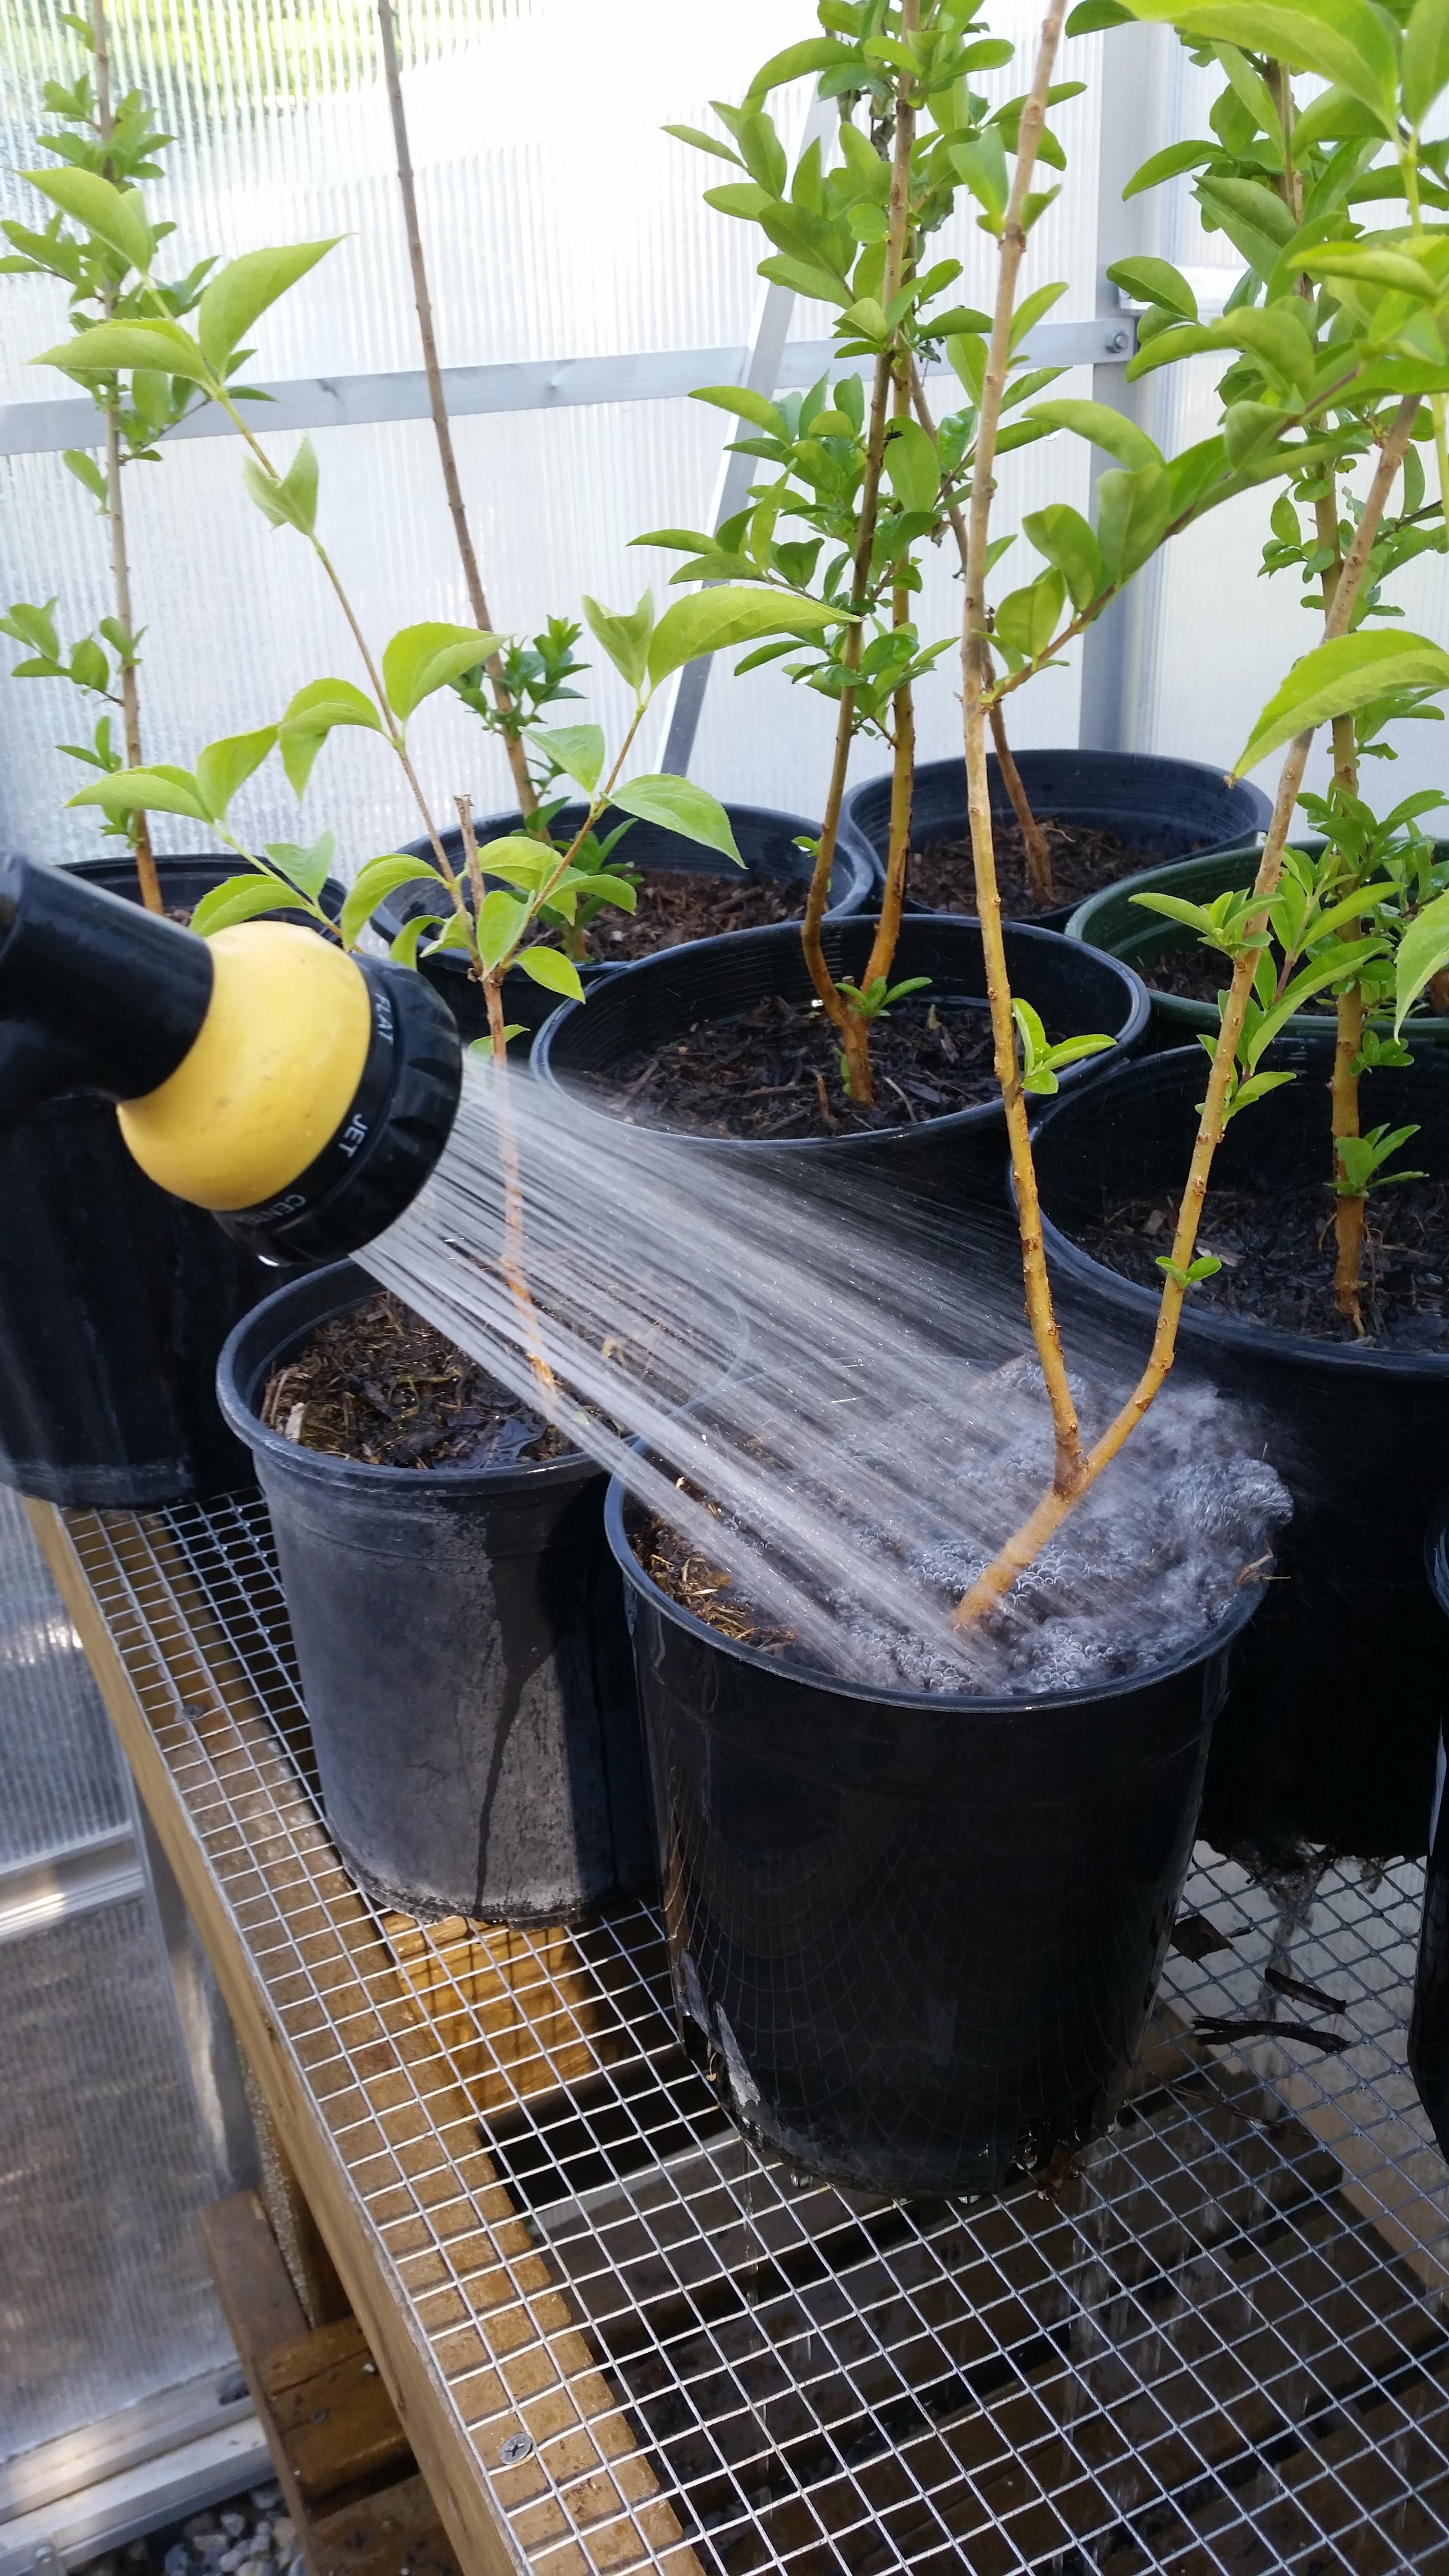
We purchased and hooked  up  an automated misting system to ensure that our greenhouse had high enough humidity levels and didn’t simply turn into a desert.  We can tell our Mister how often to turn on and for what duration of time. During the hottest summer months I set my misting system to run every 10 minutes for 30 seconds.  That kept our humidity up and also helped lower the temperature along with our fan.
Benches

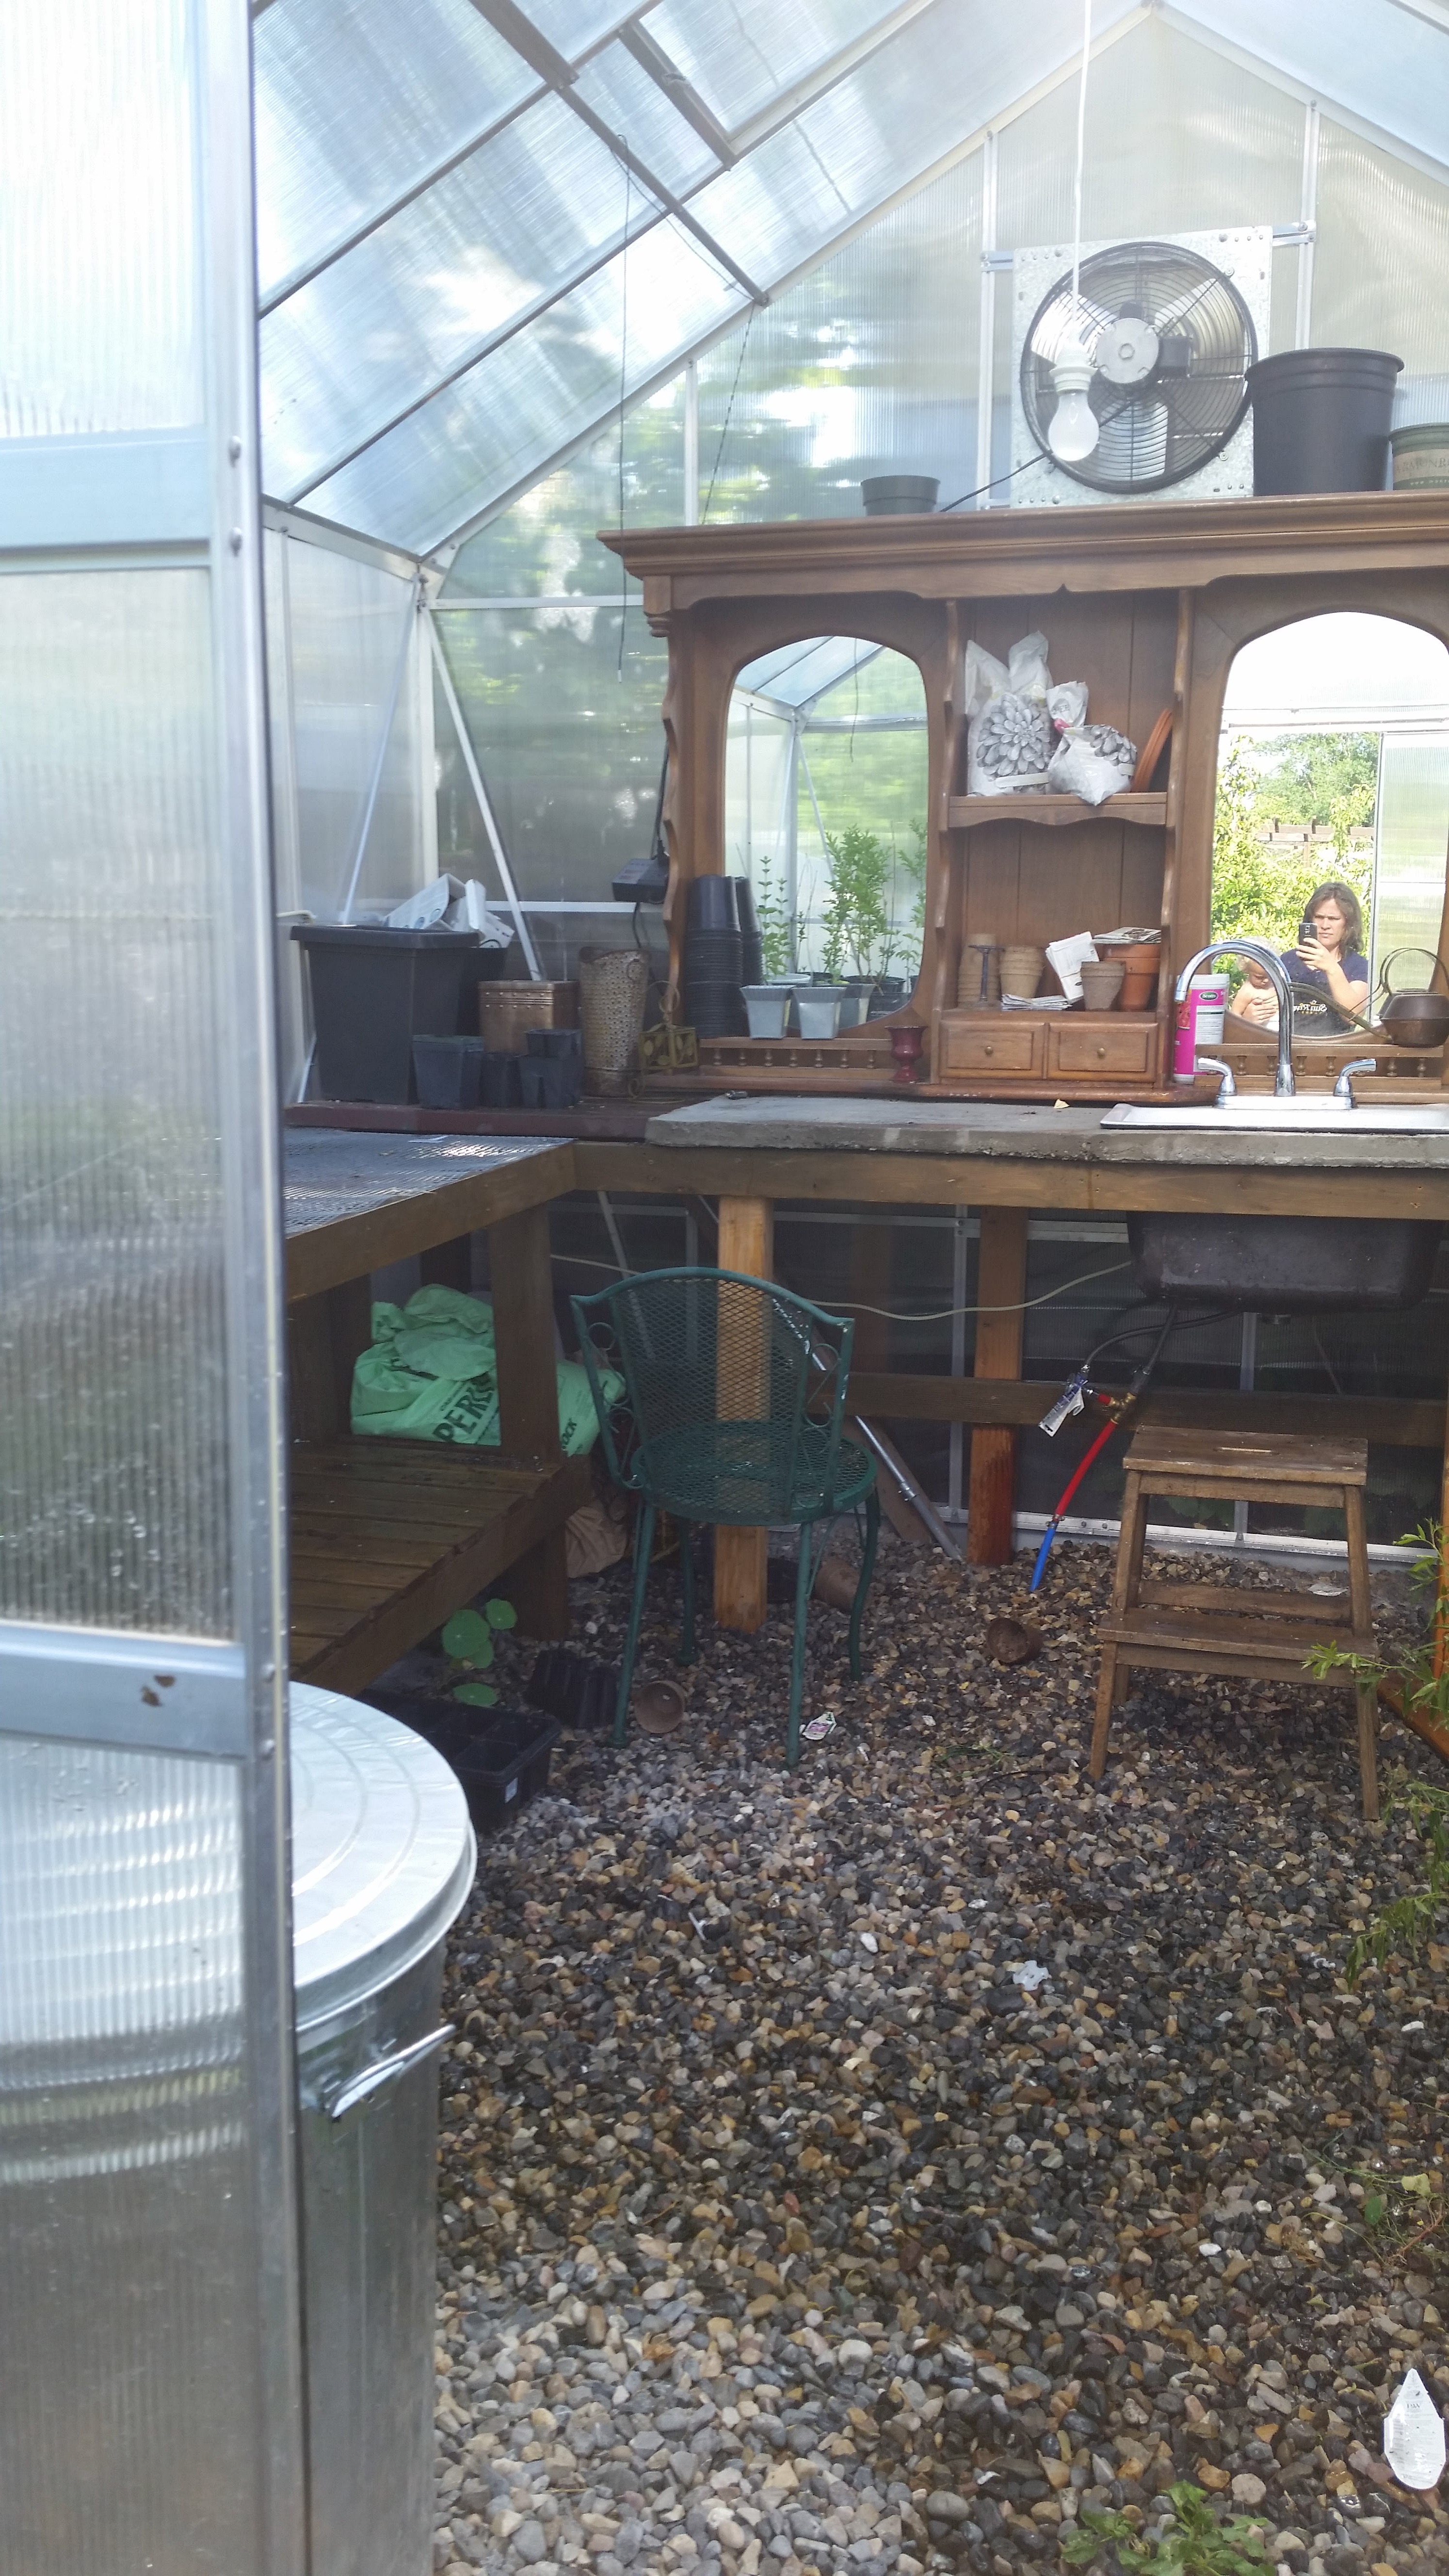
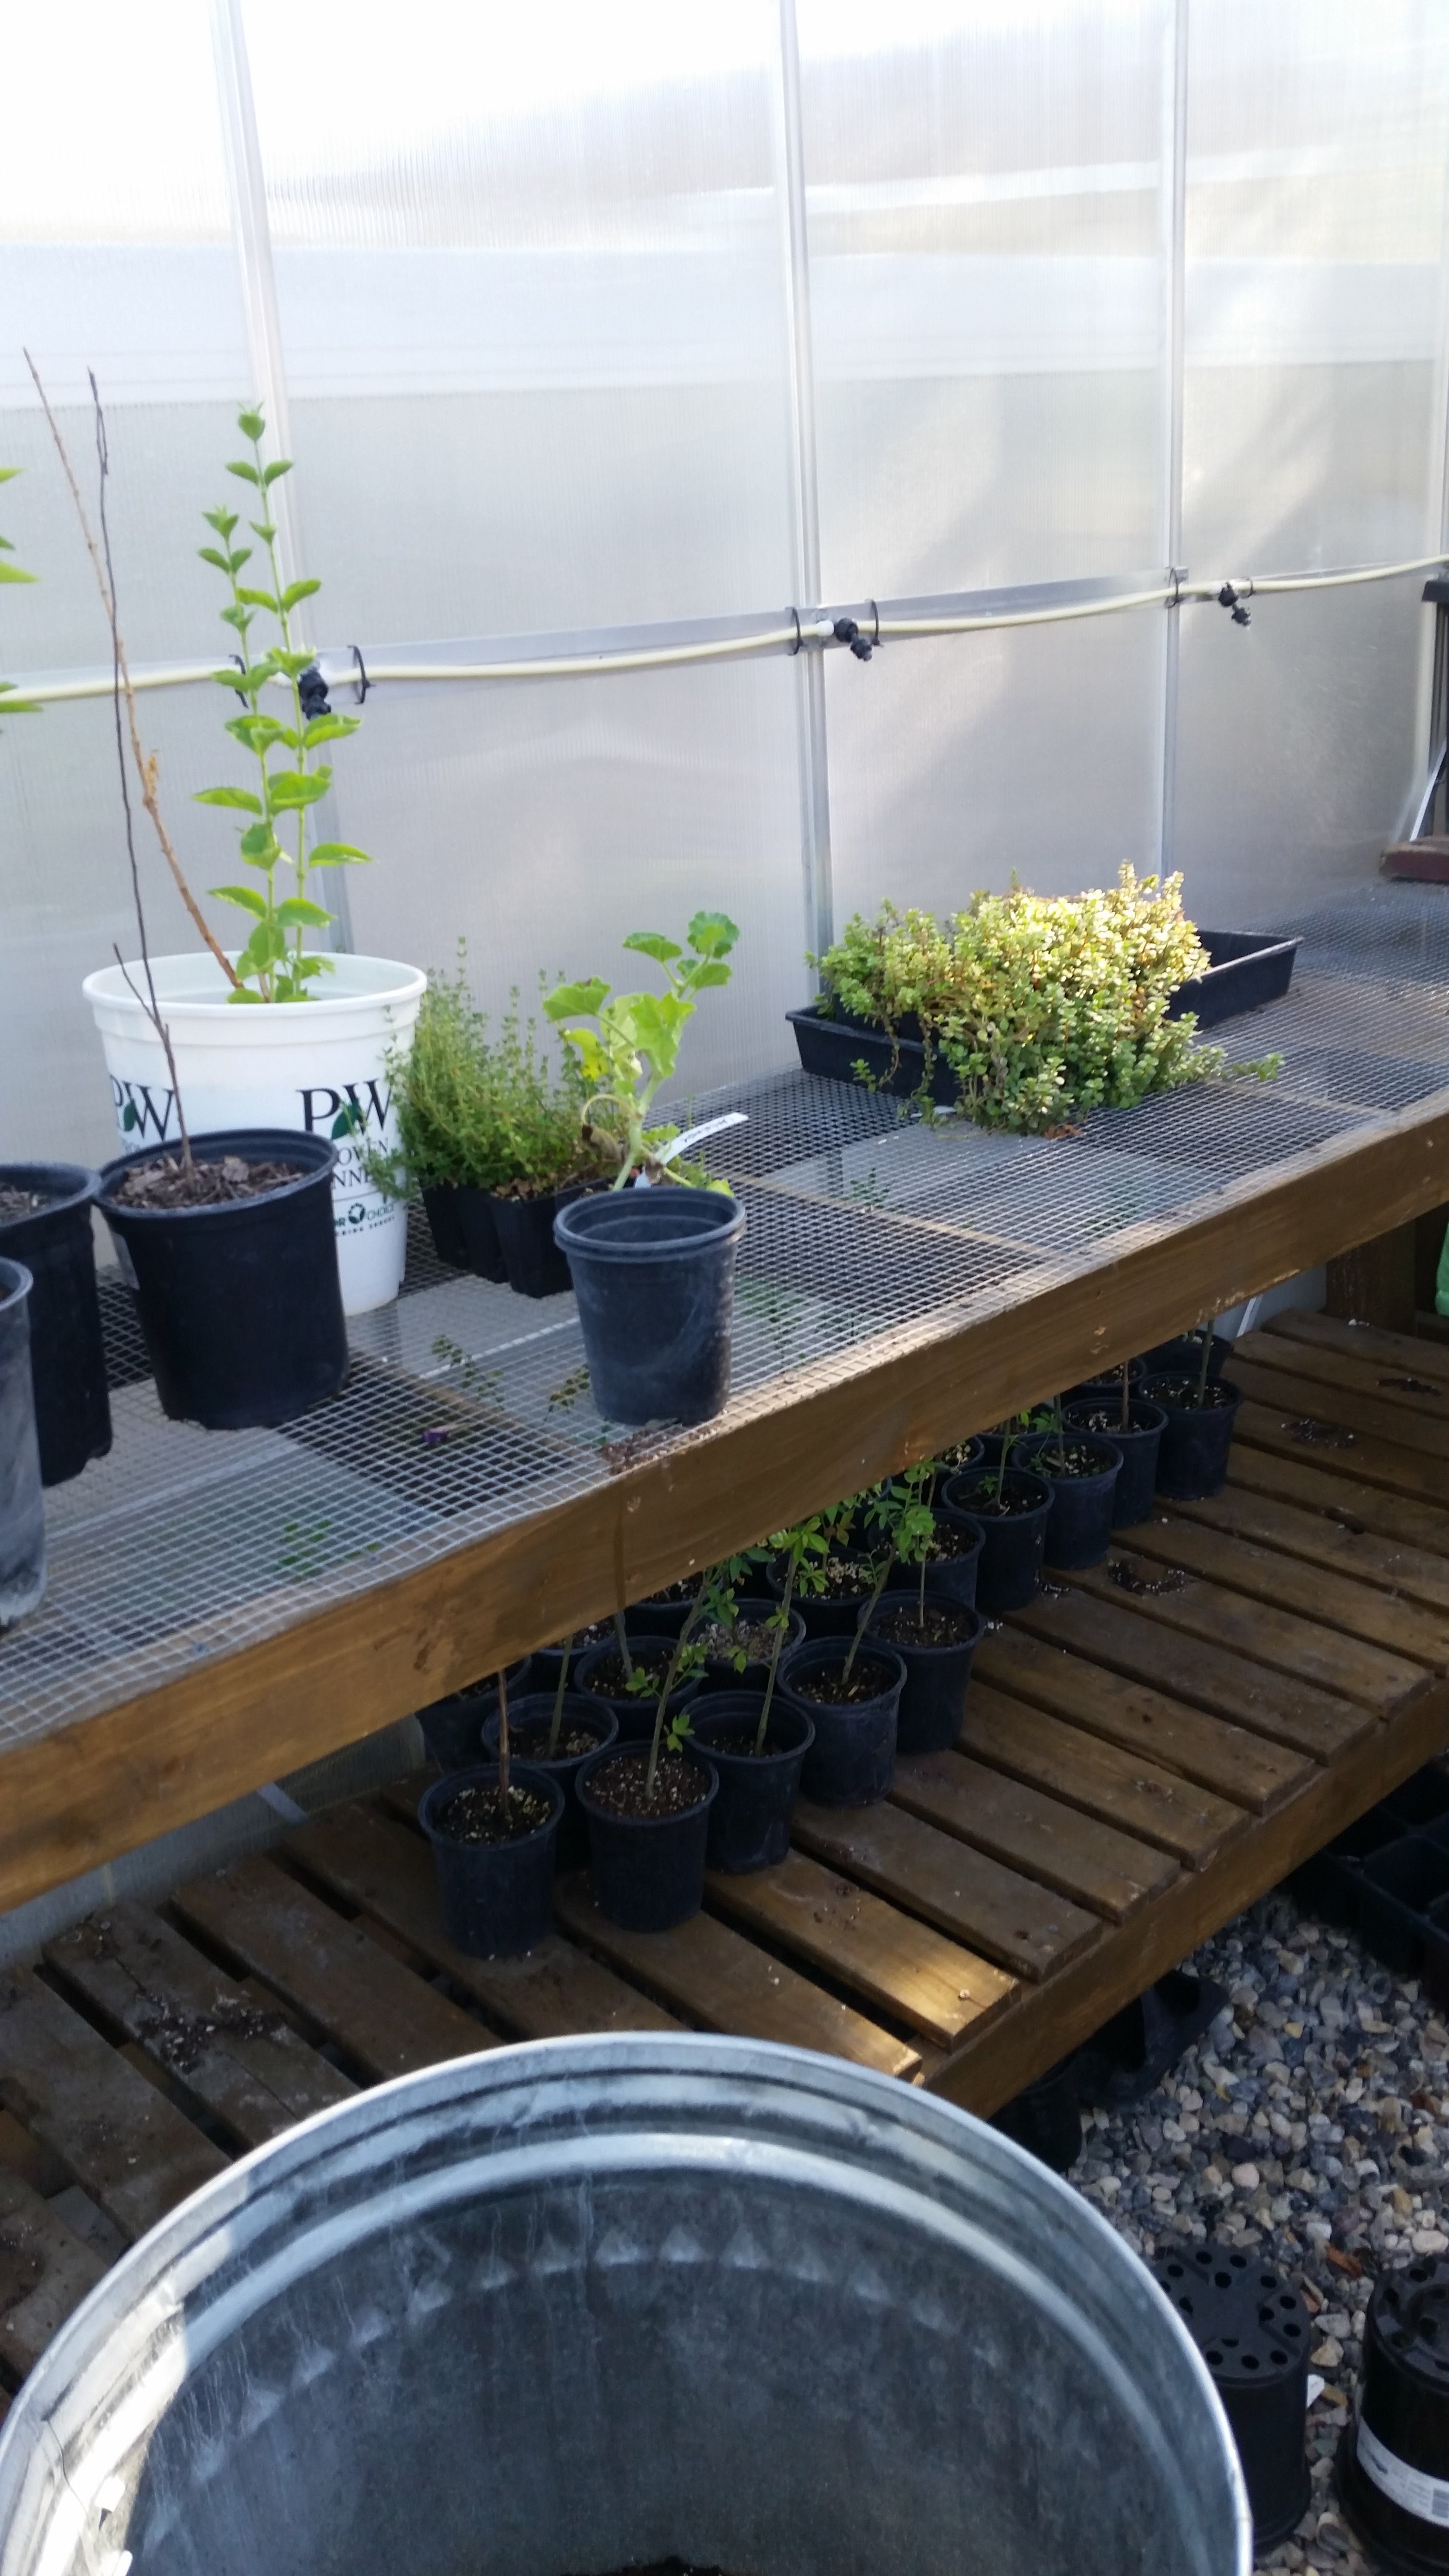
I wanted to be able to utilize as much space as possible, so my husband constructed benches to run down each side of the greenhouse, with hardware cloth for the top level, and 1″ x 3″ slats for the bottom level. The benches are 2″ wide leaving plenty of space in the center of the greenhouse for a removable island when we need extra space, or a table and chairs for our girls’ tea parties.
 

Potting/Work Area with Sink

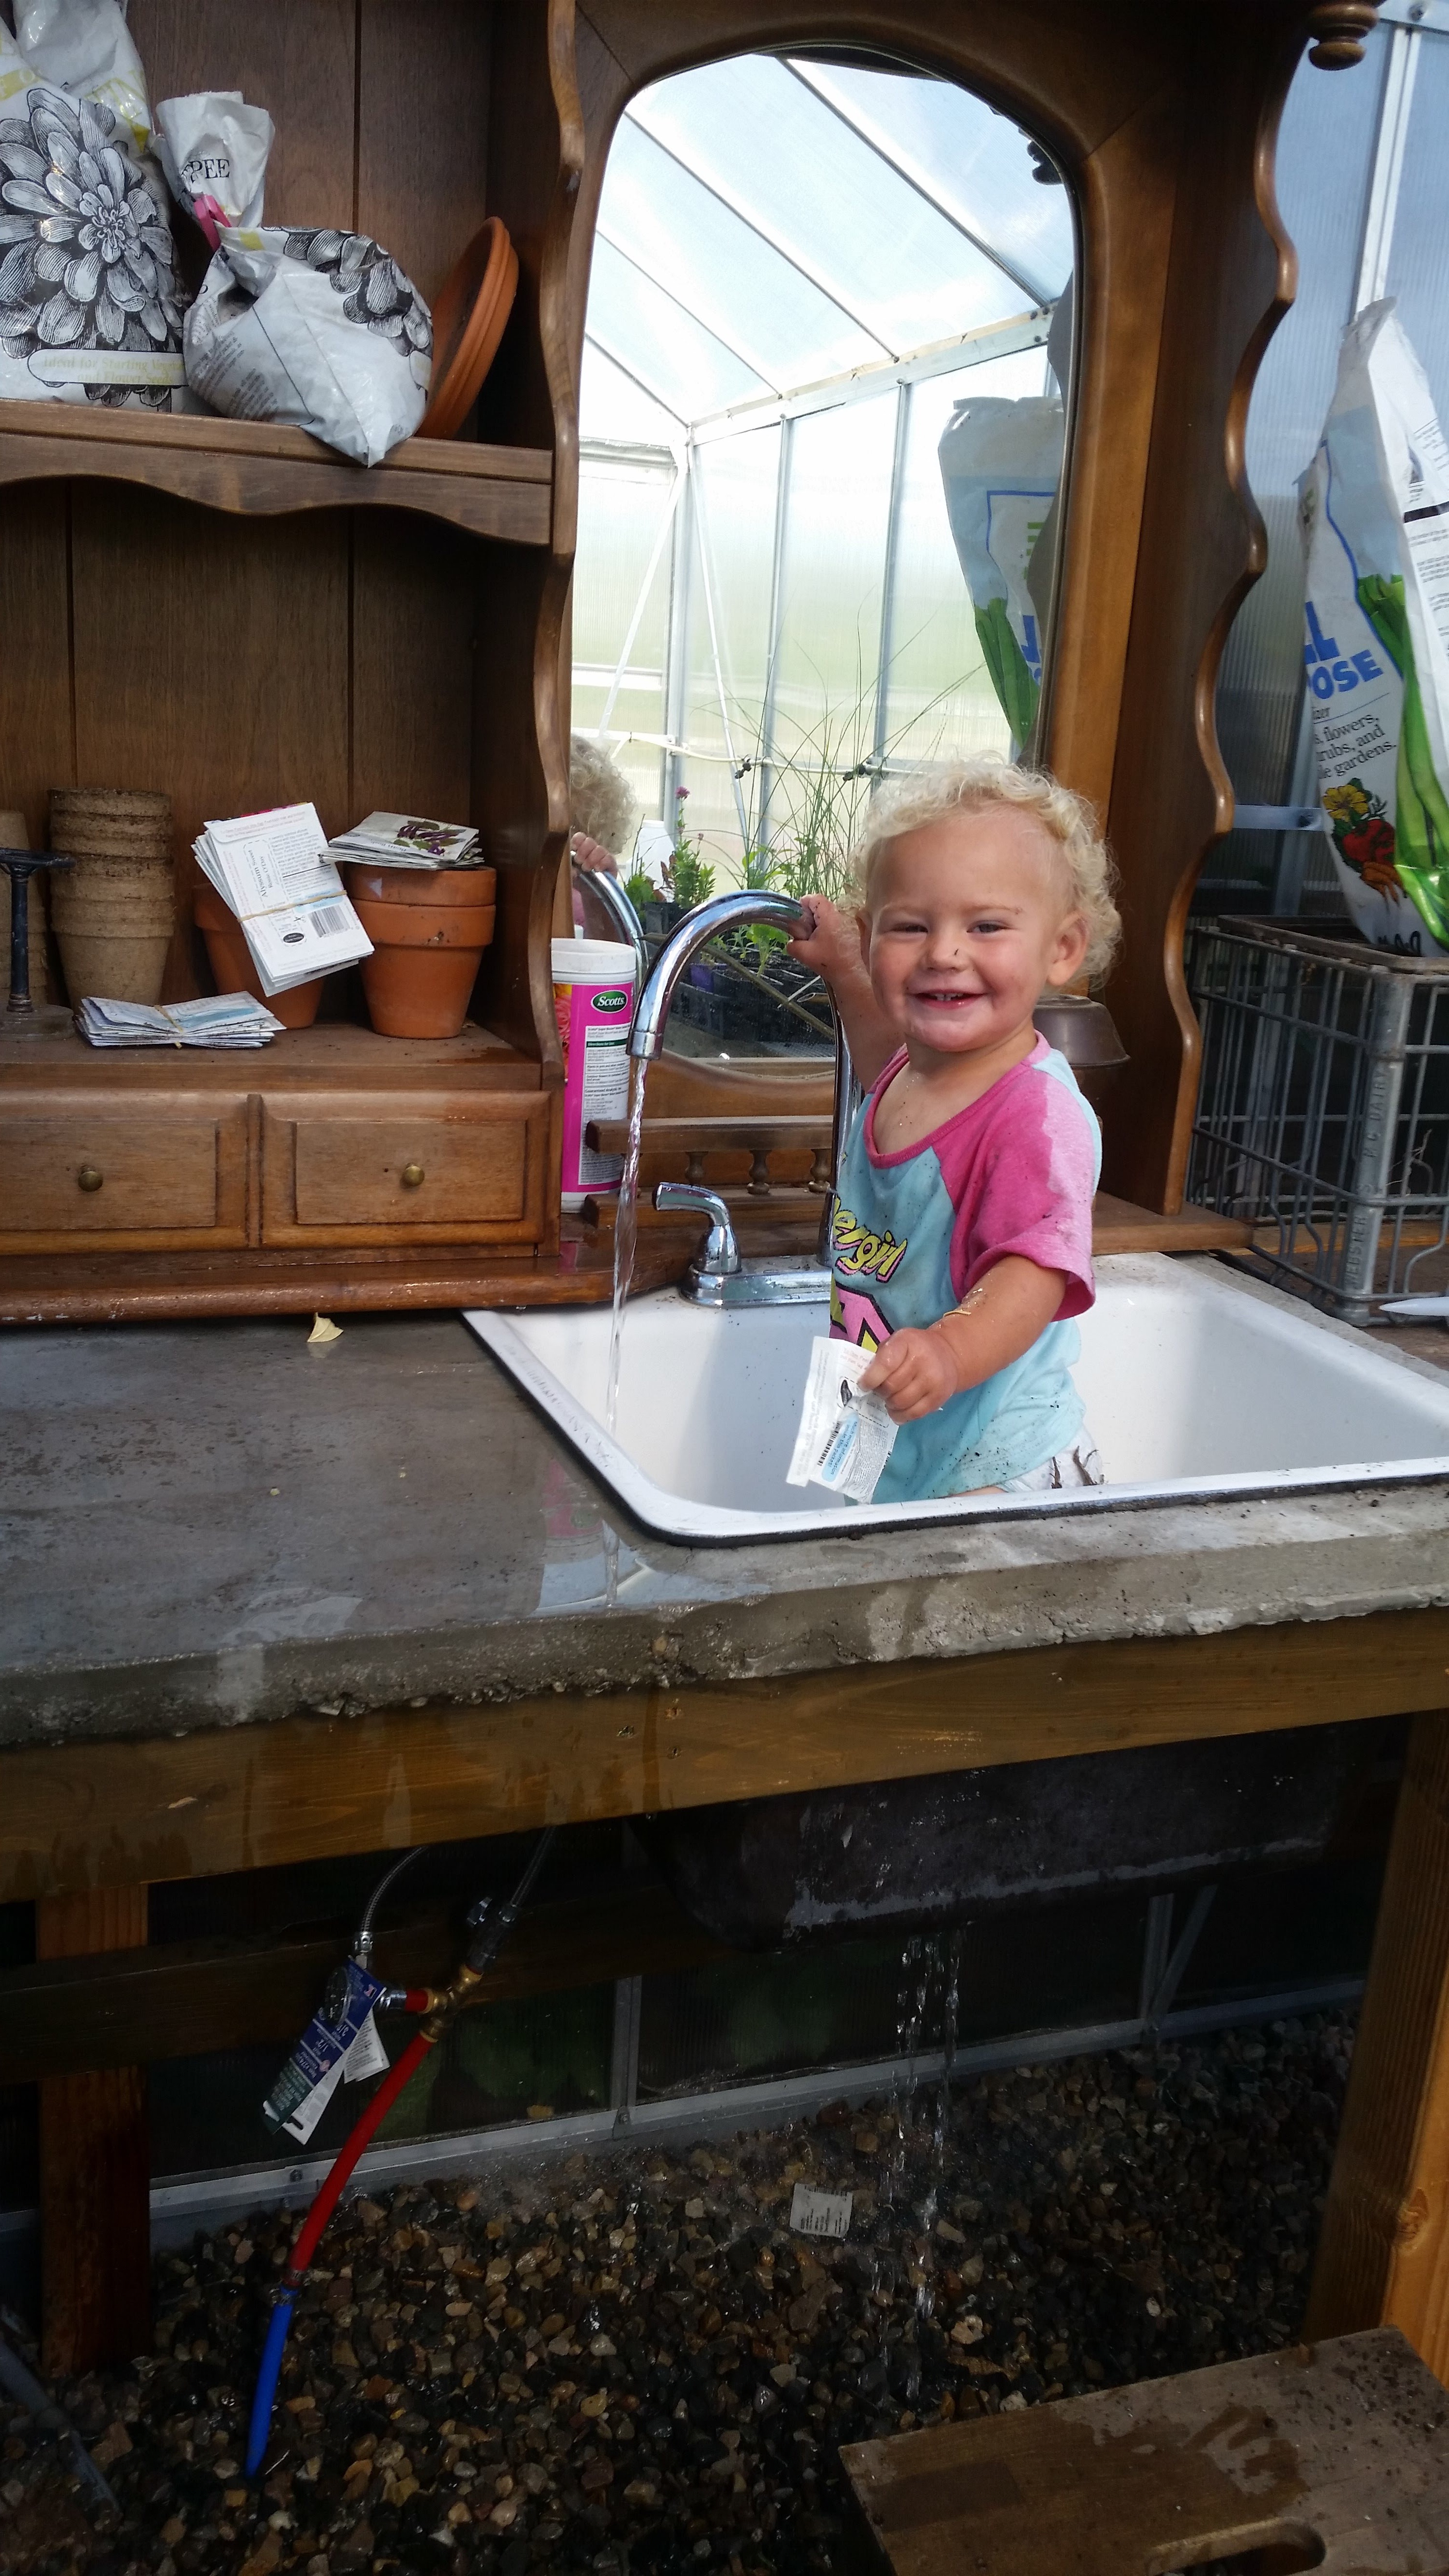
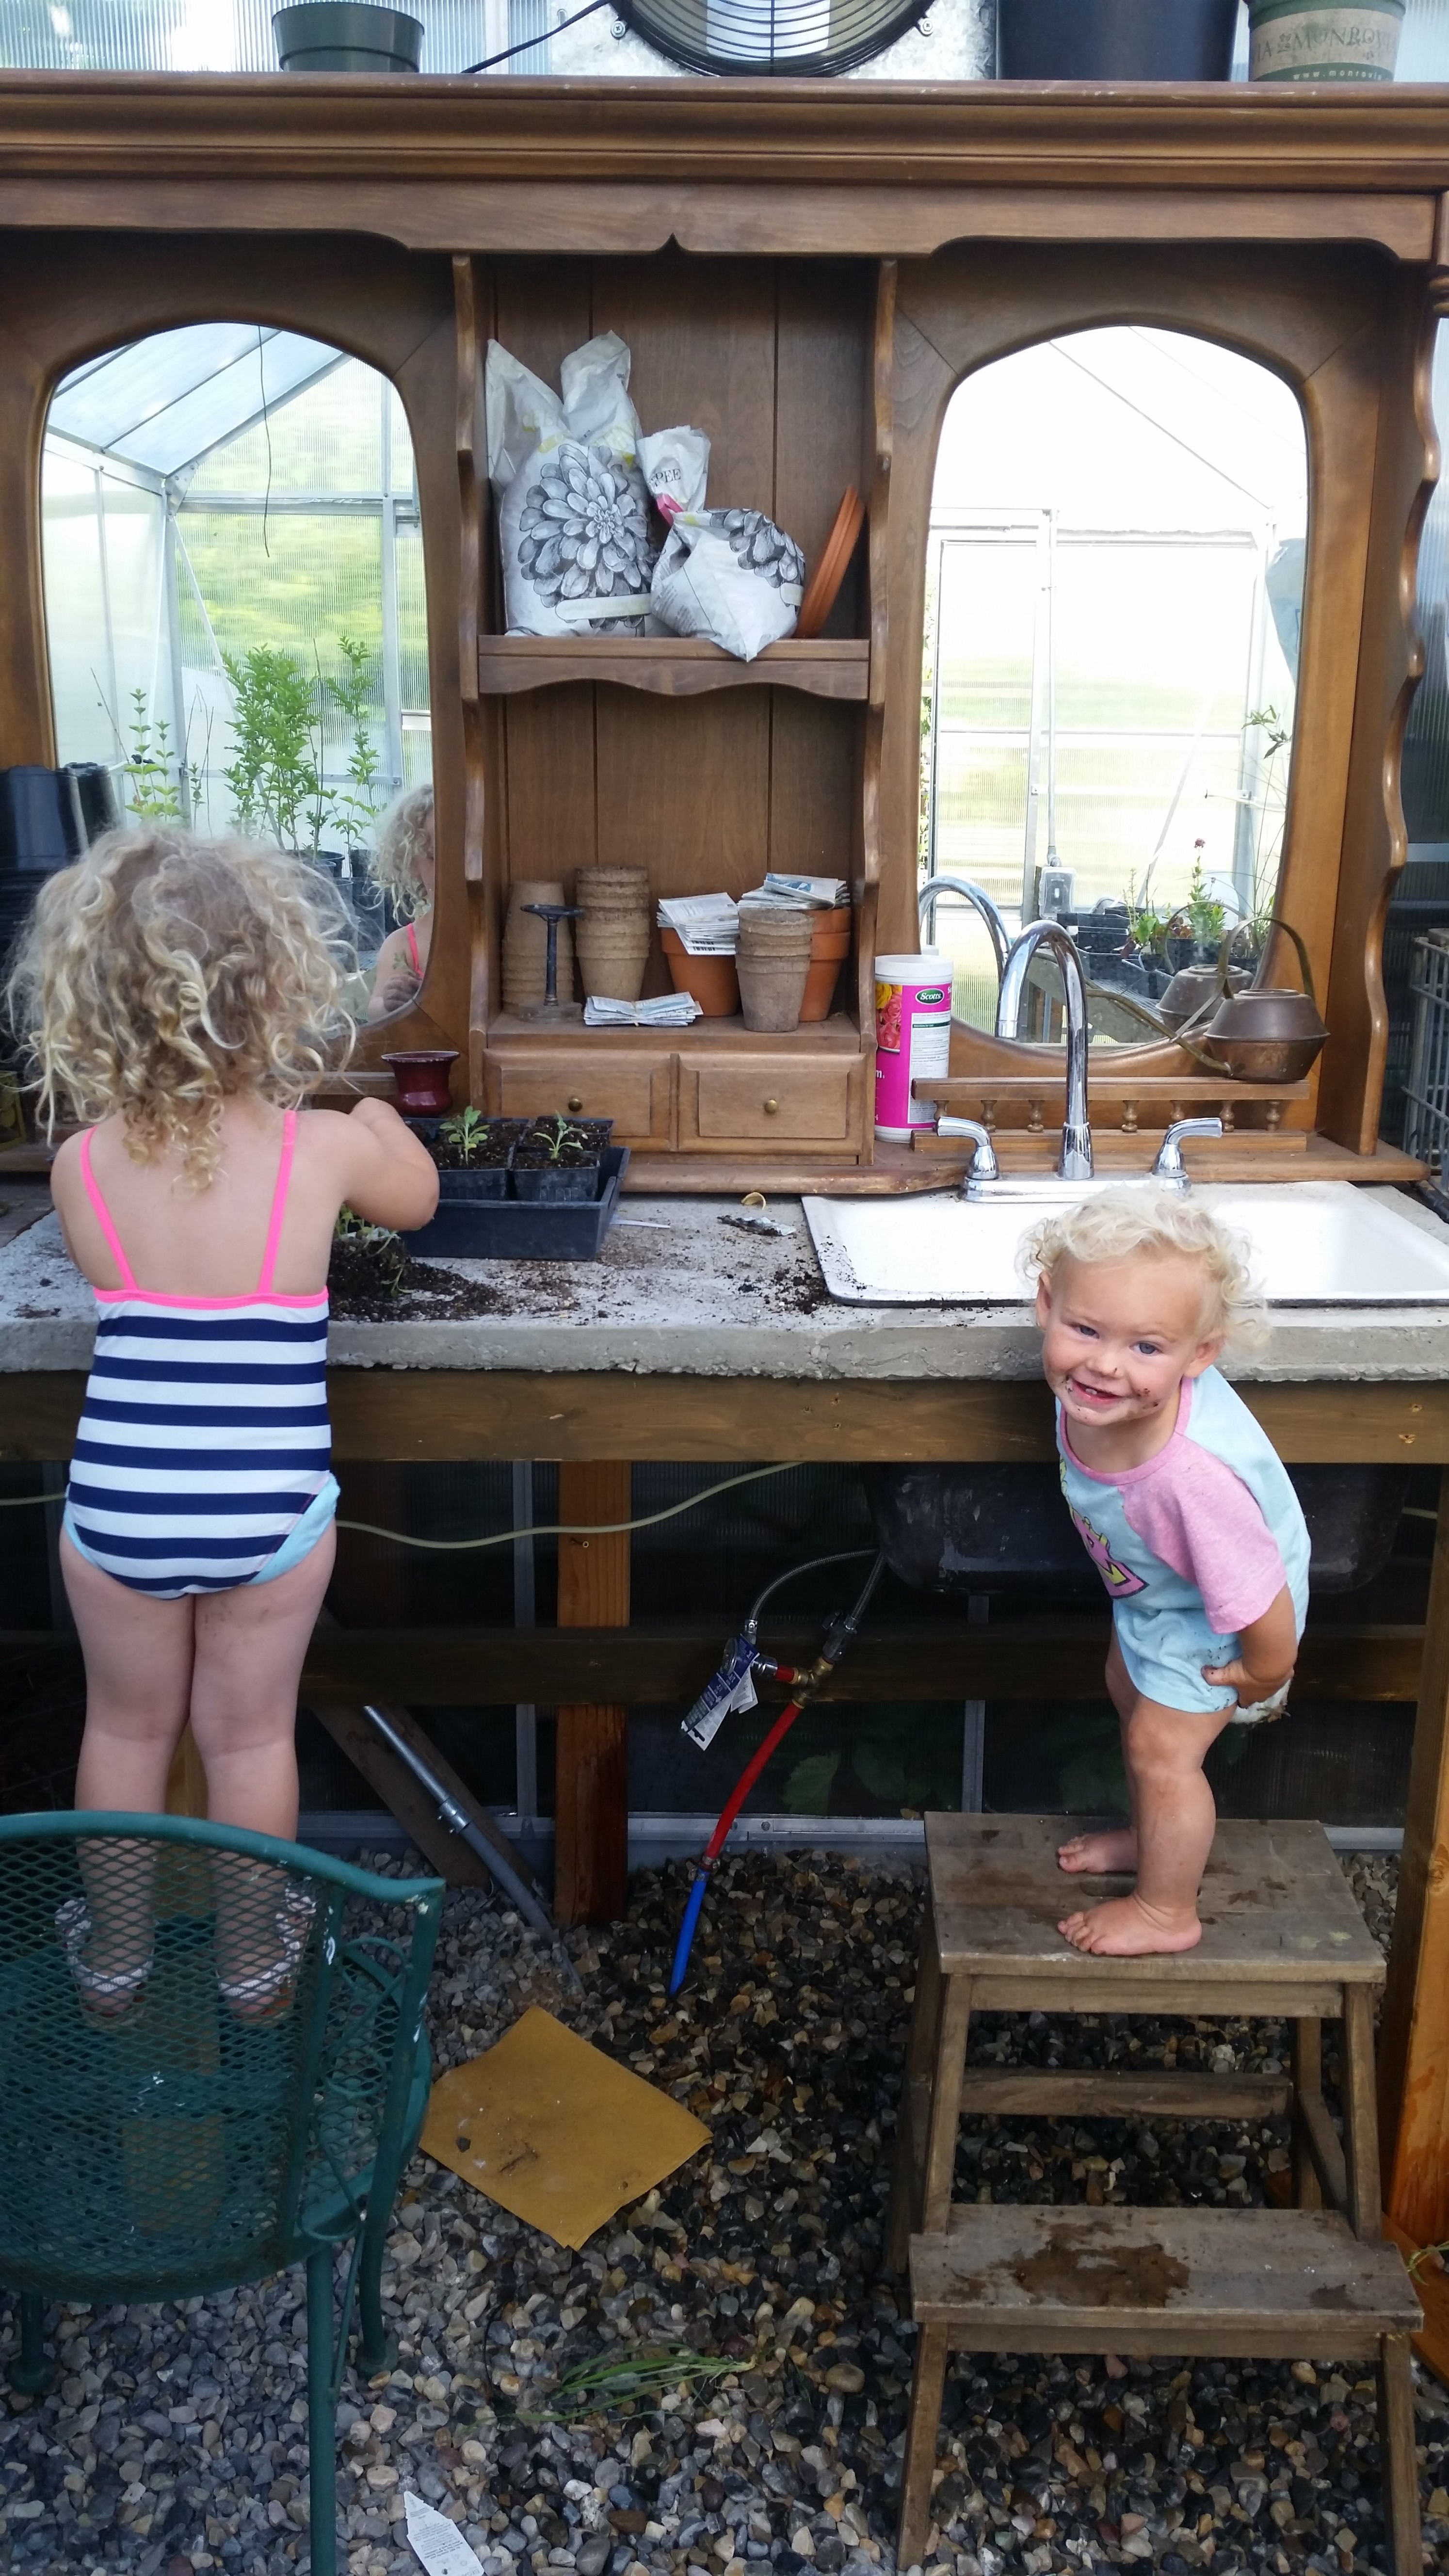
This might be my favorite part of the greenhouse. Having a solid work area where I could put down seeds and divide plants was really important. I also wanted to be able to rinse my garden tools, wash my hands,  and fill up watering cans.  We found our impossibly deep cast iron sink at our local restore, and we used plywood and 2 x 4’s along with our extra hardware cloth make a mold for a concrete countertop.  The countertop supports an old, mirrored hutch that we found a secondhand store. I love having the two big mirrors reflecting the greenhouse and the rest of my garden.
Extras

One of the things we kept reading about the Harbor Freight greenhouse was that the panels would blow out in strong wind storms. Reviewers said that the clips holding the panels in work very effective, and that purchasing additional clips was a good option. Instead of adding more clips we ended up using self tapping screws  to secure each panel to the frame.
Filed Under: Greenhouse, Life + Baby, Projects, Propagation Tagged With: Backyard greenhouse, harbor freight greenhouse, harbor freight greenhouse modifications, Harbor freight greenhouse upgrades, hobby greenhouse

DIY Vintage Plush Play Veggies & Easy Image Transfer Tutorial

December 16, 2015 by Lacey 5 Comments

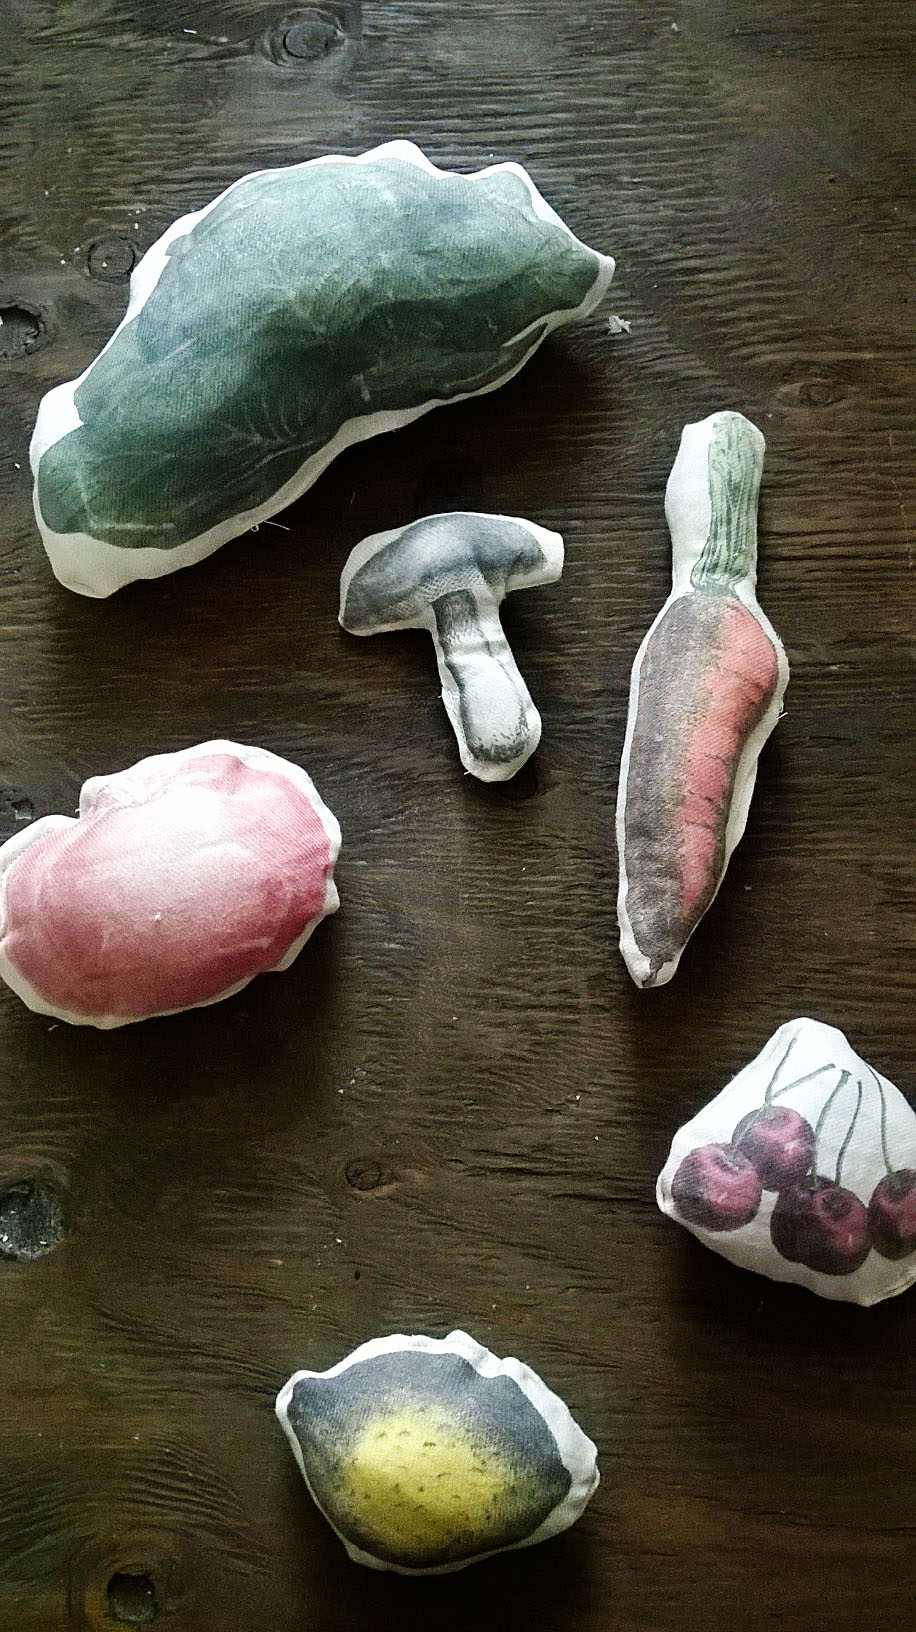
Fabric Food Header Image

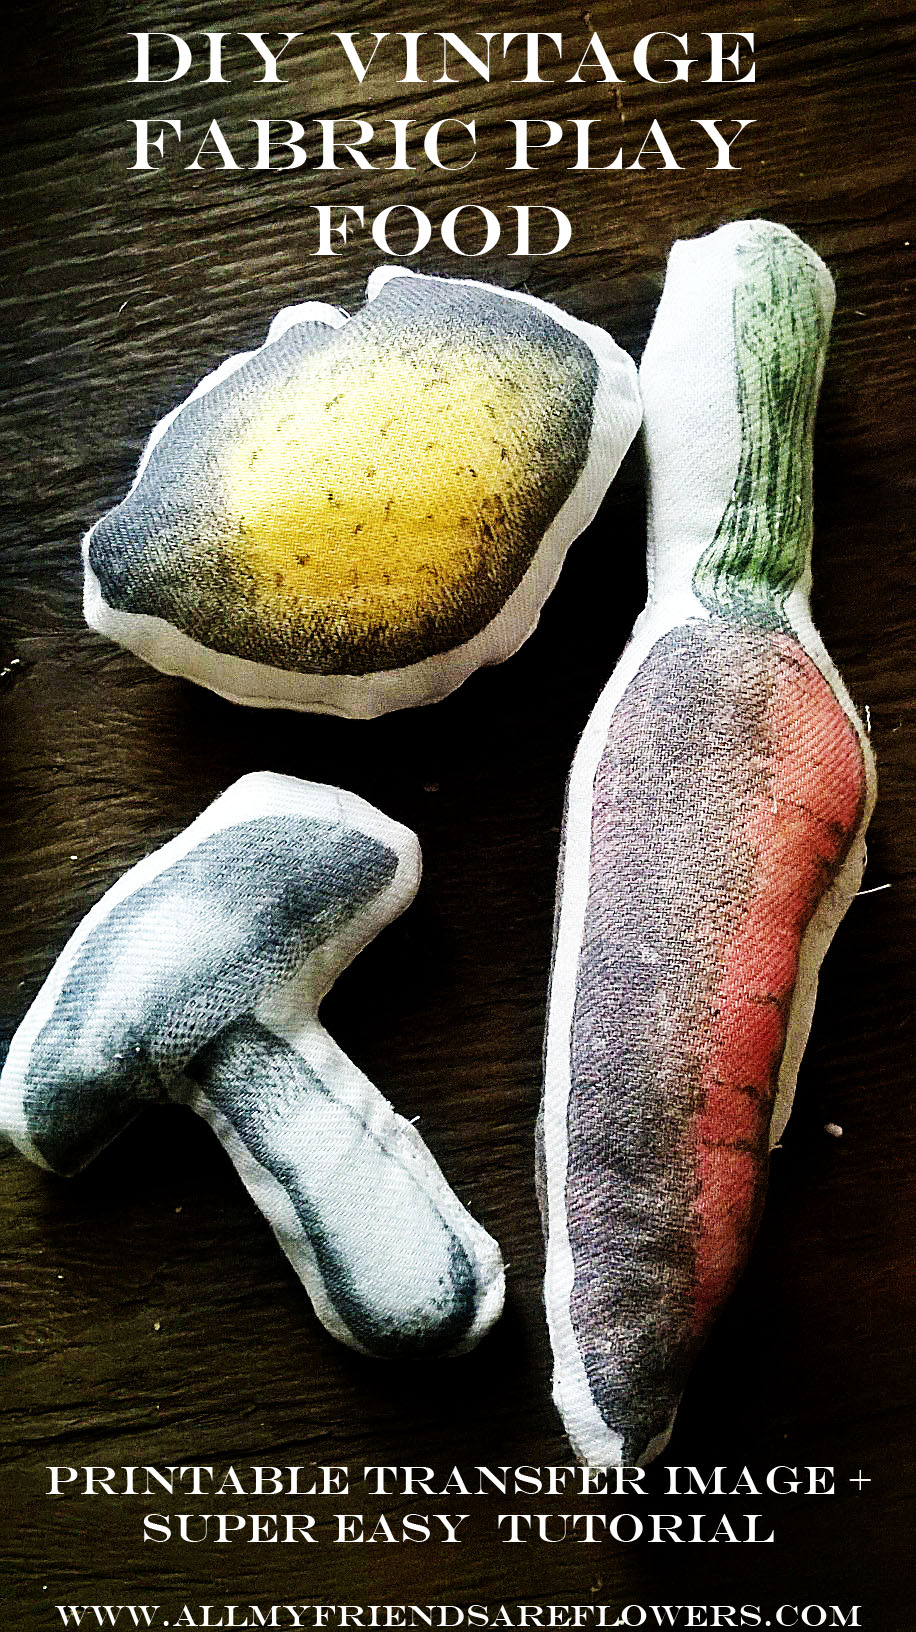
I am so excited to share this tutorial today!  Christmas is right around the corner and I’ve been working on a few homemade presents for my little 19 moth old girl.  We spend a lot of time in the kitchen together and she can play for the entire duration of our dinner prep with my measuring  cups and mixing spoons.  When I stumbled upon a wooden mini kitchen at a second hand store last month I knew it would be the perfect project to refinish and give her for Christmas.

A play kitchen can’t be complete without mini pots, pans, utensils, and of course play food!  I started searching around on the internet earlier this month and completely fell in love with all of the Melissa & Doug brand wooden fruits and veggies, I think they look classy and I’d thought they’d make a good fit with the rustic/vintage look of her kitchen.  However, I wasn’t ready to spend $25 for just a few pieces.  I looked up “diy play food” on Pinterest and found a ton of tutorials for felt food, which inspired this fabric food project.  So here we go…..

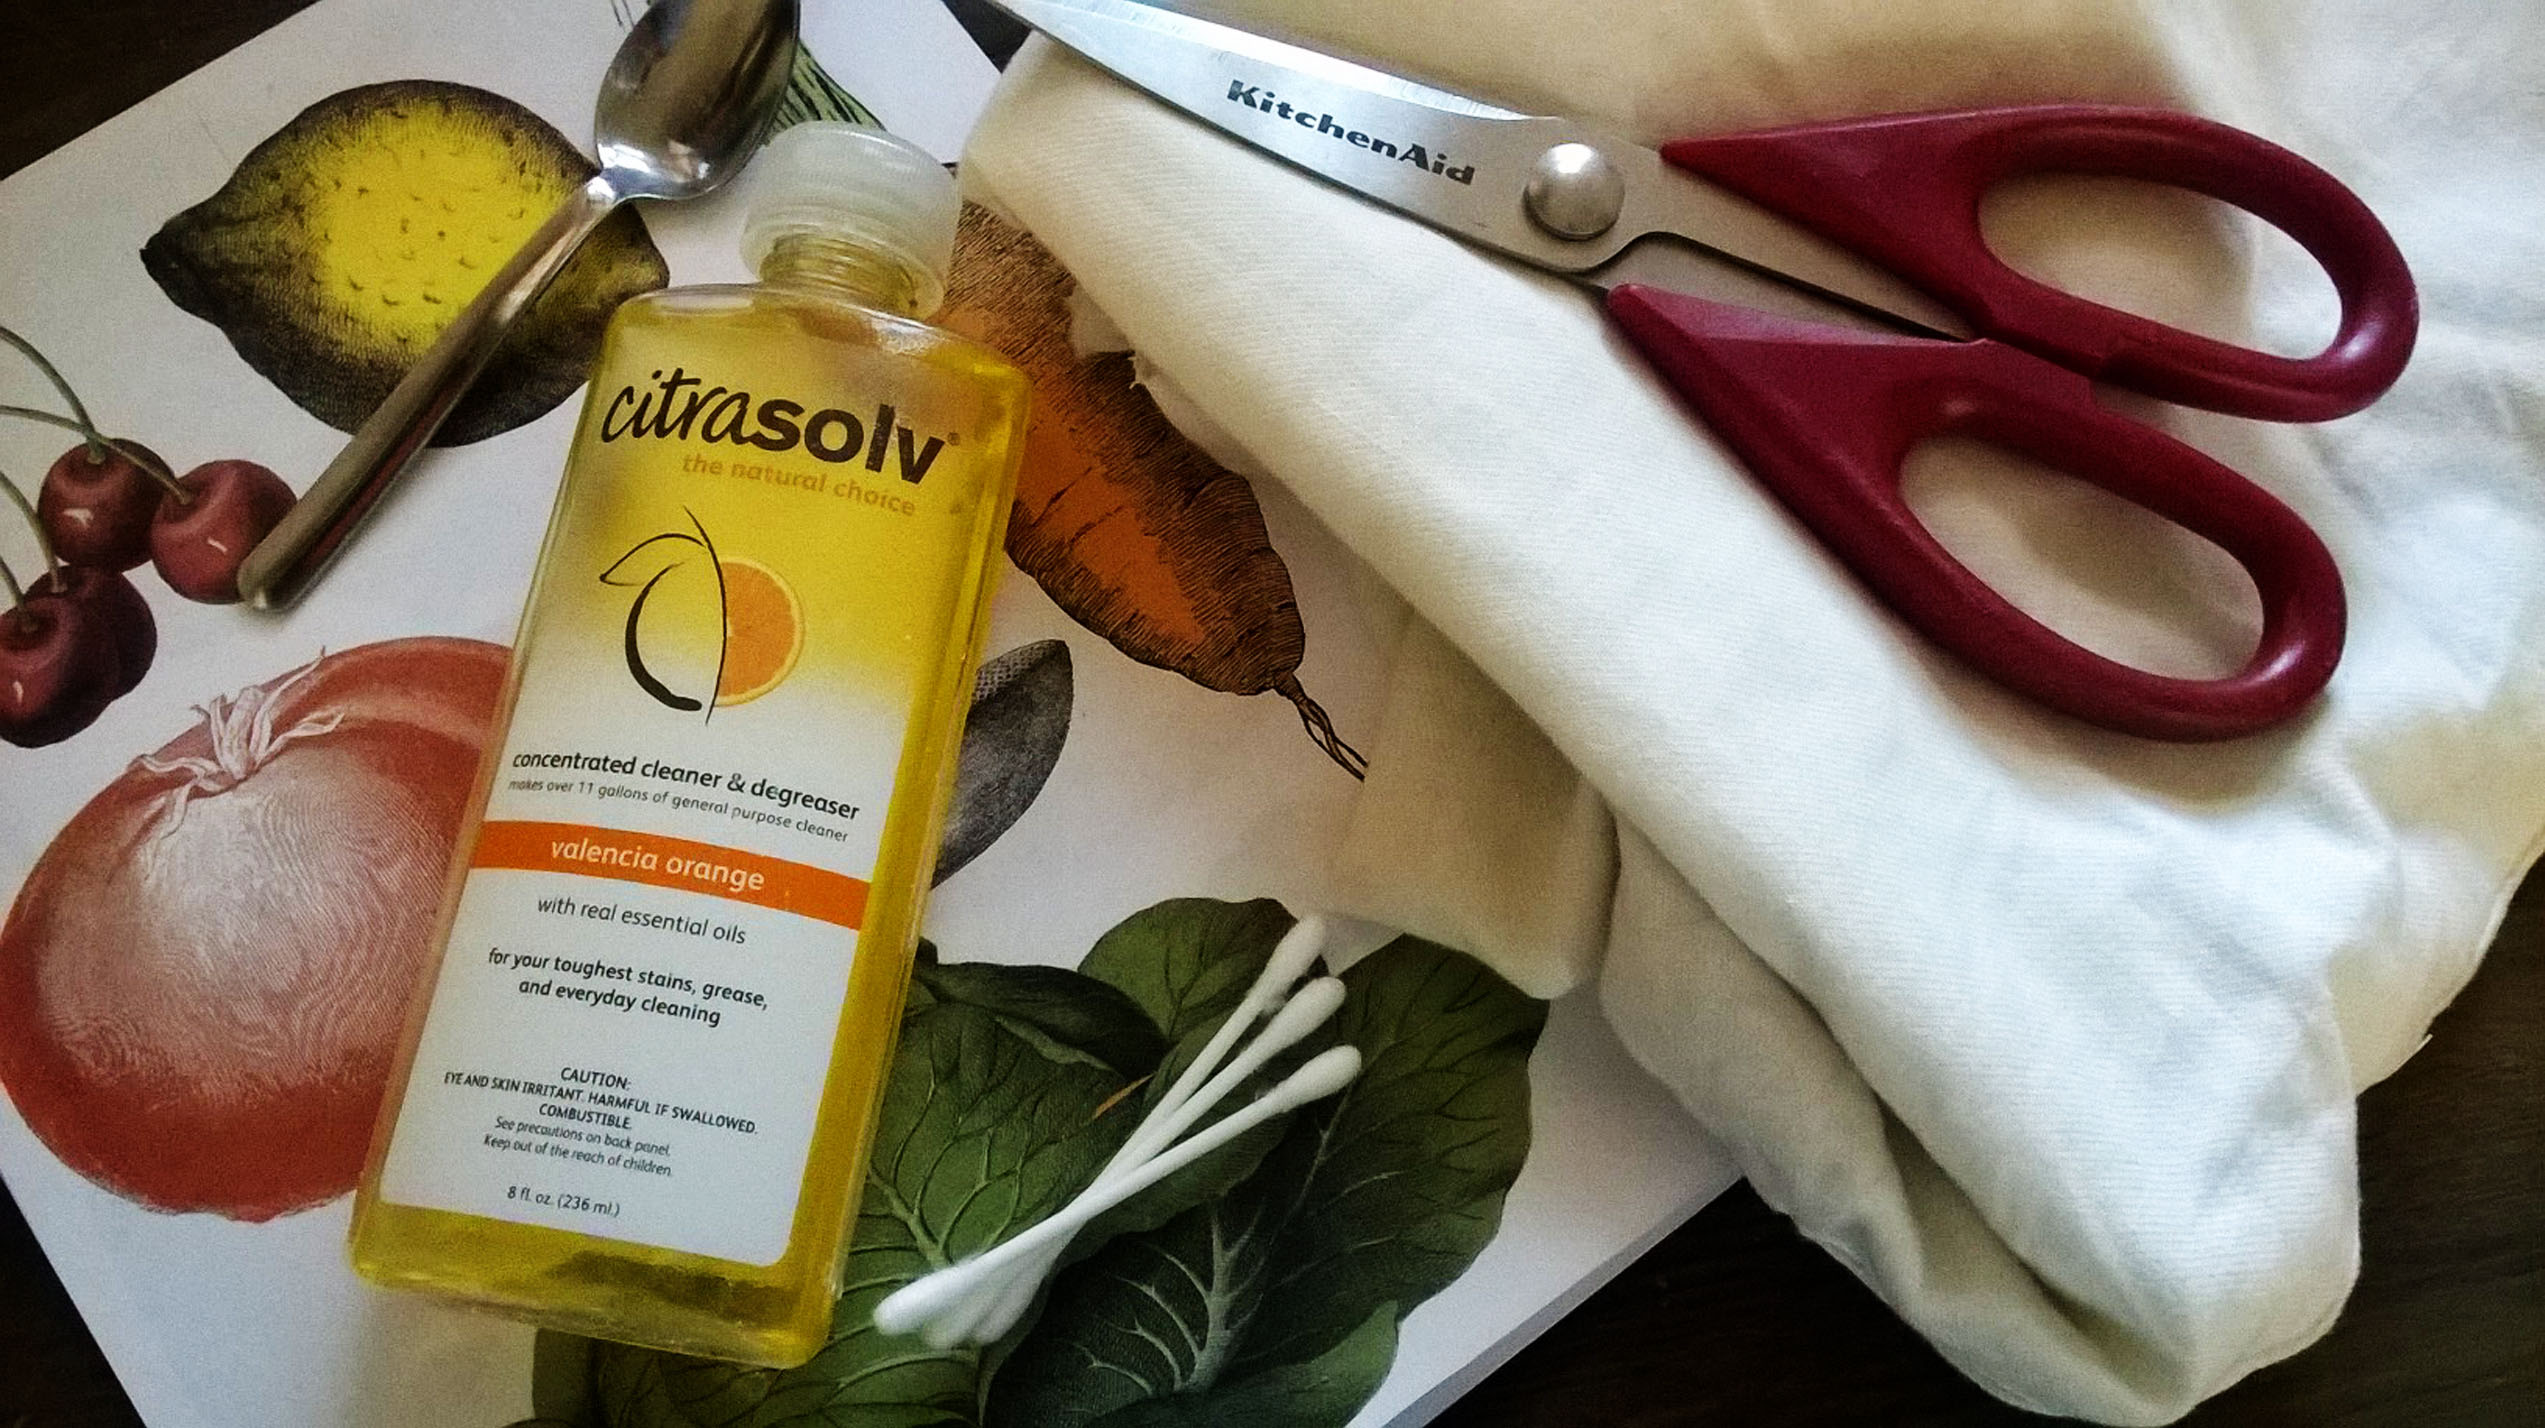
Image Fabric Transfer Supplies


For this project you’ll need:

  • Citrasolv.  This is an all-natural cleaning product that I found at Whole Foods.  I’ve also seen it in the cleaning section of my local grocery store.  If all else fails there’s always ordering online.
  • Vintage Food Image, you can download here. In order to transfer, you’ll need to print with a toner based printer.  Since I have an ink jet at home, I ran to a copy center and printed it there for a couple of cents.  If you want your food to be double sided, print two copies. Images courtesy of the Graphics Fairy
  • Scissors
  • Cotton balls or Q-tips
  • Spoon
  • White or cream colored fabric for transfers
  • Cotton
  • Needle and thread/sewing machine

Image Transfer Process Transfer steps

  1. Cut around each veggie/fruit and place it ink side down on the fabric
  2. Apply Citrasolv to a Q-tip or cotton ball and rub the back of the image, the picture should be easily visible once the Citrasolv is applied
  3. Grab a spoon, and using the flat side, rub the image
  4. The paper may begin to rub away and that’s OK.  The ink is transferring to the fabric below.
  5. Rub the entire image. Don’t be tempted to remove the paper to check you progress, lining the picture back up exactly where you left off can be tricky.
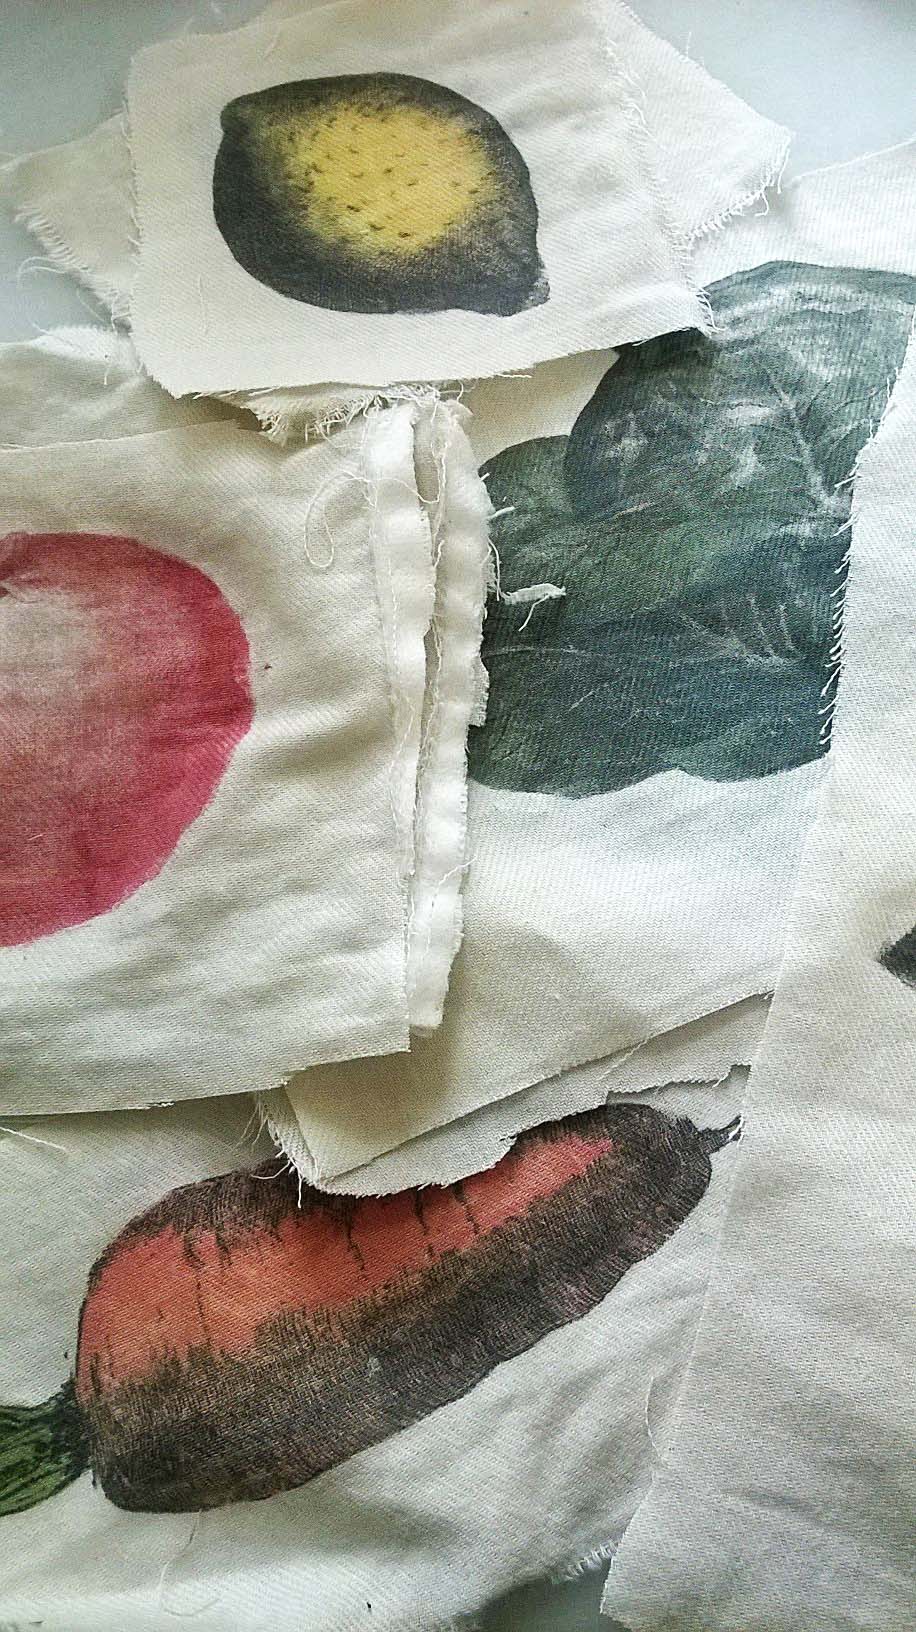
  6. Remove the paper and marvel and the beautiful image transfer you just completed!

Repeat this transfer method for each of the pieces.  If your’e doing a double sided veggies you’ll need two of each. And if you’re going to do all of them at once you’ll definitely need a helper.  The rubbing part of the transfer cramps up your wrist.

Food Transfer Complete


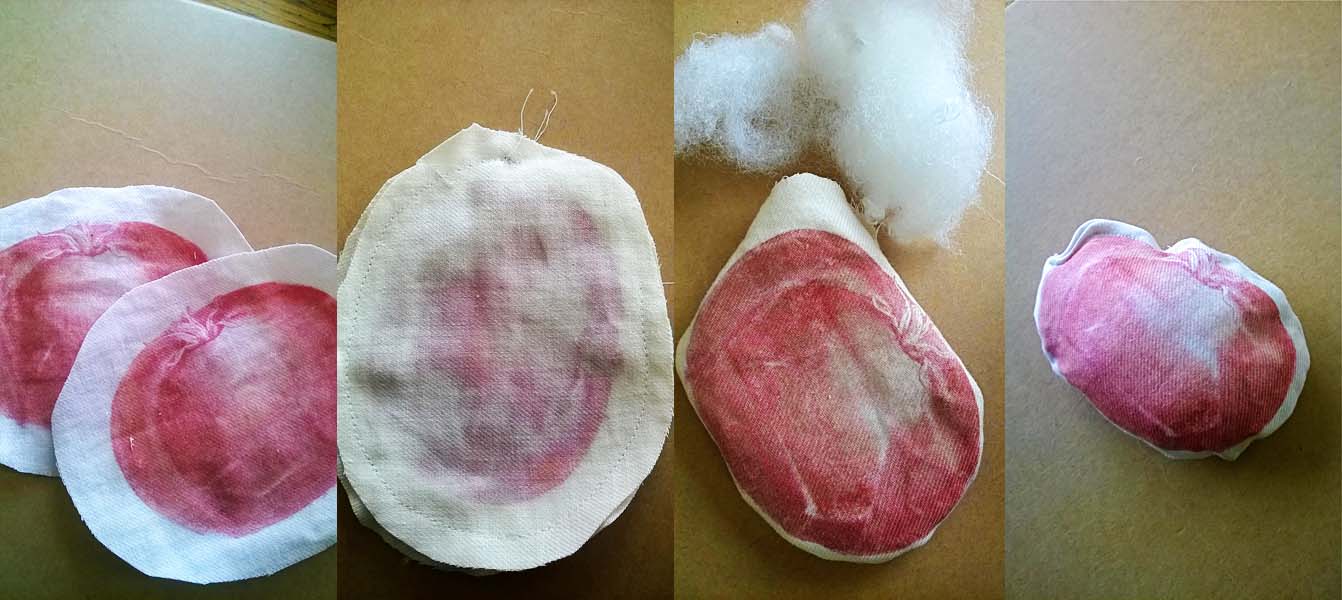
Next, trim around the edge of each set, making sure that there’s an inch or so between the edge of the veggie and the edge of the fabric. Next, place the inked sides together, matching up the edges of the fruit as close as possible.  Sew around the fabric, about 1/4″ from the colored veggie edge, leaving a 1″ opening.  Pull the fabric right side out through the 1″ opening and fill with fluffy cotton to your desired plush-ness.  And finally, tuck the edges of the opening into the center and sew along the opening.   Fabric Food Sewing Steps

TA-DA!!! All finished.  Now all that’s left is to wrap them and stick them under the tree.  I’m thinking I’ll add some fabric bread, muffins, and eggs to her fabric food set. Hope you enjoy the tutorial

Fabric Food Final


Filed Under: Graphics + Downloads, Here's How, Life + Baby, Sewing, Slider Tagged With: DIY Play Food, Image Transfer to Fabric, Sewing Food

Sweet Pea Baby Nursery Printable

July 28, 2015 by Lacey Leave a Comment

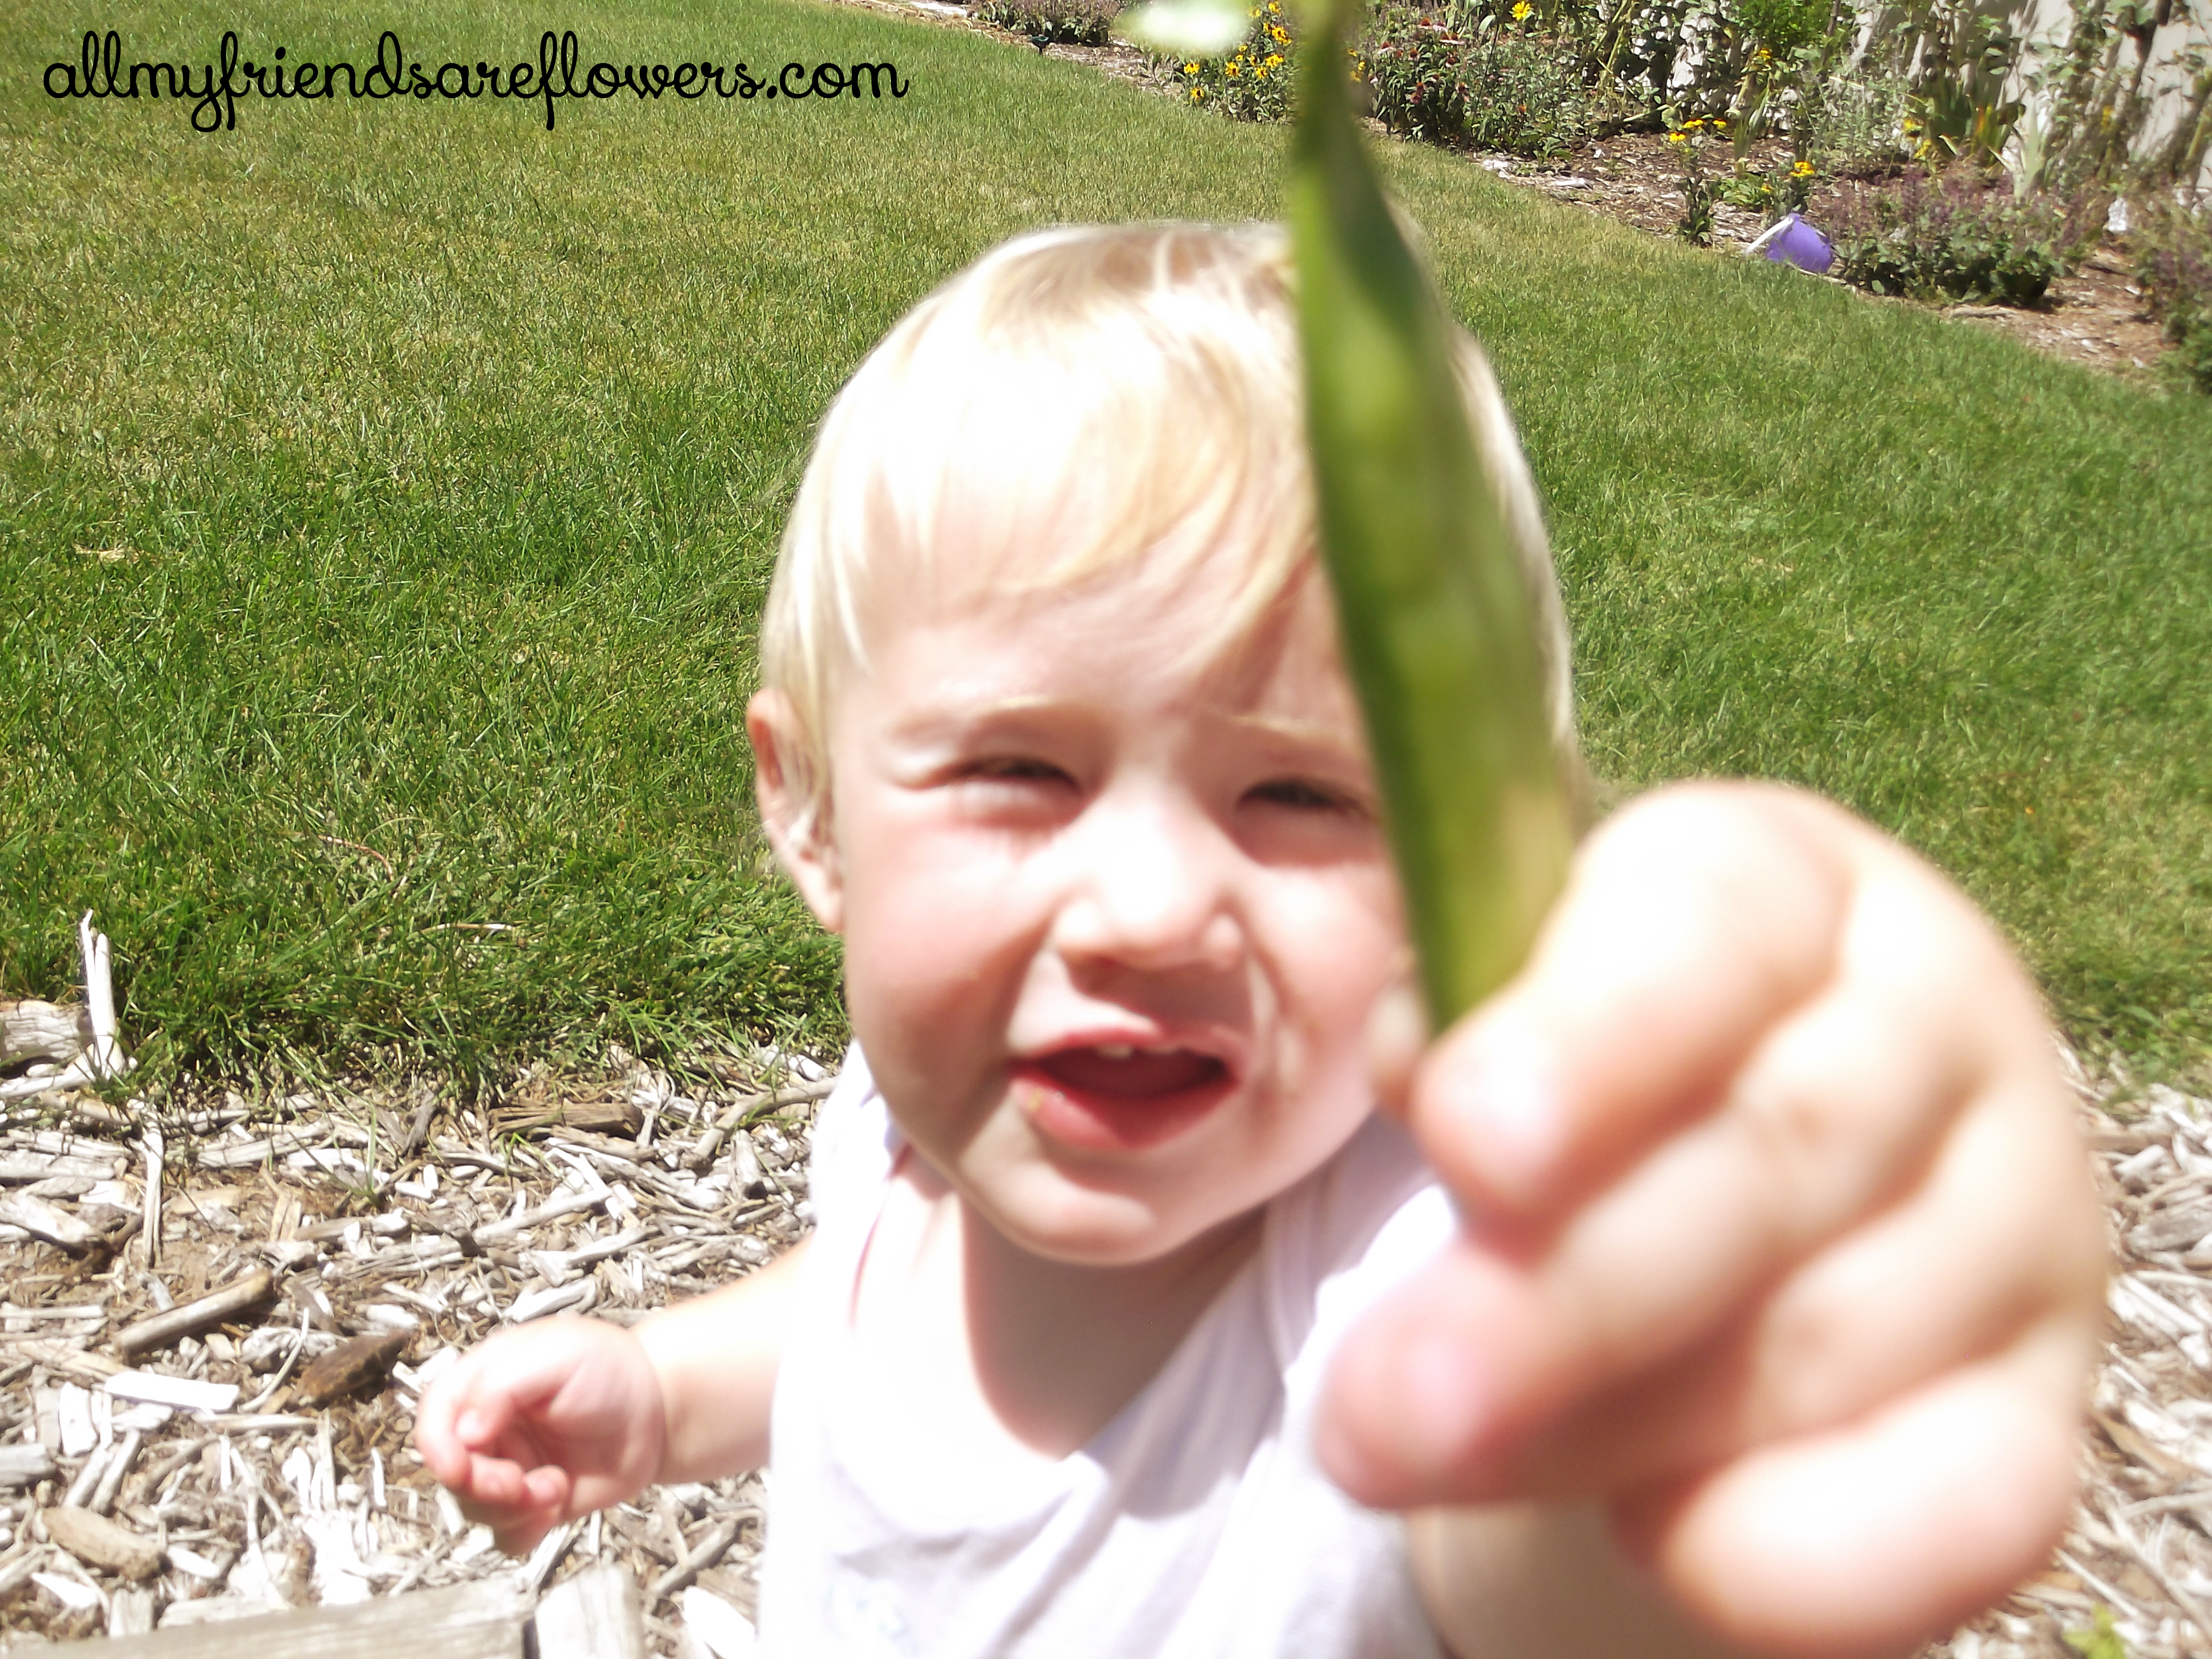
My first round of ripe garden peas appeared in early June.  I plopped my baby girl in between the raspberry bushes and the cantaloupe vines to play in the mulch while I harvested a heaping bowl full of sweet, delicious peas.  Her interest piqued as my husband and I sat, opening the pods and munching.  Soon she demanded on sampling some for herself.  She packed her cheeks full, then started chewing on the pod.  It made me a proud momma to see so much green going eagerly in to her tummy.  I watched her a few weeks later crawl through the forest of zucchini, and plop herself in front of the row of peas, carefully selecting the big pods and going to town.   Granted, she about uprooted the whole plant as she pulled the pods off the plant but I just thought it was too adorable to even care.

My second round of planting has just proven fruitful, and we went outside today to sample a few.

alta sweet pea

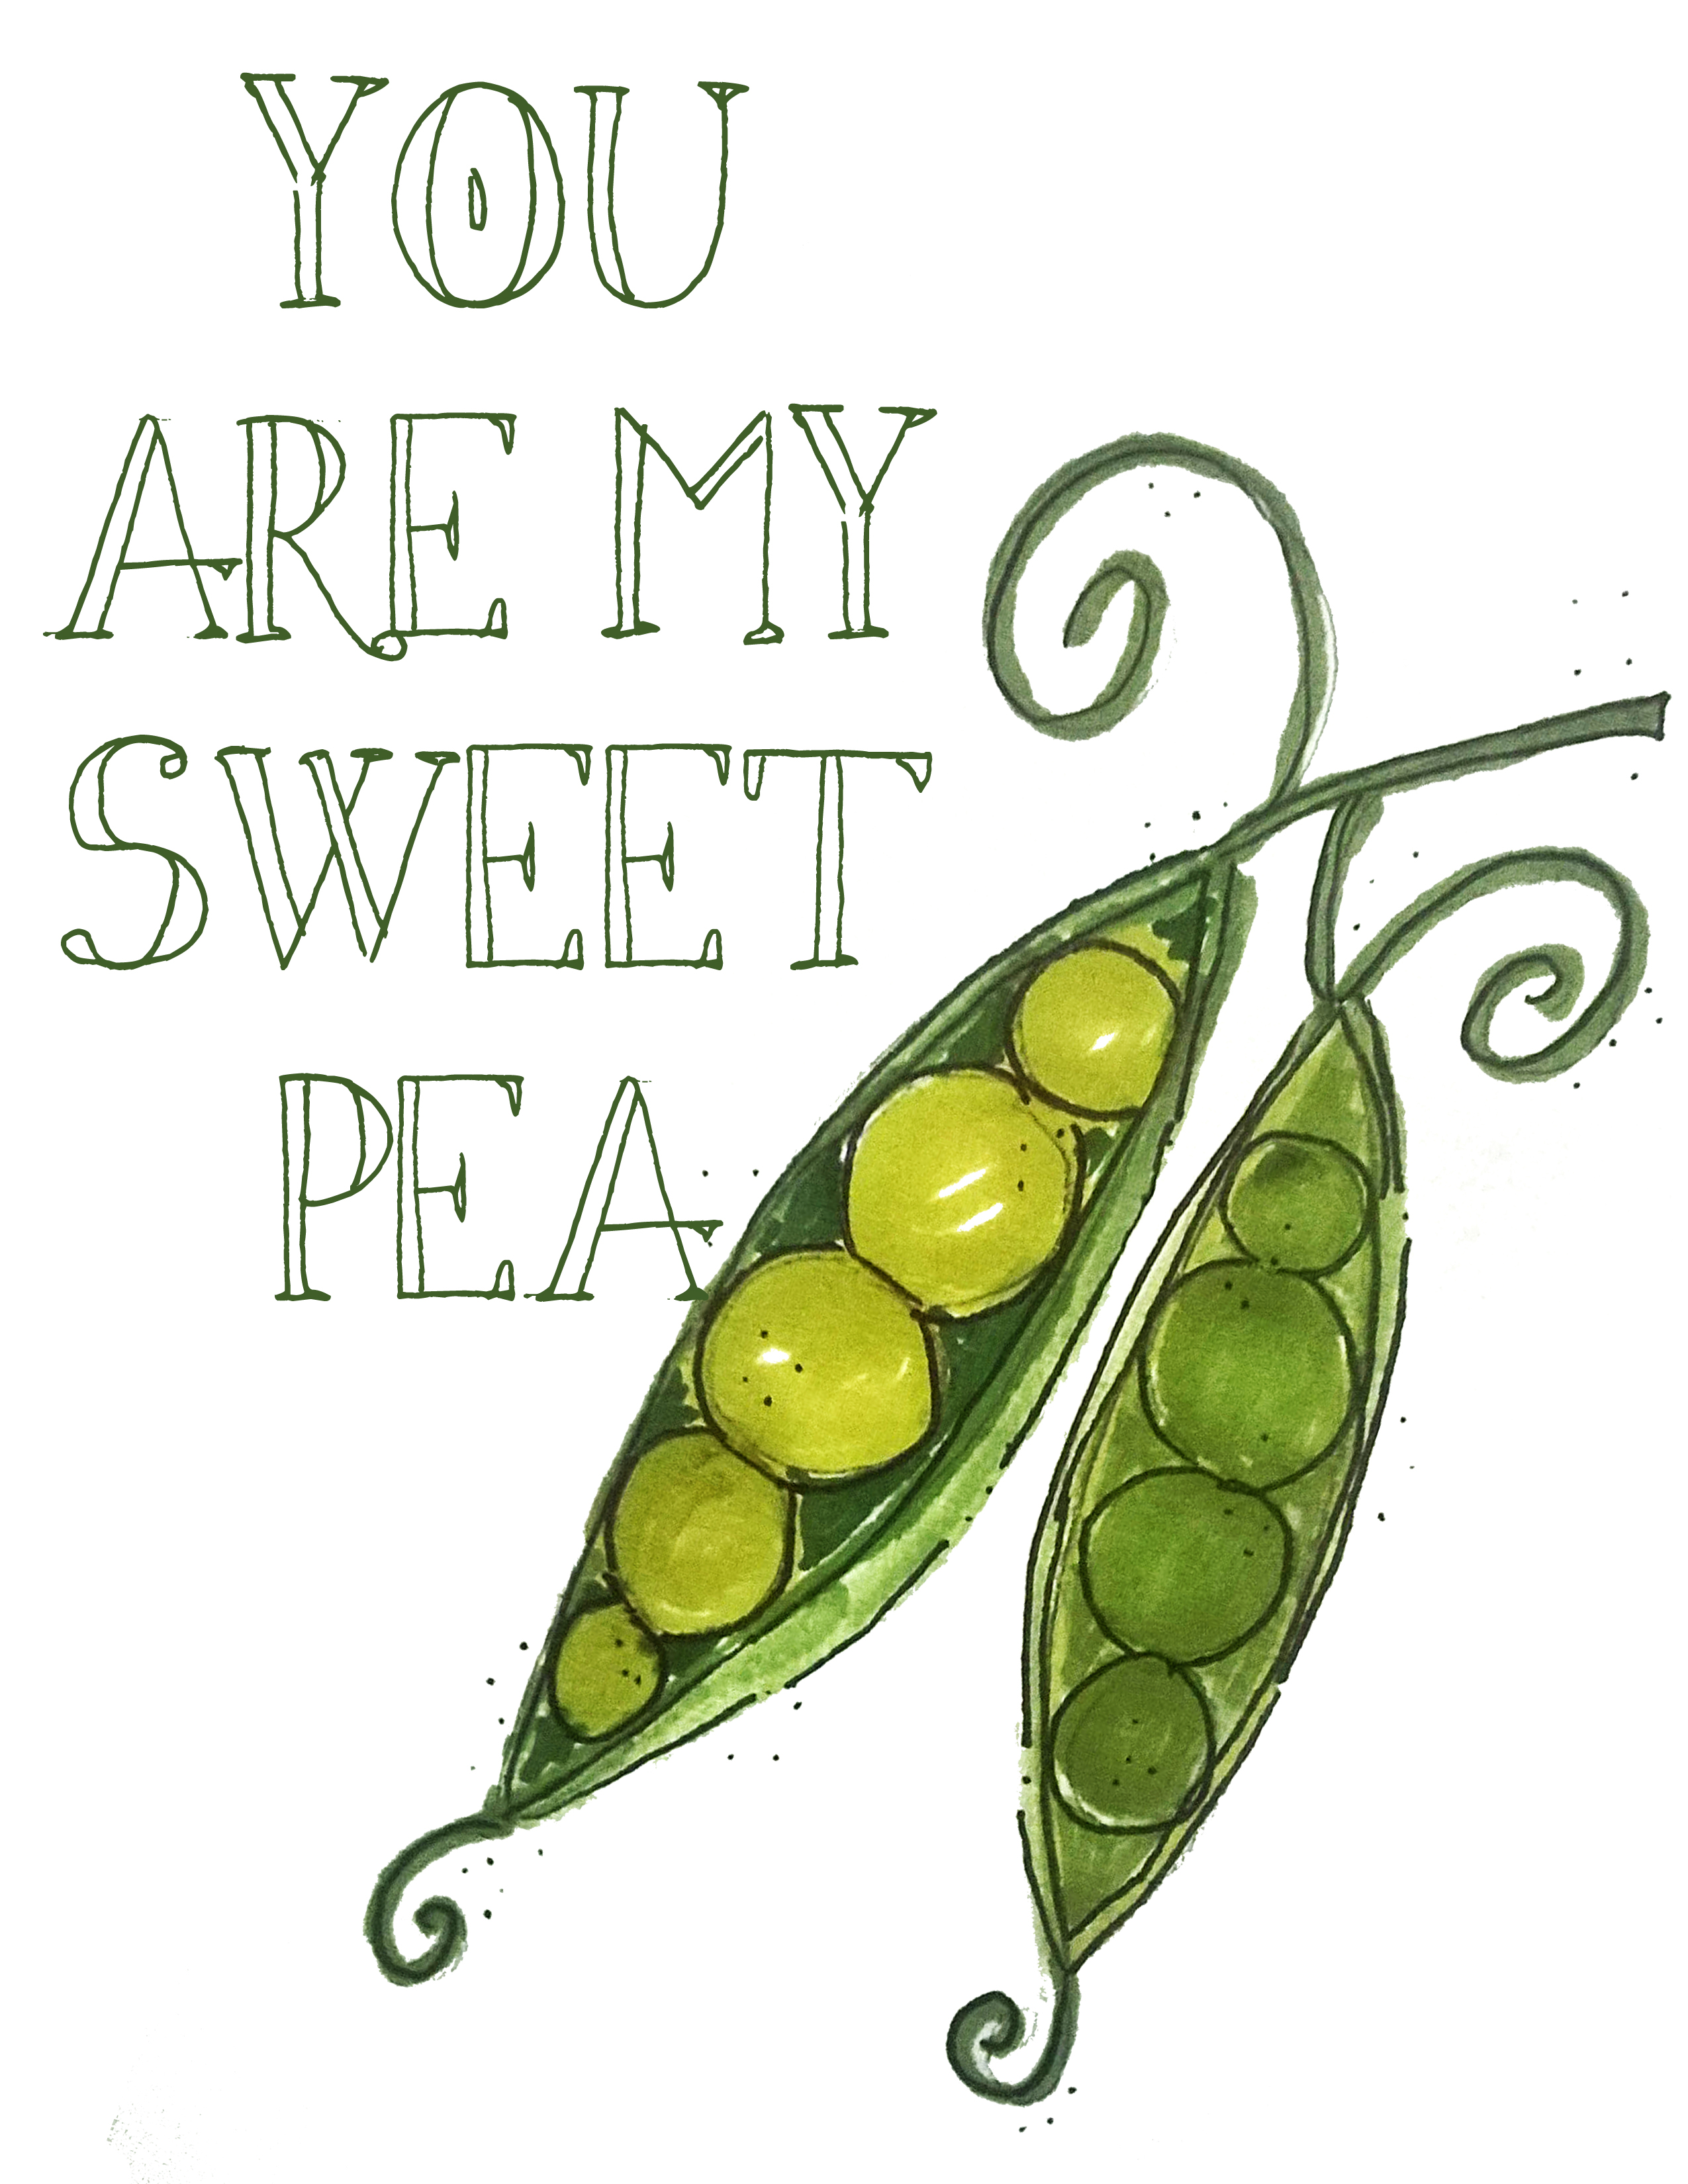
I’ve been trying to do some more botanical themed art for her nursery so I came up with this printable….

you are my sweet pea nursery printable

download here in 8 x 10 or 4 x 6


Filed Under: Graphics + Downloads, Life + Baby Tagged With: nursery printable, pea nursery decor

Printable Kitchen Canister Labels + packing tape image transfer

January 3, 2015 by Lacey Leave a Comment

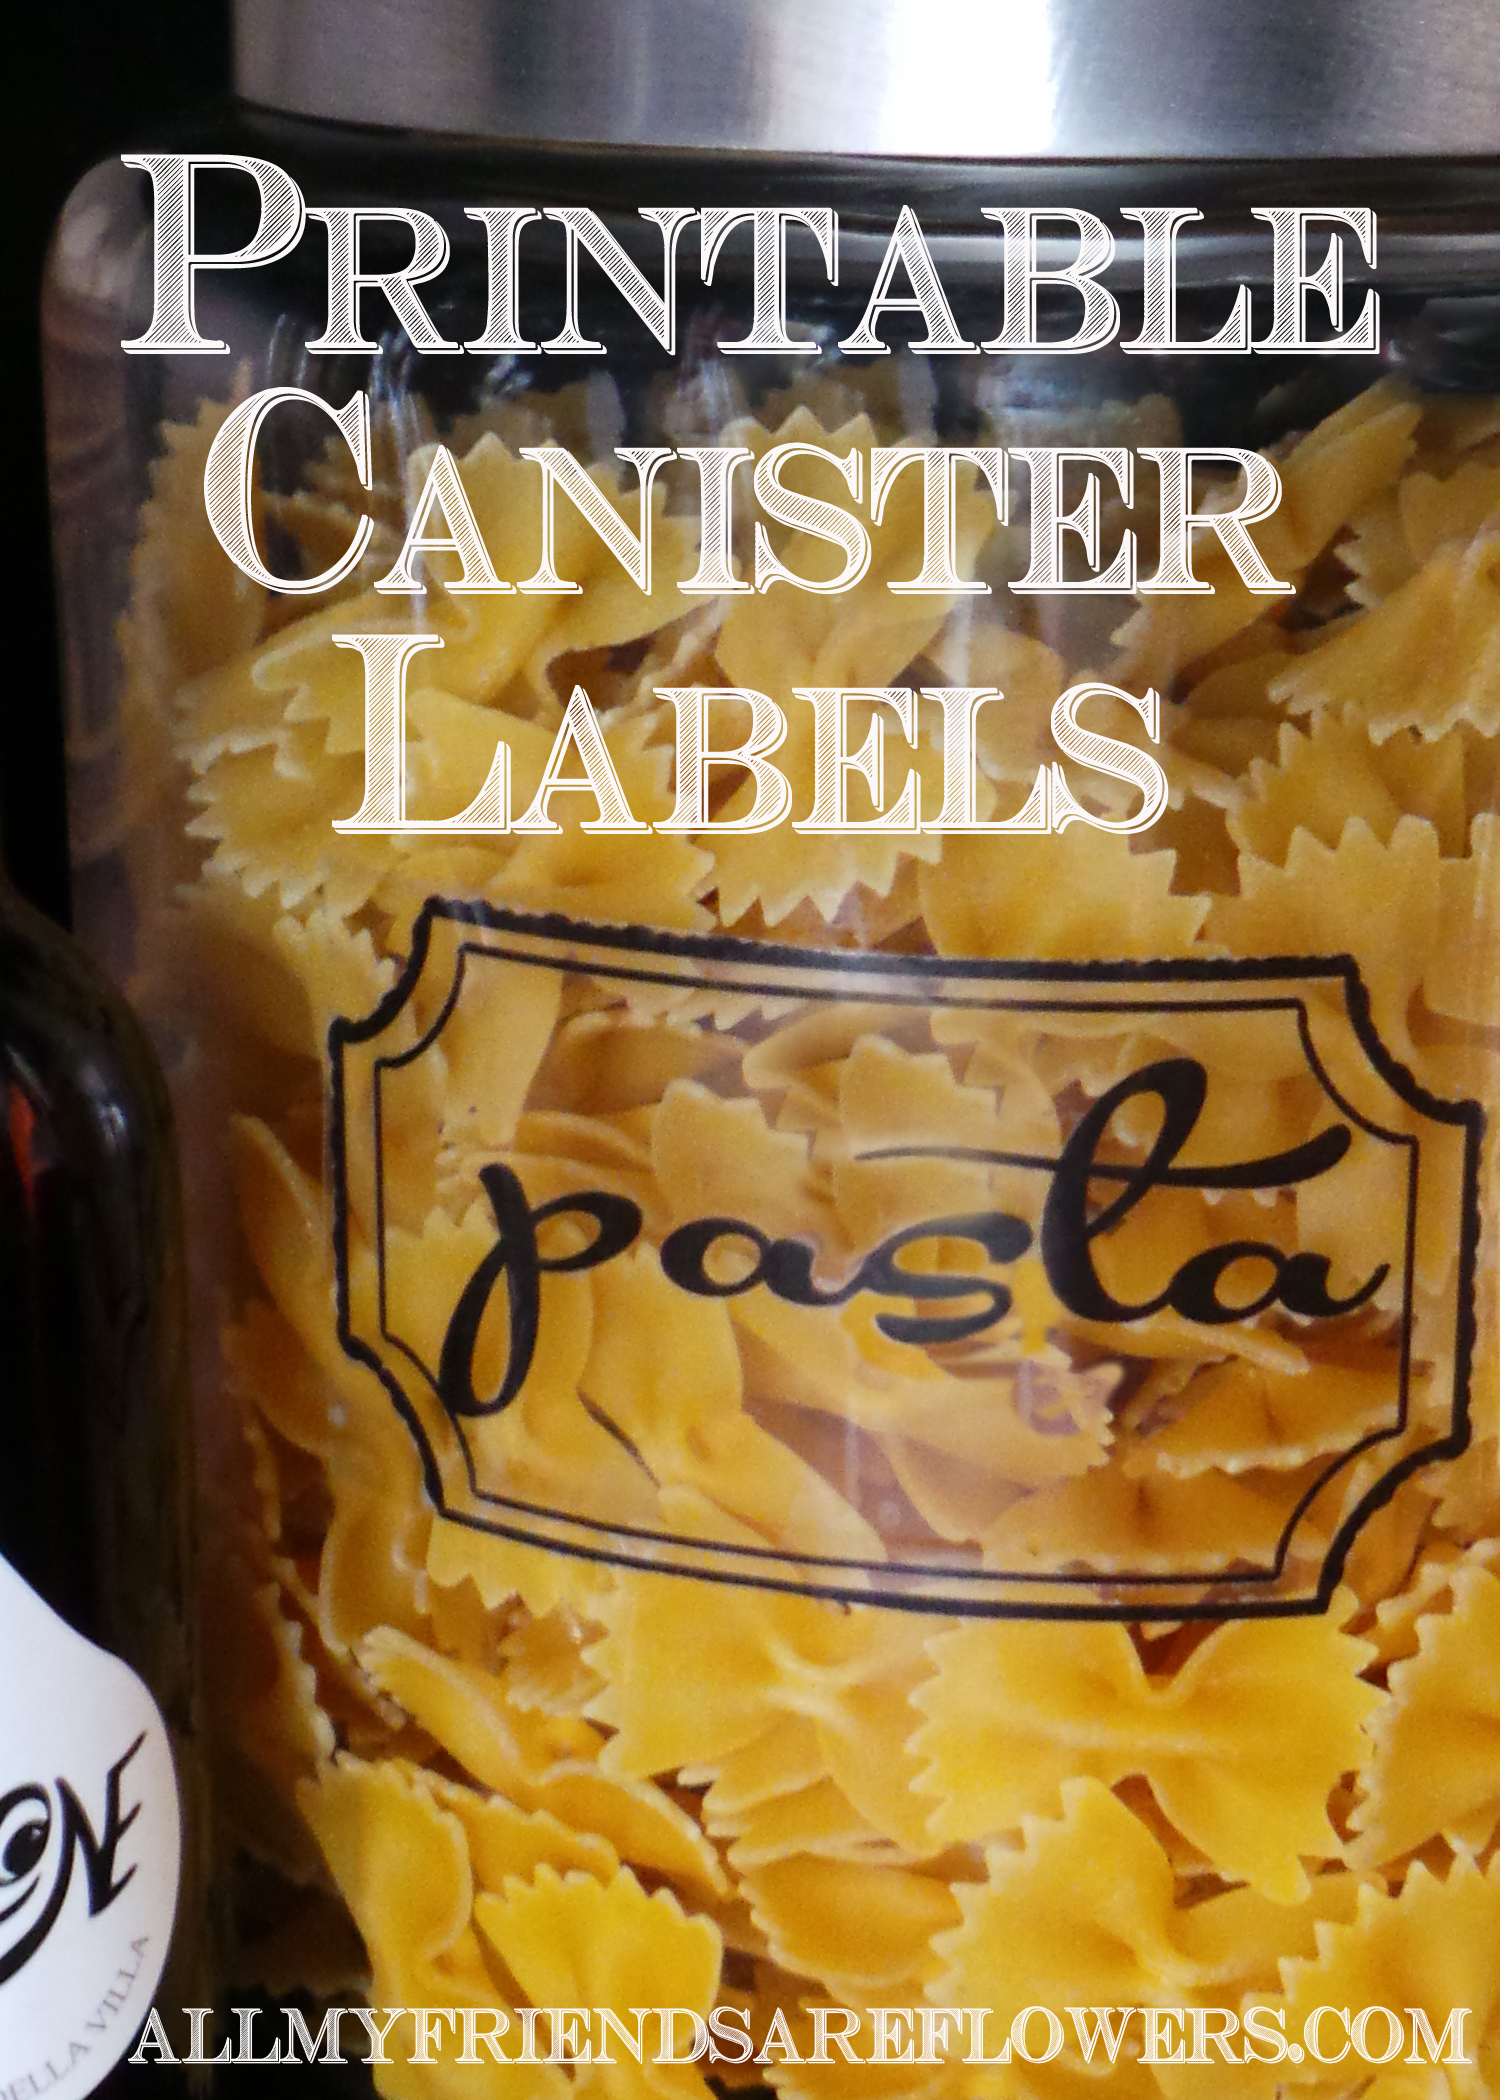
allmyfriendsareflowers canister labels

January, a new beginning.  I always feel that the beginning of the year is a new gardening milestone for me.  Something about the start of a new year makes me feel like it’s time to start planning out beds evaluating new varieties of veggies to try in my garden.  I have to remind myself to hit the breaks a bit, after all, the last frost in Utah county is still months away.

In order to slow down my garden hungry spirit, I try to turn my attention to the indoors.  I figure if I can get the interior of my home organized and running smooth during these winter months, that once spring starts to hit I can grab my trowel, head out my back door, and never look back.  Except for some laundry and light vacuuming I guess, but that’s good enough for me!

… 

Read More »

Filed Under: Graphics + Downloads, Here's How, Life + Baby

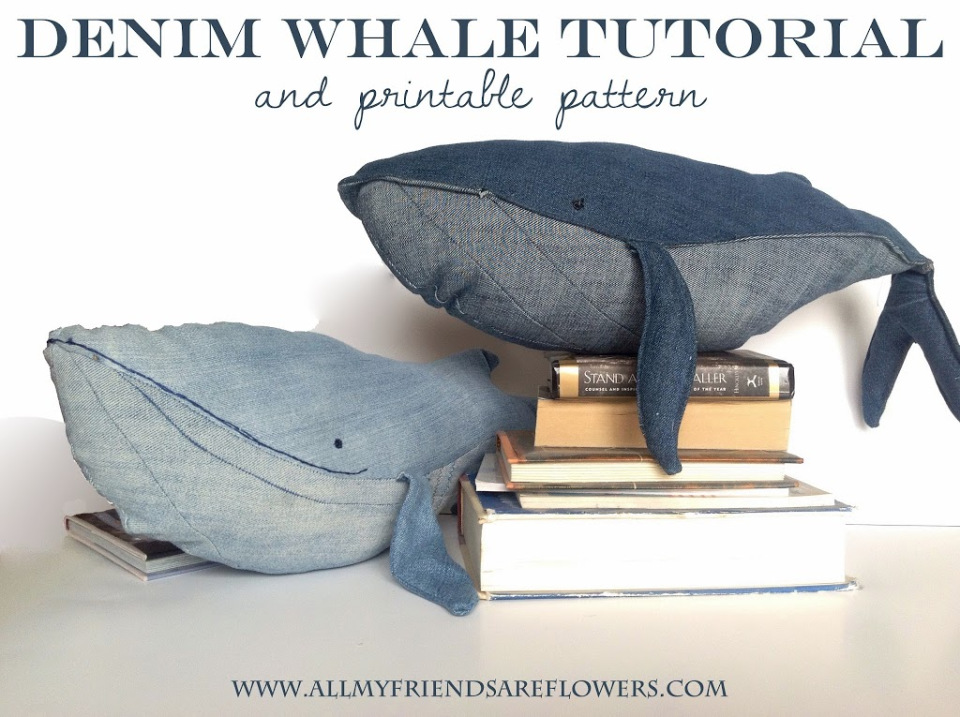
Denim Whale Tutorial & Printable Pattern

December 31, 2013 by Lacey

Whales-on-Books-for-final-blog-post

*****UPDATE**** If you’d like an adorable denim whale but aren’t up for making it yourself, you can buy one from my shop here**************************************************

I don’t claim to be a seamstress, in fact my sewing skills are novice at best.  But when I stumbled upon a denim whale on Pinterest the other day I couldn’t help but make a denim whale for my baby girls nursery.

The inspiration came from a whale I pinned off of this Finnish blog.  The pictures were great, but she didn’t give a pattern.  In fact she noted in her post that she draws her own pattern right on the fabric.  That wasn’t going to work for me.  I love to draw, but I also love to erase and redraw until I’ve got something just the way I like it.  The idea of erasing on denim didn’t really appeal to me.

So I drew my pattern out on notebook paper {which you can see pictured in my tutorial}  and made a few changes.  I wanted my whale to be a little more friendly, so a gave him some cartoon-ish features and made his lest anatomically correct.

The pattern isn’t perfect, not by a long shot. But I’ve used it to make two whales so far and it’s worked great for me.  The following tutorial is of the second whale I made, the dark blue guy pictured above.  I did a few variations at my little brother’s request and I ended up loving the changes.

My second whale has topstitched fins that we filled with fluff.  The first whale has floppy fins and tail, which I think suits him just fine.  Also, on the second go around I topstitched where the belly attaches to the top of the body.  This gave him a very distinguished, whale-like upper lip which I liked better than the embroidered smile I gave the light blue whale.

Remember, my pattern is free.  Feel free to use it to make whales for yourself, to give away, or go ahead and use it to make whales to sell.  However, please do not claim the pattern itself as your own or sell it in any way.  Also, if you repost this idea on your own blog please link it back to my blog and the original pattern.  Enjoy!


The All My Friends are Flowers Denim Whale Tutorial
First, download the pattern HERE.
It’s five separate PNG files that should print on standard 8″ x 11.5″ printer paper.  Because it’s printer friendly some taping of the pieces is required. Instructions are given on each sheet describing how they should be put together.
Next, find an old pair of jeans that you don’t mind cutting apart.  I’m a little sentimental about jeans.  My favorite pair bit the dust this summer when the butt tore wide open on a hike where I was chaperoning a bunch of my high school students.  Yeah, it was bad.  They’d been sitting in my drawer since August because I couldn’t bear to part  with them.  Well now I don’t have to! They were washed and turned into a stuffed animal for my soon-to-be-born baby girl.

Filed Under: Here's How, Life + Baby, Slider

Baby Girl Nursery Flower Printable

December 28, 2013 by Lacey Leave a Comment

I found out last week that I’m having a little baby girl!  When the ultrasound technician announced that my baby was a she I was flooded with such a mix of emotions.  Of course I was absolutely excited, but with the excitement came some fear too.

I flashed back to the hardest parts of being a girl. I remembered not having the “right” kind of toys to play with the other girls in our neighborhood.  I remembered eating lunch in the library by myself all through eigth grade.  I remembered crossing my fingers {sometimes in vain} that I would get asked to a school dance.

After the ultrasound as I was thinking about all these things wondered how I made it through.  Then I realized I not only survived but flourished because of my awesome family and specifically my own wonderful mother.  She taught me to fall in love with the garden, the feeling of really good bread dough, and how to be confident and happy with myself.  She tucked bouncy balls in my pocket to play with at recess, which is the surest way to make friends.  She reminded me that being true to myself felt better than eating lunch at the popular table. And she gave me the advice that lead me to my wonderful husband: boys make the best friends.

So the fear at having a baby girl went away completely and the excitement took over.  I get to be the mom to my very own little woman. I get to give someone what my mom gave me.  I get to teach someone how to bake chocolate chip cookies, and how to deadhead roses.

I’ve come to terms with pink and I’m starting to decorate my little girls nursery. With the hopes of instilling in her a love of dirt, I’m painting some decorations.  I’m sharing this watercolor printable.  The one stipulation is that you use it for personal use only.  Enjoy!

click here to download

Filed Under: Life + Baby, Projects

Shop Now

DIY Plush Play Veggies + Printable Transfers

DIY Plush Play Veggies + Printable Transfers

Good Reads

Get AllMyFriendsareFlowers via Email

Enter your email address to subscribe!

How to Divide Ferns

How to Divide Ferns

Succulent Container Gardens at Disneyland

Succulent Container Gardens at Disneyland

All My Friends are Flowers

All My Friends are Flowers

Hello there, I'm Lacey.

Printable Denim Whale Pattern

Printable Denim Whale Pattern

Lets Be Social

  • Pinterest
  • Annuals
  • Bulbs
  • Container Gardening
  • Evergreens
  • Floral Design
  • Free Landscape Designs + Graphics
  • Grass: Ornamental & Otherwise
  • Herbs
  • Here’s How
  • Housplants
  • I’m Inspired
  • In My House
  • Life + Baby
  • Living in Europe
  • Perennials
  • Plant Index
  • Propagation
  • Shrubbery
  • Travel
  • Trees
  • Vegetables
  • Landscape Design Portfolio

Archives

How To: Mason Jar Terrarium

How To: Mason Jar Terrarium

Welcome to All My Friends are Flowers

I’m Writing About……

adding texture to landscapes Alpine Loop autumn fern autumn stonecrop balcony gardening Best Garden Magazines burning bush design container gardening on balcony Dividing Ferns Dividng Perennials downloadable chalkboard graphics early spring annuals fall chalkboard fall graphics fall landscape design Fall Landscape Inspiration ferns free chalkboard graphics free landscape design french country landscape design full landscape design ghost fern growing bougainvilla growing paperwhites hyacinth bulbs invasive bulbs Lady Fern landscape design plan landscape design portfolio Landscape Designs male fern nursery printable ornamental grass landscape design osaka white ornamental kale ostrich fern paperwhites pea nursery decor PNG chalkboard graphics Residential Evergreen Trees residential landscape design shade garden shade perennials The English Garden Magazine Uintah National Forest utah landscape design

Copyright © 2018 · Foodie Theme by Shay Bocks · Built on the Genesis Framework · Powered by WordPress